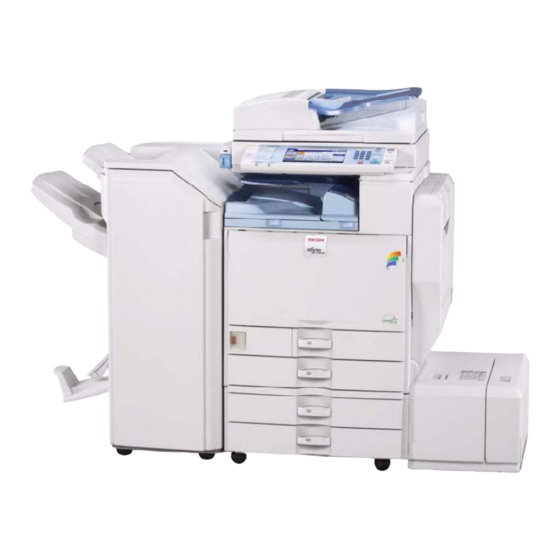
Ricoh Aficio MP 5001 Reference Manual
Reference guide
Hide thumbs
Also See for Aficio MP 5001:
- Reference manual (9 pages) ,
- Manual (81 pages) ,
- User manual (61 pages)
Table of Contents
Advertisement
Advertisement
Table of Contents

Summary of Contents for Ricoh Aficio MP 5001
- Page 1 RICOH MP 5001 REFERENCE GUIDE 1 ...
-
Page 2: Table Of Contents
Table of Contents Table of Contents ................................ 2 Changing Modes ................................ 3 Basic Copy Features .............................. 4 Paper Selection……………………………………………………………………………………………………………………………………………….6 Duplex…………………………………………………………………………………………………………………………………………………………….6 Making Two‐sided Copies from One‐Sided Originals (1 – 2 sided)………………………………………………………..6 Making Two‐sided Copies from Two‐sided Originals (2 – 2 sided)………………………………………………………..6 Finishing………………………………………………………………………………………………………………………………………………………….7 Print Features………………………………………………………………………………………………………………………………………………………………7 Accessing the Print Driver……………………………………………………………………………………………………………………………….7 Finishing Options…………………………………………………………………………………………………………………………………………….8 Two – Sided Printing……………………………………………………………………………………………………………………………………….8 Basic Scan to Email or Folder Features…………………………………………………………………………………………………………………………9 Calling for Service………………………………………………………………………………………………………………………………………………………10 Ordering Supplies………………………………………………………………………………………………………………………………………………………10 2 ... -
Page 3: Changing Modes
Changing Modes The Ricoh MP 5001 can produce in a variety of modes. To toggle between the modes, use the equipment control panel on the front of the machine. The available modes are located on the left‐ hand side of the display screen. To switch between modes, press the appropriate button on the left. The display screen will change to the appropriate mode. • Copy Mode – Copies of original document are produced while in this mode. Place the original in the Automatic Document Handler/glass platen and follow the standard copy procedures (See Basic Copy Features). -
Page 4: Basic Copy Features
Basic Copy Features 1. To make a copy, press the ‘Copy’ button located on the left hand side of the control panel. 2. Place your originals on the glass or in the automatic document feeder. Figure 1: Document is placed Face Up in the Document Feeder ... - Page 5 Rotate Sort – Every other copy is rotated 90 degrees when delivered to the output tray. To use this ‘Rotate Sort’ feature, two paper trays must be loaded with the same size paper in a different orientation. Stack – Copies are grouped by page and shifted when delivered from the machine Staple –...
-
Page 6: Paper Selection
Paper Selection The paper select feature allows you to manually select the desired paper size for your copies. 1. Select ‘Paper Select’ on the basic copy interactive screen. 2. Select the appropriate paper size desired. Auto – Copy is the same size as the original. This is the default setting LTR –... -
Page 7: Finishing
‘Start’. Print Features The Ricoh MP 5001 can also be used as a black & white printer. You are able to access the print options directly from your networked computer. Accessing the Print Driver 1. -
Page 8: Finishing Options
4. Enter the number of document copies desired. Select ‘OK’ to begin printing. Two-Sided Printing Duplex or two-sided printing occurs when the Ricoh produces documents with print on both sides of the paper. 1. To access the available duplex options for printing, select the ‘Print’ option from your desktop. Select ‘Properties’... -
Page 9: Basic Scan To Email Or Folder Features
Basic Scanning to Email or Folder Features Figure 1: Document is placed Face Up in the Document Feeder Figure 2: Document is placed Face Down on the Platen Glass 1. Set your originals press the [Scanner] key on your device. 2. -
Page 10: Calling For Service
Calling for Service 1. If your equipment requires service due to an error code, please contact: Pub. Dup. at ext. 8137 or ext. 8418. 2. Provide the following information to expedite service: • Contact name/phone number • Equipment location – the physical location of the equipment •...


Need help?
Do you have a question about the Aficio MP 5001 and is the answer not in the manual?
Questions and answers