Table of Contents
Advertisement
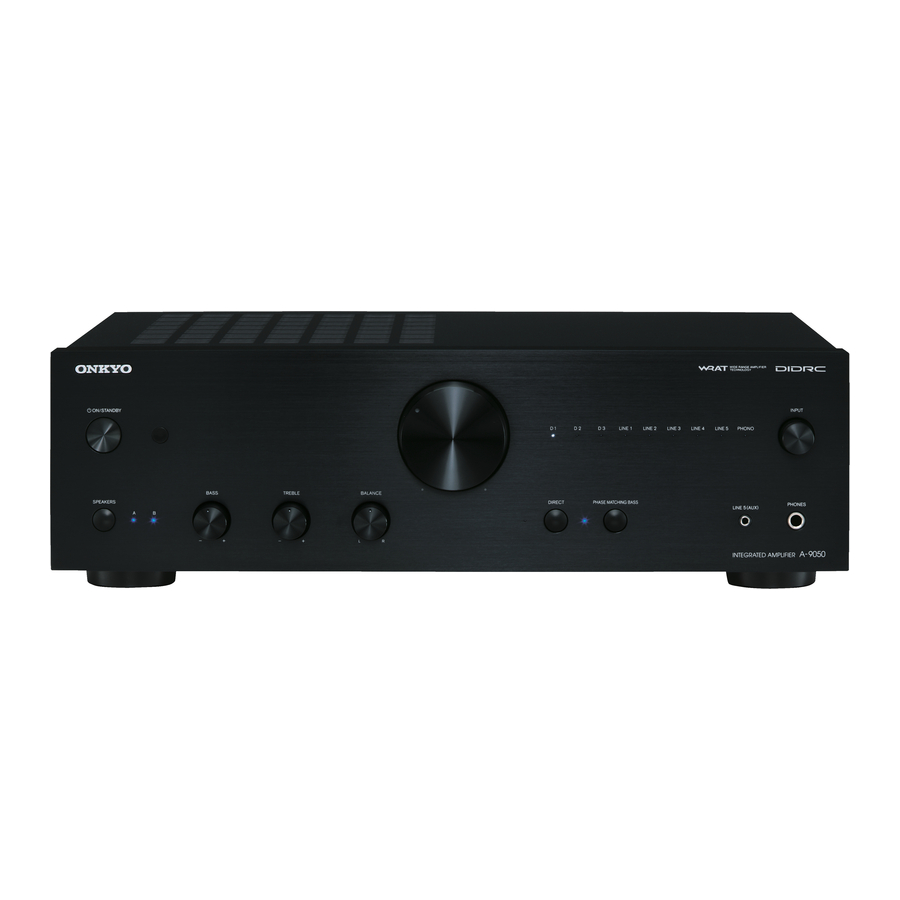
Integrated Amplifier
A-9050/
A-9030
Instruction Manual
Thank you for purchasing an Onkyo Integrated
Amplifier. Please read this manual thoroughly before
making connections and plugging in the unit.
Following the instructions in this manual will enable
you to obtain optimum performance and listening
enjoyment from your new Integrated Amplifier.
Please retain this manual for future reference.
Contents
Introduction ...................................2
Connections.................................12
Turning On & Basic Operations....... 21
Advanced Operations .................25
Others...........................................26
E
n
Advertisement
Table of Contents

Subscribe to Our Youtube Channel
Related Manuals for Onkyo A-9050


Summary of Contents for Onkyo A-9050
-
Page 1: Integrated Amplifier
Turning On & Basic Operations..21 Instruction Manual Advanced Operations ....25 Others...........26 Thank you for purchasing an Onkyo Integrated Amplifier. Please read this manual thoroughly before making connections and plugging in the unit. Following the instructions in this manual will enable you to obtain optimum performance and listening enjoyment from your new Integrated Amplifier. -
Page 2: Introduction
Introduction WARNING: WARNING AVIS RISK OF ELECTRIC SHOCK RISQUE DE CHOC ELECTRIQUE TO REDUCE THE RISK OF FIRE OR ELECTRIC DO NOT OPEN NE PAS OUVRIR SHOCK, DO NOT EXPOSE THIS APPARATUS TO The lightning flash with arrowhead symbol, within an RAIN OR MOISTURE. -
Page 3: Precautions
003 DU CANADA. wet or damp. If water or any other liquid gets inside this unit, have it checked by your Onkyo dealer. Sur les modèles dont la fiche est polarisée: 8. Handling Notes ATTENTION: POUR ÉVITER LES CHOCS... -
Page 4: Supplied Accessories
82194 GROEBENZELL, name indicates the color. Specifications and operations are the GERMANY same regardless of color. declare in own responsibility, that the ONKYO product described in this instruction manual is in compliance with the corresponding technical standards such as EN60065, EN55013, EN55020 and EN61000-3-2, -3-3. -
Page 5: Features
Features A-9050 Integrated Digital Amplifier • Three-stage Inverted Darlington Circuitry • Digital Inputs (Optical/Coaxial) • Wolfson 192 kHz/24 bit DACs withDIDRC Circuitry Inside (WM8718) • Phase Matching Bass Technology • 1.6 mm Full Flat Chassis • 75 W/ch (1 kHz, 8 ohms, 0.08 % THD, 2ch Driven FTC) •... -
Page 6: Table Of Contents
Connecting Your Speakers ...........12 Cable and Jacks ............14 Connecting the Power Cord..........14 Connecting a CD Player ..........15 Connecting a Tuner ............16 Connecting an Onkyo Dock ..........17 Connecting Onkyo Components......18 Connecting a Turntable..........19 Connecting a Cassette Tape Deck .......19 Connecting a Recording Component......19 Connecting a Subwoofer With Built-In Power Amplifier ..........20... -
Page 7: Before Using The Integrated Amplifier
Before Using the Integrated Amplifier Installing the Batteries Using the Remote Controller To use the remote controller, point it at the integrated To open the battery compartment, press the small amplifier’s remote control sensor, as shown below. hollow and slide the cover. Remote control sensor Integrated amplifier Insert the two supplied batteries (R03/AAA) in... -
Page 8: Getting To Know The Integrated Amplifier
Input source LEDs (➔ page 23) DIRECT button (➔ page 23) Lights according to the selected input source. (*A-9050 only) Enables or disables the Direct function. INPUT selector (➔ page 23) PHASE MATCHING BASS LED (➔ page 23) Selects the input sources in sequence. -
Page 9: Rear Panel
MODE selector (A-9050 only) Connect Onkyo components such as Onkyo Docks, CD Players, or Tuner with (Remote Interactive) DIGITAL IN OPTICAL D3 jack (A-9050 only) jacks. Connects components such as CD players with optical digital audio output. SPEAKERS A terminals Connect Speakers A. -
Page 10: Remote Controller
• To control the Onkyo Dock and Onkyo Tuner, an connection (➔ page 18) is required • Refer to the manuals supplied with your Onkyo CD Players, Tuner or Docks. ■ Controlling the Onkyo CD player CD button... - Page 11 Remote Controller DIMMER DIMMER DIMMER (Tuning Up/Down) (Preset Up/Down) ENTER ENTER ENTER Display the current DISPLAY input and settings. RANDOM RANDOM REPEAT REPEAT SHUFFLE SHUFFLE SHUFFLE MENU MENU MENU REPEAT REPEAT REPEAT INPUT SELECTOR / INPUT BAND *: A-9050 only...
-
Page 12: Connections
Connections Connections Connecting Your Speakers Right Left Speakers A Integrated Amplifier Speakers B Right Left ■ Screw-type speaker terminals 1/2" to 5/8" (12 to 15 mm) Strip 1/2" to 5/8" (12 to 15 mm) of insulation from the ends of the speaker cables, and twist the bare wires tightly, as shown. - Page 13 Bi-wiring Connection Note • Make sure that the wires do not touch metal parts on the back Bi-wiring provides improved bass and treble performance. panel or elsewhere. Using terminals of both SPEAKERS A and • Y plugs cannot be connected. SPEAKERS B, it separates high frequency from low •...
-
Page 14: Cable And Jacks
The integrated amplifier provides 75-ohm impedance matching. Analog audio (RCA) Analog audio connections (RCA) carry analog audio. White To use (Remote Interactive), you need to connect your Onkyo CD Player, Tuner, or Dock to the integrated amplifier with an cable. Note •... -
Page 15: Connecting A Cd Player
Digital Connection (A-9050 only) Integrated Amplifier CD Player Connect an audio pin cable to the LINE IN 1 jack. Set the RI MODE switch to CD LINE 1. (A-9050 only) CD Player Connect the coaxial digital cable to the COAXIAL D1 jack. -
Page 16: Connecting A Tuner
Analog Connection Connecting a Tuner Integrated Amplifier This is an example of connection using the Tuner. Digital Connection (A-9050 only) Integrated Amplifier Tuner Connect an audio pin cable to the LINE IN 2 jack. Set the RI MODE switch to TUNER LINE 2. -
Page 17: Connecting An Onkyo Dock
D3 jack. (A-9050 only) Set the RI MODE switch to DOCK D3. • An Onkyo Dock can be connected to the LINE IN 1/2/3/4 jack. However, when using the interlock function, be sure to • An Onkyo Dock can be connected to the COAXIAL D1 or D2 connect the Onkyo Dock to the LINE IN 3 jack. -
Page 18: Connecting Onkyo Components
MD recorders, the won’t work properly. • Some components may not support all functions. Refer to the manuals supplied with your Onkyo CD Players, Tuner or Docks. • The CD Players only support the Auto Power On and Direct Change functions. -
Page 19: Connecting A Turntable
Connecting a Turntable Connecting a Recording Component Integrated Amplifier Important: • Unless you have the full consent of the copyright holder, copyright laws prohibit using your recordings for anything other than personal enjoyment! • Do not change the integrated amplifier’s input while recording. -
Page 20: Connecting A Subwoofer With Built-In Power Amplifier
The integrated amplifier can be used as a preamplifier (Pre connected to be used. mode). This is an example of connection using the power amplifier. (A-9050 only) Connect LINE INPUT on the subwoofer with a built-in power amplifier to PRE OUT: SUBWOOFER terminal on Integrated Amplifier the integrated amplifier. -
Page 21: Turning On & Basic Operations
Turning On & Basic Operations Basic Operations Turning On/Off the Integrated Amplifier ON/STANDBY button Turning On the Integrated Amplifier Turning Off the Integrated Amplifier ■ ■ Operating with the remote controller Operating with the remote controller Press . Press The SPEAKERS (A/B) and Input source LEDs blink, The integrated amplifier enters Standby mode and the then light up after a short time. -
Page 22: Selecting Speakers A And Speakers B
Selecting Speakers A and Speakers B Adjusting the Volume ■ You can select to output sound from Speakers A, Operating with the remote controller Speakers B, or both A + B. VOLUME / Press VOLUME / repeatedly. ■ Operating on the integrated amplifier SPEAKERS A LED B LED... -
Page 23: Selecting The Input Source
LINE1, LINE2, LINE3, LINE4, LINE5, PHONO doesn’t affect the sound quality, the balance can be (D1, D2, D3 (A-9050 only)) adjusted even if the Direct function is enabled. The LED corresponding to the selected input will light up. -
Page 24: Adjusting The Bass, Treble And Balance
Adjusting the Bass, Treble and Balance Muting the Sound You can adjust the bass, treble and left/right output You can temporarily mute the output of the integrated balance respectively. amplifier. ■ Operating on the integrated amplifier MUTING Press MUTING. The SPEAKERS (A/B) and SELECTOR LEDs blink. To unmute the integrated amplifier, press MUTING BASS –/+ TREBLE –/+... -
Page 25: Advanced Operations
When the Auto Standby (ASb) function is activated, the You can set the impedance of the speakers that you integrated amplifier will automatically enter Standby connect to the unit. (A-9050 only) mode if there is no operation for 30 minutes with no audio signal input. -
Page 26: Others
• Make sure the integrated amplifier’s volume control is Further product operating procedures and FAQs not set to minimum (➔ page 22). (frequently asked questions) are available from the Onkyo • Make sure the correct input source is selected web site. (➔ page 23). - Page 27 There’s no sound. The remote controller doesn’t work properly. • Make sure that the Onkyo Dock is connected to the integrated amplifier properly. • Make sure the batteries have been installed with the • Make sure that no video content is being played.
-
Page 28: Specifications
Specifications A-9050 A-9030 Rated Output Power (North American) (IEC) 2 ch × 65 W at 8 ohms, 1 kHz, 2 ch Driven of (FTC) 75 watts minimum continuous power per 0.08 % channel, 8 ohm loads, 2 channels driven at 1 kHz, with a maximum total harmonic distortion of 0.08 %... - Page 29 MEMO...
- Page 30 MEMO...
- Page 31 MEMO...
- Page 32 Unit 1033, 10/F, Star House, No 3, Salisbury Road, Tsim Sha Tsui Kowloon, Hong Kong. Tel: 852-2429-3118 Fax: 852-2428-9039 http://www.onkyochina.com/ 1301, 555 Tower, No.555 West NanJin Road, Jin an, Shanghai, China 200041, Tel: 86-21-52131366 Fax: 86-21-52130396 http://www.cn.onkyo.com/ C1208-2 SN 29401270A (C) Copyright 2012 Onkyo Corporation Japan. All rights reserved.
Need help?
Do you have a question about the A-9050 and is the answer not in the manual?
Questions and answers