
Related Manuals for Belkin F5D4073


Summary of Contents for Belkin F5D4073
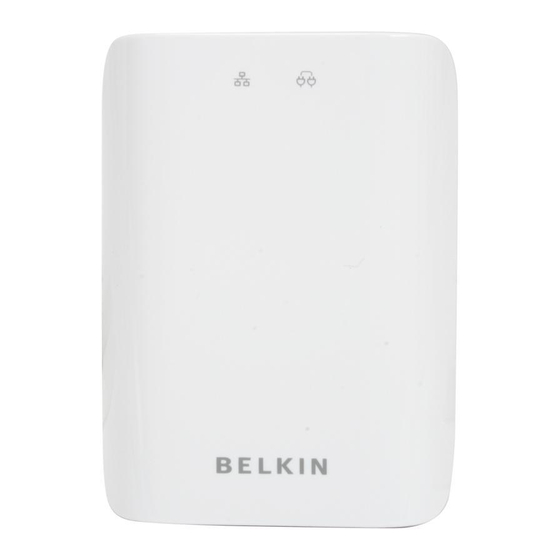
- Page 1 Powerline Networking Adapters English User Manual Français PM01141ea F5D4073 DEutsch nEDErl anDs Español italiano...
-
Page 2: Table Of Contents
TAble of CoNTeNTs seCTions Table of Contents 1 Introduction ...................1 Features Product Specifications System Requirements Package Contents 2 Installing and setting Up the Adapters ........4 3 Configuration ................8 Diagnose Powerline Network Setting Up Security on a Local HomePlug Device Setting Up Security on a Network HomePlug Device Diagnostics 4 Information ...................12... -
Page 3: Introduction
INTrodUCTIoN seCTions Table of Contents Thank you for purchasing the Powerline Networking Adapter (the Adapter). Most people don’t enjoy buying long and expensive Ethernet cables or pulling the cables from one place to another, but the Adapter offers one of the easiest ways to enjoy home or small-business networking. -
Page 4: Features
INTrodUCTIoN seCTions Table of Contents features Product specifications • Up to 85Mbps* bandwidth over standard home power lines Computer Interface: IEEE 802.3/802.3u • Estimated range of 300m in wall power lines Operating Temperature: 32–104 degrees F (0–40 degrees C) • HomePlug signal easily passes through circuit breaker Storage Temperature: -4–176 degrees F (-20–80 degrees C) • 56-bit DES encryption ensures data security Humidity: Max. 5%–90% (non-condensing) •... -
Page 5: System Requirements
INTrodUCTIoN seCTions Table of Contents Package Contents Powerline Link LED Another HomePlug unit detected Blinking Powerline network activity • One/Two Powerline Networking Adapters Ethernet Link LED • HomePlug Quick Installation Guide Connected to Ethernet Blinking Ethernet network activity • HomePlug User Manual (on CD) • Installation CD system requirements • One/Two Power Cables •... -
Page 6: Installing And Setting Up The Adapters
INsTAllINg ANd seTTINg UP The AdAPTers seCTions Table of Contents overview hardware setup Installation of the Powerline Networking Adapters takes only 1. Plug your network cable into an RJ45 network adapter port. minutes and does not require setting up long wires throughout the house. Simply plug the Adapters into the wall and connect 2. Plug the other end of your network cable into the RJ45 port located at the Ethernet cable into your device. -
Page 7: Running The Installshield Wizard
INsTAllINg ANd seTTINg UP The AdAPTers seCTions Table of Contents running the Installshield Wizard 2. Click the “Powerline Utility” button. Once the software loads, click on your desired language in the following dialog box: 1. Insert the CD into your CD-ROM drive and wait for the setup screen to appear. - Page 8 INsTAllINg ANd seTTINg UP The AdAPTers seCTions Table of Contents 4. This section allows you to change the default directory where the program is installed. If you don’t want to change the directory, click “Next” to continue the installation process. 5.
- Page 9 INsTAllINg ANd seTTINg UP The AdAPTers seCTions Table of Contents 6. Click “Install” after confirming your settings in the following screen. 7. Installation is complete. Click “Finish” to exit the wizard. Powerline Networking Adapters...
-
Page 10: Configuration
Note: If you do not see ANY units in the device status, and there is a device connected to your computer, try unplugging and re-plugging Double-click the “Belkin HomePlug Utility” icon on your desktop to open all devices. Also make sure that the cable connecting your computer the utility shown in the screen below. -
Page 11: Setting Up Security On A Local Homeplug Device
CoNfIgUrATIoN seCTions Table of Contents setting Up security on a local homePlug device Part 2: diagnose a Network homePlug device The “Main” tab shows all the other HomePlug units on your powerline network. It represents them by MAC address, and also shows the available bandwidth to each unit (units farther away from the current computer might have a lower data rate). -
Page 12: Setting Up Security On A Network Homeplug Device
CoNfIgUrATIoN seCTions Table of Contents setting Up security on a Network homePlug device 1. You will have to go back to the “Main” tab first to enter the DEK (Device Encryption Key) for each networked HomePlug device. Select the device and click “Enter Password”. 3. -
Page 13: Diagnostics
Table of Contents diagnostics Technical support You can find technical support information at www.belkin.com This page provides diagnostics information for your HomePlug network. It also allows you to create, email, and print a report of this information. Powerline Networking Adapters... -
Page 14: Information
CoMPATIbIlITY • Connect the equipment to an outlet on a circuit different from that to which the receiver is connected. We, Belkin International, Inc., of 501 West Walnut Street, Compton, CA • Consult the dealer or an experienced radio/TV technician for help. 90220, declare under our sole responsibility that the product, F5D4073, to which this declaration relates, complies with Part 15 of the FCC Modifications Rules. - Page 15 What is not covered by this warranty? Belkin International, Inc. (“Belkin”) warrants to the original purchaser of this All above warranties are null and void if the Belkin product is not provided Belkin product that the product shall be free of defects in design, assembly, to Belkin for inspection upon Belkin’s request at the sole expense of...
- Page 16 Belkin reserves the right to review the damaged Belkin product. All IN NO EVENT SHALL BELKIN BE LIABLE FOR INCIDENTAL, SPECIAL, costs of shipping the Belkin product to Belkin for inspection shall DIRECT, INDIRECT, CONSEQUENTIAL OR MULTIPLE DAMAGES SUCH be borne solely by the purchaser. If Belkin determines, in its sole AS, BUT NOT LIMITED TO, LOST BUSINESS OR PROFITS ARISING discretion, that it is impractical to ship the damaged equipment to OUT OF THE SALE OR USE OF ANY BELKIN PRODUCT, EVEN IF Belkin, Belkin may designate, in its sole discretion, an equipment ADVISED OF THE POSSIBILITY OF SUCH DAMAGES.
- Page 17 CoUNTrY NUMber INTerNeT Adress AUSTRIA 0820 200766 www.belkin.com/uk/networking/ You can find additional support information on our website www.belkin. BELGIUM 07 07 00 073 www.belkin.com/nl/networking/ com through the tech-support area. If you want to contact technical CZECH REPUBLIC 239 000 406 www.belkin.com/uk/networking/...
- Page 18 Italy Netherlands © 2008 Belkin International, Inc. All rights reserved. All trade names are registered trademarks of respective manufacturers listed. Apple, AirPort, Mac, Mac OS, and AppleTalk are trademarks of Apple Inc., registered in the U.S. and other countries. Windows, Windows Vista, NT, and Microsoft are either...
Need help?
Do you have a question about the F5D4073 and is the answer not in the manual?
Questions and answers