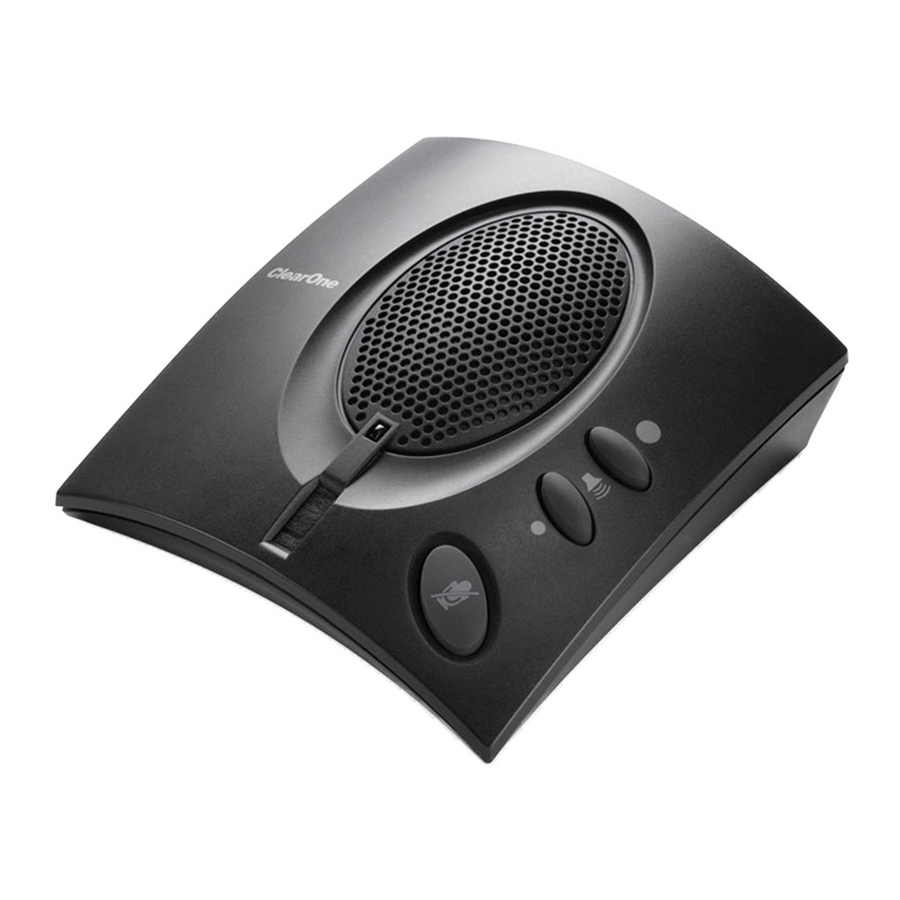
ClearOne CHAT 50 User Manual
Personal speaker phone
Hide thumbs
Also See for CHAT 50:
- Quick start manual (74 pages) ,
- User manual (38 pages) ,
- Features (2 pages)
Table of Contents
Advertisement
Quick Links
Advertisement
Table of Contents

Related Manuals for ClearOne CHAT 50


Summary of Contents for ClearOne CHAT 50
- Page 1 CHAT 50 Personal Speaker Phone USER’S MANUAL...
- Page 2 CHAT 50 USER’S MANUAL CLEARONE PART NO. 800-159-001. MARCH 2006 (REV. 1.0) © 2006 ClearOne Communications, Inc. All rights reserved. No part of this document may be reproduced in any form or by any means without written permission from ClearOne Communications. Printed in the United States of America.
-
Page 3: Table Of Contents
TABLE OF CONTENTS CONTINUED TABLE OF CONTENTS CHAPTER 1: INTRODUCTION Product Overview ....... 1 Service and Support . -
Page 5: Chapter 1: Introduction
CHAPTER 1: INTRODUCTION PRODUCT OVERVIEW Thank you for purchasing the ClearOne Chat 50 personal speaker phone. The Chat 50 is a portable audio peripheral that connects to a wide variety of devices for hands-free communications and audio playback. You can use the Chat 50 with a myriad of devices, including: •... -
Page 6: Important Safety Information
IMPORTANT SAFETY INFORMATION Read the safety instructions before first use of this product. This personal speaker phone is not designed for making emergency telephone calls when the power fails. Make alternative arrangements for access to emergency services. • Read and understand all instructions and follow all warnings marked on the product. •... -
Page 7: Unpacking
(USB Plus only) Chat 50 parts FIGURE 1.1 Note: ClearOne is not responsible for product damage incurred during shipment. You must make claims > directly with the carrier. Inspect your shipment carefully for obvious signs of damage. If the shipment appears damaged, retain the original boxes and packing material for inspection by the carrier. - Page 8 Technical Services: 800.283.5936...
-
Page 9: Chapter 2: Getting Started
CHAPTER 2: GETTING STARTED INSTALLING CHAT 50 SOFTWARE 1. Insert the Chat 50 CD into your computer’s CD-ROM/DVD drive. The Setup W W izard welcome (see Figure 2.1) screen appears. Chat 50 Installation Wizard Welcome Screen FIGURE 2.1 2. Click Next>. The License A A greement screen (see Figure 2.2) appears. Chat 50 License Agreement screen FIGURE 2.2 Chapter 2: Getting Started... - Page 10 3. Read through the license agreement and then click the I A A gree radio button, follwed by Next>. The Select Installation F F older screen (see Figure 2.3) appears. Chat 50 Select Installation Folder screen FIGURE 2.3 4. Click the radio button according to who will be using the Chat 50 on your computer--everyone or just you. If everyone, then click the Everyone radio button;...
- Page 11 5. Click Next> to start the software installation. The Installing C C learOne C C hat screen (see Figure 2.5) appears, tracking the software installation. Once the installation is finished, the Device D D river I I nstallation Welcome screen (see Figure 2.6) appears. Installing ClearOne Chat Configuration Software screen FIGURE 2.5 Chat 50 Device Driver Installation Welcome screen FIGURE 2.6...
- Page 12 Device D D river I I nstallation W W izard screen (see Figure 2.7) appears. Chat 50 Completing the Device Driver Installation Wizard screen FIGURE 2.7 7. Click Finish. The ClearOne C C hat I I nformation screen (see Figure 2.8) appears. Chat 50 Installation Complete screen FIGURE 2.8...
- Page 13 8. Read through the information so that you are familiar with the latest information for your version of Chat. When you are finished reading, click Finish. The Installation C C omplete screen (see Figure 2.9) appears. Chat 50 Installation Complete screen FIGURE 2.9 9.
-
Page 14: Configuring And Testing Your Chat 50
2. The Chat 50’s LCD lights blue, then red, and finally blue. The Windows N N ew H H ardware F F ound dialog appears and the device drivers load. When the device drivers are successfully loaded, click Finish. 3. Start the Chat 50 configuration software by double-clicking the Clearone C C hat icon on your desktop (see Figure 2.11). - Page 15 Chat 50 main screen FIGURE 2.12 Chat 50 Device Setup button FIGURE 2.13 5. The Device S S etup screen appears (see Figure 2.14) with a list of available devices displayed in the Step 1 1 : Select a a d d evice t t ype column. Click the type of device that you wish to use with your Chat 50. Chat 50 Device Setup screen: device type FIGURE 2.14 Chapter 2: Getting Started...
- Page 16 6. Click the manufacturer of your device from the list under Step 2 2 : S S elect a a m m anufacturer (see Figure 2.15); click Generic, if not listed. Chat 50 Device Setup screen: device manufacturer FIGURE 2.15 7.
- Page 17 8. Click Step 4 4 : A A dd t t o M M y D D evices to save this device to your My D D evices list, if you wish. Click Apply t t o Chat to apply these audio settings to your Chat 50 (see Figure 2.17), if you wish. Chat 50 Add to My Devices and Apply to Chat buttons FIGURE 2.17 9.
-
Page 18: Connecting Your Chat 50
Connecting Chat 50 to a telephone FIGURE 2.19 2. Using a ClearOne telephone connection cable (available separately), connect the Chat 50 to your telephone’s headset jack (or 2.5mm jack) as shown in Figure 2.19. DO NOT plug the cable into the telephone’s line jack as damage to the telephone and/or Chat 50 might occur. -
Page 19: Connecting Chat 50 To A Cellphone
CONNECTING CHAT 50 TO A CELLPHONE 1. Using the included power supply (USB Plus only), connect the Chat 50 to a power outlet as shown in Figure 2.20. 3.5mm 2.5mm Connecting Chat 50 to a cellphone FIGURE 2.20 2. Using the included 2.5mm-3.5mm cellphone connection cable, connect the Chat 50 to your cellphone’s headset jack (or 2.5mm jack) as shown in Figure 2.20. -
Page 20: Connecting Chat 50 To An Mp3 Player
Connecting Chat 50 to an MP3 player FIGURE 2.21 2. Using a ClearOne MP3 connection cable (available separately), connect the Chat 50 to your MP3 player’s headset jack (or 2.5mm jack) as shown in Figure 2.21. Technical Services: 800.283.5936... -
Page 21: Connecting Chat 50 To A Desktop Video Conferencing Device
Connecting Chat 50 to a desktop video conferencing device FIGURE 2.22 2. Using a ClearOne desktop video conferencing device connection cable (available separately), connect the Chat 50 to your desktop video conferencing device’s headset jack (or 2.5mm jack) as shown in Figure 2.22. - Page 22 Technical Services: 800.283.5936...
-
Page 23: Chapter 3: Using Chat 50 Configuration Software
CHAPTER 3: USING CHAT 50 CONFIGURATION SOFTWARE DEVICE SETUP Device S S etup enables you to set up the Chat 50 for the device you have connected to your Chat 50 so that it operates at optimal efficiency. Set up the Chat 50 for your device by performing the following steps (refer to Figure 3.1 as you perform the steps): Device Setup screen FIGURE 3.1... -
Page 24: My Devices
MY DEVICES The My D D evices screen (see Figure 3.2) displays all of the devices you have configured for use with your Chat My Devices screen FIGURE 3.2 Simply select the device you wish to use with your Chat 50 and then click the Apply t t o C C hat button to apply these audio settings to your Chat 50. -
Page 25: Update Firmware
UPDATE FIRMWARE Clicking the Update F F irmware button displays the update firmware screen (see Figure 3.5). Update screen FIGURE 3.5 The current firmware version and unit name are displayed. Perform the following steps to update firmware: 1. Click the Check f f or u u pdates button to check the web for available firmware updates or click Select F F ile to select from available firmware files in the Chat 50 Firmware directory on your PC. - Page 26 If there is a new firmware file available, then the message "Click Update to load new firmware in device" appears beneath the progress bar (see Figure 3.6). Continue with step 5. Update screen: ready to update FIGURE 3.6 4. Select from the available Chat 50 updates (see Figure 3.7) and click OK. Select firmware file FIGURE 3.7 5.
- Page 27 6. A series of messages ("Setting programming mode," "Resetting device," "Programming," and "Firmware upgrade succeeded") appears above the progress bar describing the progress of the update while the progress bar tracks the update. Upon completion of the update, the following message is displayed: "Update Successful! The firmware for device Chat 50 has been changed to <new revision level>"...
-
Page 28: Help
Click About to get information about your Chat 50. • Click ClearOne H H omepage to visit the ClearOne website using your default web browser. Click Registration to register your Chat 50 with ClearOne using your default web browser. •... -
Page 29: Advanced Settings: Audio Settings
ADVANCED SETTINGS: AUDIO SETTINGS Use the Audio S S ettings screen (see Figure 3.11) to view the audio settings for the Chat 50 currently connected to your PC. You can also create custom audio settings for a device (see Advanced Settings: Database on page 26 for more information). -
Page 30: Advanced Settings: Database
ADVANCED SETTINGS: DATABASE Use the Database screen (see Figure 3.12) to view and edit the Chat 50 database. The Chat 50 database includes all of the audio settings for the devices pre-programmed by ClearOne (identified by a next to each device) and any custom audio settings you set up and wish to save for later use. - Page 31 5. The custom device is added to the Chat 50 database and is now available through Device S S etup as an available device. (Note that in the database your custom device does not have the ClearOne icon next to it, differentiating it from a pre-programmed device.)
-
Page 32: Advanced Settings: Log
To delete custom devices from the database, simply click the Delete button after selecting the device you wish to delete. You can only delete custom devices; you cannot delete pre-programmed devices (devices with the ClearOne icon next to them). ADVANCED SETTINGS: LOG The Chat 50 log (see Figure 3.16) displays a list of actions taken by the Chat 50, including date, time, and a... -
Page 33: Chapter 4: Using Chat 50
CHAPTER 4: USING CHAT 50 POWER LED INDICATOR The power LED indicator lights blue when the Chat 50 is connected to a PC via the USB 2.0 cable or when the power supply is plugged in. The indicator lights red when the Chat 50 microphone mute function is active. VOLUME UP/DOWN AND MUTE BUTTONS Use the Volume U U p/Down buttons to adjust the volume level of the Chat 50. - Page 34 Technical Services: 800.283.5936...
-
Page 35: Chapter 5: Maintenance
CHAPTER 5: MAINTENANCE CARING FOR YOUR CHAT 50 • Follow all warnings and instructions marked on your Chat 50. • Unplug the USB 2.0 cable from the Chat 50 before cleaning. • Unplug the power supply from the wall outlet (USB Plus only) before cleaning. •... -
Page 36: Recovery From An Interrupted Firmware Update
RECOVERY FROM AN INTERRUPTED FIRMWARE UPDATE If firmware programming was interrupted (such as by a power loss or an accidental cable disconnection), the Chat 50 might become unstable. • To recover from a programming error when the Chat 50 is not recognized by the Windows operating system, disconnect the USB 2.0 cable from the Chat 50, hold down the MUTE button while reconnecting the Chat 50, and repeat the firmware update. -
Page 37: Chapter 6: Appendix
CHAPTER 6: APPENDIX SPECIFICATIONS Connections USB c c onnector Version 2.0 compatible Type: Mini B External a a udio Type: 3.5mm (1/8”) mini-plug Tip: Line output (transmit) Ring: Line input (receive) Sleeve: Ground DC P P ower Controls Volume up Volume down Microphone mute Audio... -
Page 38: Compliance
Compliance of the equipment with the Directive is attested by the application of the CE mark on the equipment. WARRANTY ClearOne Communications, Inc. (Manufacturer) warrants that this product is free of defects in both materials and workmanship. For warranty information and coverage, refer to the ClearOne website at www.clearone.com.
Need help?
Do you have a question about the CHAT 50 and is the answer not in the manual?
Questions and answers