ClearOne CHAT 50 User Manual
Personal speaker phone
Hide thumbs
Also See for CHAT 50:
- Quick start manual (74 pages) ,
- User manual (38 pages) ,
- Features (2 pages)
Table of Contents
Advertisement
Advertisement
Table of Contents

Related Manuals for ClearOne CHAT 50


Summary of Contents for ClearOne CHAT 50
- Page 1 CHAT 50 Personal Speaker Phone USER MANUAL...
-
Page 2: Technical Support
CHAT 50 USER’S MANUAL CLEARONE PART NO. 800-159-001. FEBRUARY 2008 (REV. 2.1) © 2008 ClearOne Communications, Inc. All rights reserved. No part of this document may be reproduced in any form or by any means without written permission from ClearOne Communications. ClearOne reserves specific privileges. -
Page 3: Table Of Contents
TABLE OF CONTENTS CHAPTER 1: INTRODUCTION Product Overview ......1 Service and Support......1 Safety Information. -
Page 5: Chapter 1: Introduction
CHAPTER 1: INTRODUCTION PRODUCT OVERVIEW Thank you for purchasing the ClearOne Chat 50 personal speaker phone. The Chat 50 is a portable audio peripheral that connects to a wide variety of devices for hands-free communications and audio playback. You can use the Chat 50 with a variety of devices and applications including: •... -
Page 6: Safety Information
IMPORTANT SAFETY INFORMATION Read the safety instructions before using this product. This personal speaker phone is not designed for making emergency telephone calls when the power fails. You must make alternative arrangements for telephone access to emergency services. • Read and understand all instructions. Follow all warnings marked on the product. •... -
Page 7: Package Contents
FIGURE 1.1 > Note: ClearOne is not responsible for product damage incurred during shipment. You must make claims directly with the carrier. Inspect your shipment carefully for obvious signs of damage. If the shipment appears damaged, retain the original boxes and packing material for inspection by the carrier. -
Page 8: Chapter 2: Getting Started
> Note: If you do not have the CD, you can download the latest version of the software at: http://www.clearone.com/support/downloads.php?content=main. Select your device from the “BY PRODUCT” window and click SEARCH and the screen will display only those downloads available for your specific device. - Page 9 2. Select software from the menu on the left of the screen and the Chat Setup Wizard will display the installation welcome screen (Figure 2.2 ). Chat 50 Installation Wizard Welcome Screen FIGURE 2.2 3. Click Next>. The License Agreement screen appears (Figure 2.3). Read the license agreement and select the I Agree radio button, then click Next>...
- Page 10 4. The Select Installation Folder screen appears (Figure 2.4). Use the default directory, or click Browse to select an alternate directory. Click Next> to continue the installation. Chat 50 Select Installation Folder screen FIGURE 2.4 5. The Confirm Installation screen appears (Figure 2.5). Click Next> to continue the installation. Chat 50 Confirm Installation screen FIGURE 2.5 Technical Support: 800-283-5936...
- Page 11 6. The Installing ClearOne Chat screen appears (Figure 2.6). Installing ClearOne Chat Configuration Software screen FIGURE 2.6 7. The Device Driver Installation Wizard screen appears. Click Next> to install the Chat software drivers for Windows. (When you first connect the Chat 50 to the USB port on your PC, there is an additional driver installation routine that installs the Chat 50 USB 2.0 drivers for Windows, as explained in the...
- Page 12 Windows desktop, or through the Windows Start menu (Start > All Programs > ClearOne Communications > Chat > ClearOne Chat). Before using the Chat 50 for the first time, proceed with the audio settings configuration procedure that starts on page 10.
-
Page 13: Installing The Chat Software-Apple Os X
6. The Chat software is now installed for Mac OS X. 7. Start the Chat application by double-clicking the ClearOne Chat icon in the Applications folder. 8. Connect the Chat 50 to your Mac using the included USB cable (refer to Figure 2.11 in the next section). -
Page 14: Connecting And Configuring Your Chat 50
Chat 50. The Windows New Hardware Found dialog appears and Windows installs the USB 2.0 device drivers for Chat on your system. When the installation is complete, click Close. 3. Start the Chat application by double-clicking the ClearOne Chat icon on your desktop (Figure 2.12). ClearOne Chat desktop icon FIGURE 2.12... - Page 15 5. Click the Device Setup button in order to select and configure pre-defined audio settings for the devices you will use with your Chat 50 (Figure 2.13). Chat 50 Main Screen FIGURE 2.13 6. The Device Setup screen appears (Figure 2.14) with a list of devices displayed in the Select 1st column. This column displays the general types of devices that you can configure for use with the Chat 50.
- Page 16 Chat 50 Device Setup: Select 2nd column FIGURE 2.15 8. Select a manufacturer or device type in the Select 2nd column. If your specific device is not listed, select either the Other or the All option. The Chat software populates the Select 3rd column based on your selection (Figure 2.16).
-
Page 17: Optimizing Sound Quality
Refer to the tuning procedures in the section below. If you need assistance, click the Help button in the Chat application, refer to , or contact ClearOne technical support using the contacts provided on the inside cover of this manual. OPTIMIZING SOUND QUALITY For optimal sound quality, you must adjust the Chat 50’s audio settings for each device and application you... -
Page 18: Connecting To External Devices
Chat 50 to a power outlet as shown in Figure 2.17. 2. Using a ClearOne telephone connection cable (available separately), connect the Chat 50 to your telephone’s headset jack as shown in Figure 2.17. Contact your dealer to order ClearOne cables and accessories. -
Page 19: Connecting To A Cell Phone
Connecting Chat 50 to a Cell Phone 1. Using the included power supply (Chat USB Plus, International, and Global Traveller models only), connect the Chat 50 to a power outlet (Figure 2.18). 2. Using the included 2.5mm to 3.5mm cell phone connector cable, connect the Chat 50’s line audio jack to the headset jack of the cell phone. -
Page 20: Connecting To An Mp3 Player
Chat 50 to a power outlet (Figure 2.19). 2. Using a ClearOne MP3 accessory cable (available separately, P/N 830-159-005), connect the Chat 50’s line audio jack to your MP3 player’s headset jack as shown in Figure 2.19. Contact your dealer to order cables and other accessories. -
Page 21: Connecting To A Video Conferencing Device
1. Using the supplied power supply (USB Plus only), connect the Chat 50 to a power outlet (Figure 2.20). 2. Using a ClearOne accessory cable (available separately), connect the Chat 50’s line audio jack to the device’s headset jack (Figure 2.19). ClearOne makes two cables for desktop video conferencing with Chat: 3.5mm plug to dual RCA plug;... -
Page 22: Device Setup
CHAPTER 3: USING THE CHAT APPLICATION DEVICE SETUP Device Setup configures the Chat 50 for use with specific devices to ensure optimal sound quality. To configure the Chat 50, use the procedure shown below (refer to Figure 3.1 for all steps). Device Setup screen FIGURE 3.1 1. -
Page 23: My Devices
MY DEVICES The My Devices screen displays the devices you have configured for the Chat 50 (Figure 3.2) . My Devices Screen FIGURE 3.2 Applying Audio Settings to the Chat 50 Select the device you wish to use with the Chat 50, then click the Apply to Chat button to apply the custom audio settings. -
Page 24: Update Firmware
Update Screen FIGURE 3.5 The Update Firmware screen displays the current firmware version, unit name, and checks ClearOne's website for available firmware and device database updates. Using Update Firmware, you can automatically update the Chat 50 with the most recent firmware and device database, or you can use the Select File button to manually load an existing firmware file. - Page 25 3. Click the Update button to install available updates. The Update dialog box appears (see Figure 3.6). Update Dialog FIGURE 3.6 4. Click Update Firmware to update firmware only. Click Update Database to update the device database only. Click Cancel to cancel the update procedure and return to the Update Firmware screen. 5.
- Page 26 Select File (Manual Update) > Note: This procedure is for advanced users, technical support purposes, and corporate environments where IT security policies may prohibit automatic updates. Loading an incorrect firmware file can cause unpredictable results. In most cases, you should use the automatic update procedure by clicking the Check for updates button.
-
Page 27: Help
Click ClearOne Homepage to visit the ClearOne website using your default web browser. • Click Registration to register your Chat 50 with ClearOne using your default web browser. ADVANCED SETTINGS Click the Advanced button to display the Advanced Settings screen (see Figure 3.10). -
Page 28: Advanced Settings: Audio Settings
Advanced Settings: Audio Settings The Audio Settings screen (Figure 3.11) displays the current audio settings and allows you to change them (Figure 3.11). You can also create custom audio settings for a particular device (see the section for more information). Advanced Settings: Audio Settings FIGURE 3.11 Available audio settings include:... -
Page 29: Advanced Settings: Database
The Database screen allows you to view devices, create devices, and edit devices in the Device Database. (Figure 3.12). The database includes pre-defined devices with optimal audio settings pre-programmed by ClearOne (identified by a next to the devices); and custom devices you create using this screen or the My Devices screen (indicated by a next to the devices). - Page 30 To edit custom devices, select the device in the Advanced Settings: Database screen, then click the Edit button that appears instead the View button that is shown for pre-configured ClearOne devices. The Edit Database Record appears (Figure 3.15). Change the device name and/or settings as needed, then click Ok.
-
Page 31: Advanced Settings: Log
To delete custom devices from the database, simply click the Delete button after selecting the device you wish to delete. You can only delete custom devices; you cannot delete pre-programmed devices (devices with the ClearOne icon next to them). ADVANCED SETTINGS: LOG The Chat application keeps a log of device events, firmware upgrades, and software upgrades in a text file. -
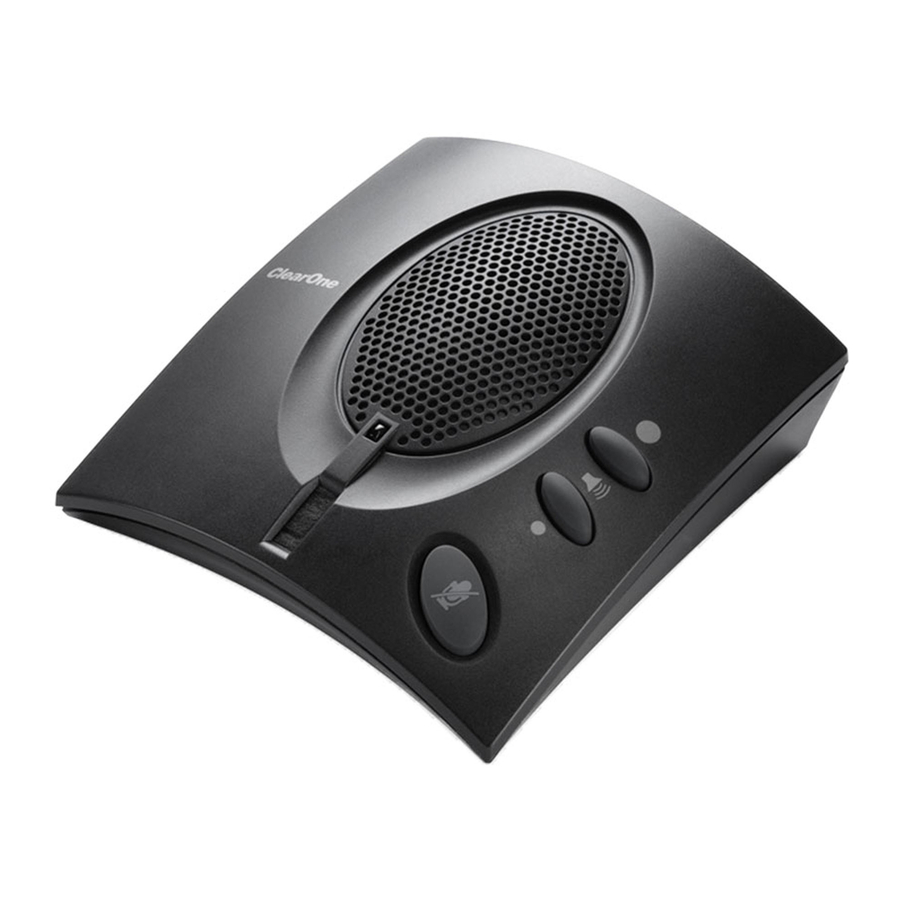
Page 32: Chapter 4: Chat 50 Controls
CHAPTER 4: CHAT 50 CONTROLS VOLUME UP VOLUME DOWN MUTE LED STATUS INDICATOR Chat 50 with control buttons labeled FIGURE 4.1 POWER LED INDICATOR The LED status indicator lights blue when the Chat 50 is connected to a PC or Mac via USB, or when the Chat 50 is plugged into AC power. -
Page 33: Chapter 5: Maintenance
, then reconnect the other USB devices. This allows Windows to properly select the Chat 50 as the default audio playback device. If you are unable to resolve the problem, please refer the support pages on our website, or contact ClearOne Technical Support: PHONE: 1.800.283.5936 (USA) or 1.801.974.3760... -
Page 34: Firmware Update
In rare cases, Generic mode is unable to restore the firmware. If this occurs, the Chat 50 automatically reboots in protected (DFU) mode and attempts to restore the firmware. Follow the instructions that appear on screen, or contact ClearOne technical support for assistance. Technical Support: 800-283-5936... -
Page 35: Chapter 6: Appendix
CHAPTER 6: APPENDIX SPECIFICATIONS Connections USB connector Version 2.0 compatible Type: Mini B External audio Type: 3.5mm (1/8”) mini-plug Tip: Line output (transmit) Ring: Line input (receive) Sleeve: Ground DC Power Controls Volume up Volume down Microphone mute Audio Speaker Bandwidth: 150Hz-15kHz Max output level: 80dBSPL @ 1 foot Microphone... -
Page 36: Compliance
November 21, 2007. Legal Representative in Europe /s/ Greg A. LeClaire Signature Greg A. LeClaire, Waste Electrical and Electronic Equipment “WEEE” Directive 2002/95/EC” ClearOne is compliant with the WEEE directive. For recovery and recycling information, visit: :www.clearone.com/support/recycling.php?content=main Technical Support: 800-283-5936 Appendix... -
Page 37: Warranty
(2) this device must accept any interference received, including interference that may cause undesirable operation. WARRANTY ClearOne Communications, Inc. (the Manufacturer) warrants that this product is free of defects in both materials and workmanship. For complete warranty information including length, coverage, and limitations, visit ClearOne on the web @ www.clearone.com.
Need help?
Do you have a question about the CHAT 50 and is the answer not in the manual?
Questions and answers