Table of Contents
Advertisement
Quick Links
Advertisement
Table of Contents

Subscribe to Our Youtube Channel
Related Manuals for VTech Move & Crawl Ball


Summary of Contents for VTech Move & Crawl Ball
- Page 1 User’s Manual © 2010 VTech Printed in China 91-002478-003-000...
- Page 2 To learn more about VTech toys, visit www.vtechuk.com ®...
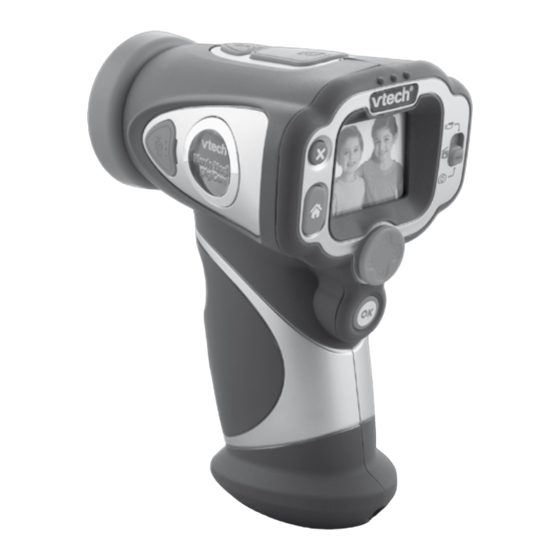
- Page 3 INTRODUCTION Thank you for purchasing the VTech ® Movie Magic DigiCam™! Become a movie director and shoot your movies using Movie Magic DigiCam™. Add on funny face-tracking effects when recording movies, and add a grand opening using the built-in video editor to make your...
-
Page 4: Included In This Package
Reset Button will result in the file not being saved properly. INCLUDeD IN THIs PaCKaGe • 1 VTech ® Movie Magic DigiCam™ • 1 USB cable • 1 A/V cable •... -
Page 5: Product Specifications
PRODUCT sPeCIFICaTIONs Display 1.8” TFT color LCD Video Resolution 640 X 480 or 320 X 240 when saving to SD card 320 X 240 or 160 X 120 when saving to internal memory Video Length Limit Maximum 15 minutes per each recording file Photo Resolution 2.0 megapixel Digital Zoom... -
Page 6: Getting Started
NOTE: The actual capacity depends on the shooting environment. GeTTING sTaRTeD BaTTeRY INsTaLLaTION Note: Adult assembly is required for battery installation. Tools required for battery installation: Slotted (flat head) screwdriver / coin (not included). • Make sure the video camera is turned OFF. •... -
Page 7: Sd Card Insertion
sD CaRD INseRTION • Make sure Movie Magic DigiCam™ is turned OFF. • Locate the SD card slot at the top of the video camera. • Pull up the rubber cover. • Insert the SD/SDHC card (not included) as illustrated. Once SD/SDHC card is detected and can be used, the default memory will set as SD/SDHC card memory automatically. -
Page 8: Battery Status
CONNeCTING TO a COMPUTeR Connect Movie Magic DigiCam™ to a PC or Mac using the included USB cable. A removable drive called “VTech 1154” will appear. You can transfer files between the unit and computer. If there is a SD card in the unit, the removable drive will show the content in SD card only. -
Page 9: Video Mode
CONNeCTING TO a TV Connect your video camera to a TV or monitor using the included A/V cable. Insert the A/V cable into the A/V port on your video camera. Insert the colored plugs on the A/V cable into the matching color video and audio input ports on your TV set. -
Page 10: Director Mode
DIRECTOR MODE In DIRECTOR mode, you can take video with some funny cartoon themes, which include face-tracking effects. • Select a cartoon theme by pressing the Left Right cursor button and press the OK button to confirm the selection • After you have confirmed the theme, you will see the 4-directional effect icons on the screen. - Page 11 • Press the Up or Down cursor button as a short cut to view your photo right away. Then you can press the Left or Right cursor button to return to the shooting screen. NOTE: Turn the self-timer on in the Settings menu to allow a count down period before taking a photo.
- Page 12 1. Photo Swap Some puzzles have been swapped around incorrectly, press the cursor buttons to get to the position you want, then press the OK button swap the puzzle pieces horizontally to correct them! Your photos will be used to make the puzzles! Take more photos to make the game extra fun! 2.
- Page 13 or move the highlight to to cancel adding an opening and return to the video editing menu. 2. Cut Video Press the Up or Down cursor button to select a function in the cut video menu. A. Set the start point B.
- Page 14 and press the OK button to confirm. The self-timer will be set as OFF every time the unit is turned on. 3. Video Resolution Press the Up or Down cursor button to select the video resolution and press the OK button to confirm.
-
Page 15: Care And Maintenance
• The Movie Magic DigiCam™ Rescuer is to be used to update Movie Magic DigiCam™ only. Do not use this program on any other models of VTech ® products. COMPUTER SYSTEM REQUIREMENTS MOVIE MAGIC DIGICAM™ RESCUER • 1GHz or faster processor •... -
Page 16: Troubleshooting
TROUBLesHOOTING Go through this section if you experience difficulty in operating Movie Magic DigiCam™. Problem Solution Program stops 1. Press the Reset Button with a paper clip. If this working does not solve the problem, please continue with the following steps. 2. - Page 17 There is no picture 1. Make sure that there are batteries in the video on the TV screen camera and that the TV is plugged into a when connecting power outlet. Movie Magic 2. Make sure the video camera is turned on and DigiCam™...
-
Page 18: Disclaimer And Limitation Of Liability
VTech ® Electronics North America, L.L.C. and its suppliers assume no responsibility for any loss or claims by third parties that may arise through the use of this software. VTech ® Electronics North America, L.L.C. and its suppliers assume no responsibility for any damage or loss caused by deletion of data as a result of malfunction, dead battery, or repairs. - Page 19 IMPORTANT NOTE: Creating and developing Preschool Learning™ products is accompanied by a responsibility that we at VTech ® take very seriously. We make every effort to ensure the accuracy of the information which forms the value of our products. However, errors sometimes can occur.
- Page 20 Wrist strap attachment Instructions step 1 Locate the thread loop on the end of the strap. Insert it into the groove behind the bar and then push it through step 2 Feed the end of the strap up through the loop and pull it all the way through step 3 Make sure the loop is securely tightened around...
Need help?
Do you have a question about the Move & Crawl Ball and is the answer not in the manual?
Questions and answers