Advertisement
Available languages
Available languages
FACTORY DECORATIVE DOOR PANEL KIT INSTALLATION
INSTRUCTIONS FOR WARMING DRAWERS
Tools Needed
Phillips screwdriver
1. Install warming drawer as instructed by the installation
instructions provided with the warming drawer.
2. Remove packaging and protective coating from decorative
door panel.
3. Align holes on decorative panel with holes on drawer front of
warming drawer.
4. While holding handle on decorative panel, install 4 top
screws. Open drawer fully and install 2 bottom screws.
Tools and Parts
Gather the required tools and parts before starting installation.
Install Decorative Door Panel
Parts Supplied
Warming Drawer Decorative Door Panel
6 - #8-18 x ½" screws
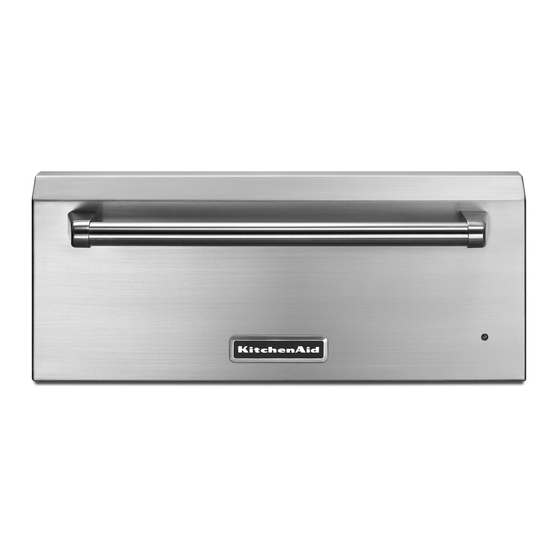
A
B
A. Decorative door panel handle
B. Decorative door panel
C. Warming drawer front
D. 6 - #8-18 x ½" screws
D
C
D
Advertisement
Table of Contents

Related Manuals for KitchenAid W10133235


Summary of Contents for KitchenAid W10133235
- Page 1 FACTORY DECORATIVE DOOR PANEL KIT INSTALLATION INSTRUCTIONS FOR WARMING DRAWERS Tools and Parts Gather the required tools and parts before starting installation. Tools Needed Parts Supplied Phillips screwdriver Warming Drawer Decorative Door Panel 6 - #8-18 x ½" screws Install Decorative Door Panel 1.
- Page 2 ENSEMBLE D’USINE - PANNEAU DE PORTE DÉCORATIF POUR TIROIR-RÉCHAUD - INSTRUCTIONS D’INSTALLATION Outillage et pièces Rassembler les outils et pièces nécessaires avant de commencer l’installation. Outils nécessaires Pièces fournies Tournevis Phillips Panneau de porte décoratif pour tiroir-réchaud 6 vis n° 8-18 x ½" Installation du panneau de porte décoratif 1.
Need help?
Do you have a question about the W10133235 and is the answer not in the manual?
Questions and answers