Table of Contents
Advertisement
Quick Links
Advertisement
Table of Contents

Related Manuals for Dymo LabelManager 500 Touch Screen Label Maker


Summary of Contents for Dymo LabelManager 500 Touch Screen Label Maker
- Page 2 Sanford, L.P. Trademarks DYMO, DYMO Label, and LabelManager are registered marks in the US and other countries. All other trademarks are the property of their respective holders. “Sans” is a DejaVu font. The DejaVu fonts are based on Vera fonts copyright © by Bitstream, Inc. Glyphs in the DejaVu...
-
Page 3: Table Of Contents
Contents About Your New Label Maker ............6 Registering Your Label Maker . - Page 4 Installing DYMO Label Software ........
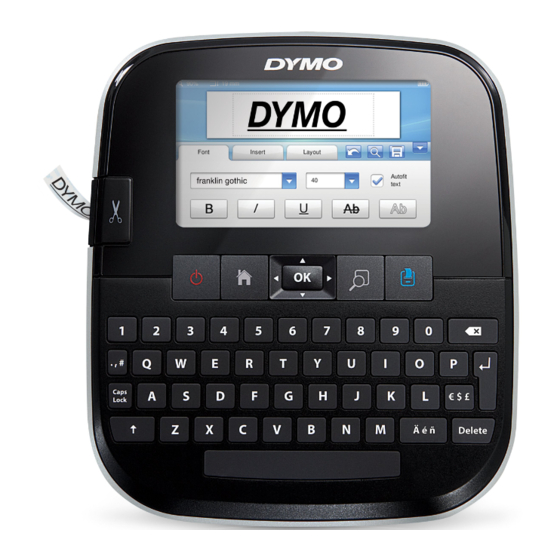
- Page 5 Figure 1 LabelManager 500TS label maker USB connector Return Symbols - Punctuation Power connector Symbols - Currency Home Touch screen Delete On/Off Accented characters Cutter Print Space bar Label exit slot Print preview Shift Navigation Backspace Caps Lock...
-
Page 6: About Your New Label Maker
The label maker uses The charging adapter is only used for recharging the DYMO D1 label cassettes in widths of 1/4”, 3/8”, 1/2”, battery pack. 3/4”, or 1”. Labels are available in a wide range of colors. -
Page 7: Using The Label Maker For The First Time
Using the Label Maker for the First Time When the label maker power is turned off automatically, the current label text and formatting are remembered and The first time you turn on the power, you are asked to will be displayed when power to the label maker is turned select the language and label width. -
Page 8: Backspace
Backspace Scrolling a List key deletes the selected objects or characters. Dragging a scroll bar moves you quickly through a menu If no objects or characters are selected, the character to or list. the left of the cursor is deleted. Delete Similar to the backspace key, the key deletes the... -
Page 9: Changing The Font Type
Changing the Font Type Inserting Symbols You can change the font type for some or all of the text The label maker supports a variety of useful symbols that on your label. you can quickly add to your labels. To change the font type To insert a symbol If necessary, select the existing text to change. -
Page 10: Inserting Barcodes
To set the time To insert a barcode on the Home screen. Select Auto-fields and Barcodes on the Insert tab. Select Time from the settings list. Tap Barcode. Select the current hour and minutes. The Insert Barcode dialog box appears. Do one of the following: Select a barcode type from the Barcode type list. -
Page 11: Inserting International Characters
Inserting International Characters Editing the Label Layout The label maker supports the extended Latin Several layout options are available to enhance the character set. appearance of your labels. You can add a border to your label, change the alignment and direction of the text, and Pressing followed by a letter displays all of the create fixed-length labels. -
Page 12: Using Vertical Text
Save. deleted. Downloading Labels Using DYMO Label™ software on your computer, you can create labels from a database file and download the labels to the label maker. See Using the Label Maker with Your Computer on page 16 for more information about creating and downloading labels. -
Page 13: Clearing Recently Printed Labels
Editing Labels and Folders To delete custom clip art You can rename, cut, copy, and paste labels and folders on the Home screen. to keep your labels organized. Select Manage Files from the Settings list. To rename a label or folder Tap Downloaded Clip Art. -
Page 14: Turning Off Auto-Cut
Turning off Auto-Cut To change the label width When the auto-cut feature is turned on, each label is on the Home screen. automatically cut after printing. This feature is on by Select Label from the Settings list. default. However, you can turn off auto-cut. Select the width of the label currently inserted in the To turn off auto-cut printer from the Label width list, and then tap Done. -
Page 15: Changing User Settings
Changing User Settings To clean the print head You can set the language, date and time format, units of Remove the label cassette. measure, font, and word suggestion settings for each Remove the print head cleaning tool from inside the user individually. -
Page 16: Using The Label Maker With Your Computer
DYMO Label v.8.4 or later). To connect the label maker to your computer You can also use DYMO Label software to do the Plug the USB cable into the USB connector at the following: top of the label maker. -
Page 17: Using Dymo Label Software
LabelManager 500TS User Guide Viewing the Label Maker Status The label maker status is displayed in the DYMO Label software Print area. The following table describes the possible states of the label maker. Label maker is connected and battery pack is charging Label maker is connected and battery pack is charging;... -
Page 18: Troubleshooting
Carefully peel away the backing from the label. If you need further assistance, visit the DYMO Web site at www.dymo.com. Documentation Feedback We are constantly working to produce the highest quality documentation for our products. We welcome your feedback. -
Page 19: Safety Precautions For Lithium Polymer Rechargeable Battery Pack
The crossed-bin symbol marked on your device indicates you should use these systems. If you need more information on the collection, reuse, and recycling of this product, please contact your local or regional waste administration. You can also contact DYMO for more information on the environmental performance of our products.
Need help?
Do you have a question about the LabelManager 500 Touch Screen Label Maker and is the answer not in the manual?
Questions and answers