Table of Contents
Advertisement
DYMO
Tel: 800.426.7827 or 203.355.9000
Fax: 203.355.9090
www.dymo.com
DYMO, AN ESSELTE BRAND
© 2000 DYMO Corporation.
DYMO is a registered trademark of the Esselte Corporation.
Part 47000-003 04.00
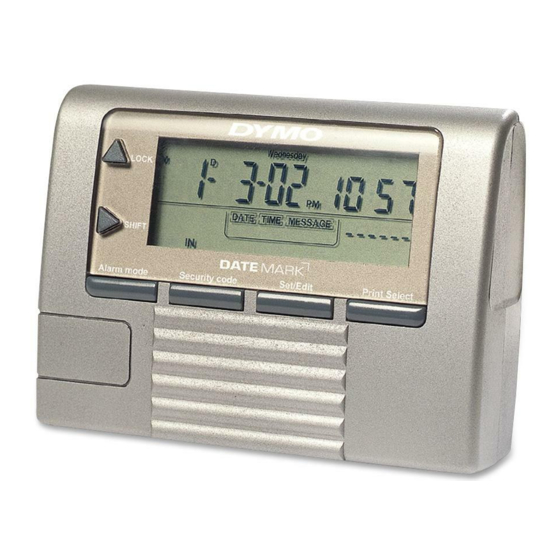
Electronic
Date/Time Stamper
User Guide
IMPORTANT!
Please read ALL instructions carefully
before operating.
Your DYMO Electronic Date/Time Stamper will
save you time and increase your productivity.
Here are just some of its advanced features:
• Automatically prints Date and/or Time.
• Prints 7 preprogrammed messages and
4 or 6 digit auto-numbering.
• LCD displays message, date, and time.
Advertisement
Table of Contents

Related Manuals for Dymo Electronic Date/Time Stamper


Summary of Contents for Dymo Electronic Date/Time Stamper
-
Page 1: User Guide
Tel: 800.426.7827 or 203.355.9000 Fax: 203.355.9090 www.dymo.com DYMO, AN ESSELTE BRAND © 2000 DYMO Corporation. DYMO is a registered trademark of the Esselte Corporation. Part 47000-003 04.00 IMPORTANT! Please read ALL instructions carefully before operating. Your DYMO Electronic Date/Time Stamper will save you time and increase your productivity. -
Page 2: Table Of Contents
Usage Tips To maintain your stamper at peak operating performance, please follow these guidelines: 1. Do not touch the printer head or belt when the unit is printing. This will cause the printer to malfunction and require servicing. 2. Immediately replace LCD display cell-battery if the BATT indicator lights up on the LCD. -
Page 3: Getting Started
(use ball point pen). Repeat steps 1-4 above. Low Cell Battery Detection Your DYMO Electronic Date/Time Stamper automatically checks itself every hour to detect a low display battery (3-volt Lithium battery). If display battery level is low BATT will turn on in the LCD. -
Page 4: Printer Error/Reset
Or simply insert a new Ink Roller (DYMO SKU 47001) 4. Replace the ink roll compartment door. Printer Error/Reset (P-RESET) If the AA batteries are weak or there is a printer error the LCD will start flashing P-RESET. -
Page 5: Stamping/Printing Options
NOTE: If you go past the current year, you will need to press the LOCK button to cycle through the year 2189, and back up to the current year. 4. Once you are finished setting the Date and Time press the SET/EDIT button to return to normal display. -
Page 6: Auto-Numbering
pattern press the ALARM MODE button to finish print programming and return to normal display. Auto-numbering Your Date/Time Stamper allows you to use either 4 or 6 digit auto numbering Follow the instructions below for setup: 1. Press and hold the PRINT SELECT button for 2 seconds, the DATE field will start flashing. -
Page 7: Deactivating The Alarm
3. To move on to the next field press the PRINT SELECT button, and repeat instruction 2 for each subsequent field. 4. Your DYMO Electronic Date/Time Stamper can print any combination of the following items: • Date, Time, Message [IN, OUT, PAID,... - Page 8 CODE EDIT mode, allows you to navigate between the available fields. Allows you to set security code. Press to Allows you display time to enter alarm will program mode. sound. PRINT SELECT Press to select message to be printed. www.dymo.com...