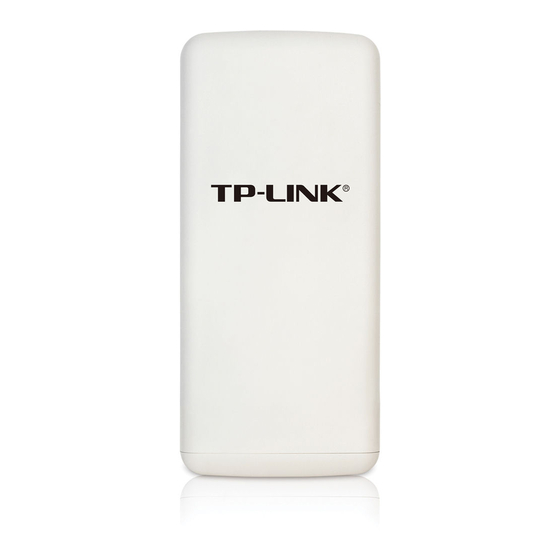
TP-Link TL-WA5210G Installation Manual
Tl-wa5210g v1 qig 7106503701
Hide thumbs
Also See for TL-WA5210G:
- User manual (114 pages) ,
- User manual (87 pages) ,
- Installation manual (152 pages)
Table of Contents
Advertisement
1
Typical network
TL-WA5210G is used for remote point-to-point connection. It makes remote
internet share possible.
The typical connection for TL-WA5210G is shown as above. Please make
Note
sure that the two CPEs are placed face to face, otherwise the wireless
signal strength might be weak. Here shows several incorrect examples.
Note
If you are using an external antenna to connect, please refer to Appendix 1.
1
Advertisement
Table of Contents

Subscribe to Our Youtube Channel
Summary of Contents for TP-Link TL-WA5210G
- Page 1 Typical network TL-WA5210G is used for remote point-to-point connection. It makes remote internet share possible. The typical connection for TL-WA5210G is shown as above. Please make Note sure that the two CPEs are placed face to face, otherwise the wireless signal strength might be weak.
-
Page 2: Connecting The Device
Connecting the device Note Please use only wired network connections to configure the AP. Locate a suitable mounting site for your CPE. For choosing the best location, select an elevated location where trees, buildings and large steel structures will not obstruct the antenna signals and which offers maximum line-of-sight propagation with the users. - Page 3 The connection will be similar to the figure below after the above steps are finished. If you use two CPEs to build the network, please make sure that the two CPEs are placed face to face. Turn on all your network devices and then check to see if the LEDs on the AP display normally as the diagram below describes.
-
Page 4: Login
Configuring the device You will need to assign your computer a Static IP address within the same Note range as the AP’s IP address. See the Troubleshooting T3 if you need assistance. Login Open your web browser and type http://192.168.1.254 in the address bar and press Enter A dialog box will prompt you for the User name and Password. -
Page 5: Operation Mode Setting
If you want to set it as a router, please choose AP Router mode, and fo r further configuration, please refer to the user guide in the resource CD; c) If you want to set up a point-to-point connection with TL-WA5210G, please skip to B;... -
Page 6: Configuration For Point-To-Point Connection
Enter the SSID provided by your WISP Click Next Click Finish to exit the Quick Setup wizard and wait until the AP completes rebooting automatically. The changes will take effect after rebooting. Click Finish Configuration for Point-to-Point Connection Note Two TL-WA5210Gs are needed for this application. The AP Setting Select AP Click Next... -
Page 7: Client Setting
Enter TP-LINK_900008, the SSID of the first AP you have configured Click Save at the bottom of this page. Configuration for Repeater To make sure the TL-WA5210G is under AP mode, please follow the steps below. Click Operation Mode Select AP Click Save... -
Page 8: Antenna Alignment
Click Wireless > Wireless Mode Select Repeater Click Survey This page will then display. Find the BSSID of the remote AP that you want to repeat, and then click Connect on the right side of the line. Note The BSSID is the same as the MAC address. Then click Save at the bottom of this page. -
Page 9: Appendix 1: External Antenna Installation
RP-SMA port of your CPE directly. 2. If you don’t have any external antennas, you are recommended to use TP-LINK products for outdoor solution. You could choose TL-ANT2424B (external antenna), TL-ANT24SP (Surge Protector), and TL-ANT24PT3 (Pigtail Cable) to connect as the following steps: Connect one side of the TL-ANT24SP to the RP-SMA port of your CPE through the TL-ANT24PT3. -
Page 10: Login
Login Open your web browser and type in http://192.168.1.254 in the address bar and press Enter A dialog box will prompt you for the User name and Password. Ente r the default values and click OK. User name: admin Password: admin Click OK Configure the external antenna Click Wireless Setting... - Page 11 Appendix 2: Troubleshootin g How do I restore my AP’s configuration to its factory default settings? With the AP powered on, press and hold the RESET button fo r about 8 seconds before releasing Hold it for about 8 seconds Once the AP is reset, the current configuration settings will be lost and you Note will need to reconfigure the router.
- Page 12 Click Network Connections Right-click Local Area Connection Click Properties Double-click Internet Protocol ( TCP/IP )
- Page 13 Select Use the following IP address Enter the 192.168.1.100 into the IP address field, 255.255.255.0 into the Subnet mask field Select Use the following DNS server addresses Enter the DNS server address provided by your ISP or network administrator Click OK For Windows 7 OS Go to Start >...
- Page 14 Click Change adapter settings Right-click Local Area Connection Click Properties Double-click Internet Protocol Version 4 (TCP/IPv4)
- Page 15 Select Use the following IP address Enter the 192.168.1.100 into the IP address field, 255.255.255.0 into the Subnet mask field Select Use the following DNS server addresses Enter the DNS server address provided by your ISP or network administrator Click OK...
-
Page 16: Technical Support
9:00 AM to 6:00 PM E-mail: support.usa@tp-link.com Service time: 24hrs, 7 days a week Indonesia Tel: (+62 ) 021 6259 135 Malaysia E-mail : support.id@tp-link.com Tel: 1300 88 875465 (1300 Service time : Monday to Friday 88TPLINK) 9:00 -12:00 ; 13:00 -18:00 Email: support.my@tp-link.com...


Need help?
Do you have a question about the TL-WA5210G and is the answer not in the manual?
Questions and answers