Table of Contents
Advertisement
Quick Links
Advertisement
Table of Contents

Related Manuals for Directed Audio 2400


Summary of Contents for Directed Audio 2400
- Page 1 2400...
-
Page 2: Table Of Contents
Directed Audio power amplifiers are covered by a one-year, parts-and- labor limited warranty. Be sure to retain your original sales receipt and refer to the warranty section of this guide for full details about your coverage. © 2002 Directed Electronics, Inc... -
Page 3: Limited Two-Year Consumer Warranty
LIMITED TWO-YEAR CONSUMER WARRANTY Directed Electronics, Inc. promises to the original purchaser, to replace this product should it prove to be defective in workman- ship or material under normal use, for a period of two years from the date of... -
Page 4: Features
They may also impair a driver’s ability to produce hear traffic sounds or emergency vehi- cles. Use common sense and practice safe listening habits when listening to or adjusting your audio system. © 2002 Directed Electronics, Inc... -
Page 5: Installation Guidelines
7. Always fuse your power connection within 8 to 10 inches of the battery © 2002 Directed Electronics, Inc terminal. Use a fuse or circuit breaker rated slightly more than the on-board fuse(s) amplifier(s). -
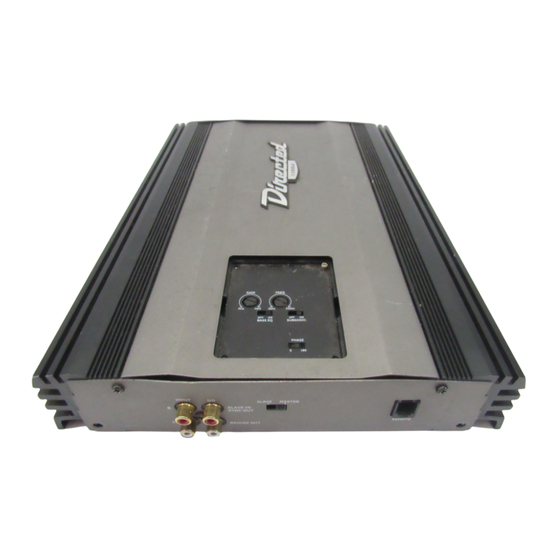
Page 6: Front Panel Connections/Status Led
2. R R C C A A I I n n p p u u t t J J a a c c k k s s - Accepts line level outputs from head units or signal processors at voltages between 150mV and 8 volts. FIGURE 1—AMPLIFIER CONNECTIONS 2400 FRONT 10. Due to the high-frequency MOSFET switching power supply, filtering the power cable is not generally required (remember that the amp can’t deliver full output if the power... -
Page 7: Rear Panel Connections
4. R R e e m m o o t t e e T T u u r r n n O O n n - This terminal turns on the amplifier when (+) 12 volt is applied to it. Connect it to FIGURE 2—AMPLIFIER CONNECTIONS 2400 REAR © 2002 Directed Electronics, Inc the remote turn on lead of the head unit or signal source. -
Page 8: Top Panel Controls
Remove/Install Four Allen-head screws hold the control panel cover to the amplifier top panel, one at each corner. They can be removed with the wrench supplied in the hardware pack. © 2002 Directed Electronics, Inc... -
Page 9: Speaker Wiring Diagrams
SPEAKER WIRING DIAGRAMS Stereo operation (top view) Mono operation (top view) Simultaneous stereo/mono operation (top view) © 2002 Directed Electronics, Inc... -
Page 10: Crossover Settings And Gain Adjustment
Again, plan on spending some time with music that you know getting the gain and crossover settings the way you like. Test discs and analyzers may help with this process, but in the end it's your ears that count - listen to the music! © 2002 Directed Electronics, Inc... -
Page 11: Specifications
Input Sensitivity volt Output Impedance Supply Voltage Fusing and Power Minimum Cable Requirements (AWG) (Per amp, trunk mounted) © 2002 Directed Electronics, Inc Directed model 2400 125 watts 200 watts 400 watts 550 watts Greater than 95 dB 20-20,000 Hz ± 0.5 dB... - Page 12 Quality Directed products are sold and serviced throughout North America and around the world Call 800 274 0200 for more information about our products and services © 2002 Directed Electronics, Inc. - All rights reserved - G45026 02/02 The company behind this system is Directed Electronics, Inc.
Need help?
Do you have a question about the 2400 and is the answer not in the manual?
Questions and answers