
Related Manuals for Visioneer 3100 USB


Summary of Contents for Visioneer 3100 USB
- Page 1 Visioneer ® USB Flatbed Scanner Installation Guide ™ 3100 & 6100 USB Series F O R W I N D O W S...
- Page 2 Visioneer’s Limited Product Warranty If you find physical defects in the materials or the workmanship used in making the product described in this document, Visioneer will repair, or at its option, replace, the product at no charge to you, provided you return it (postage prepaid, with proof of your purchase from the original reseller) during the 12-month period after the date of your original purchase of the product.
-
Page 3: Table Of Contents
........8 Using the Visioneer Scan Manager . - Page 4 ABLE OF ONTENTS...
-
Page 5: Welcome
ELCOME Congratulations on purchasing your Visioneer USB flatbed scanner. With your scanner, you can quickly scan paper documents and color photos to place their electronic images on your computer. ’ S IN THE Before starting the installation, check the contents of the box to make sure that all parts are included. -
Page 6: What You Need
USB F ISIONEER LATBED CANNER NSTALLATION UIDE To use the scanner and software, you need the following: • IBM PC (or 100-percent compatible) Pentium or equivalent • Microsoft Windows 98 • One available Universal Serial Bus (USB) port on your computer •... -
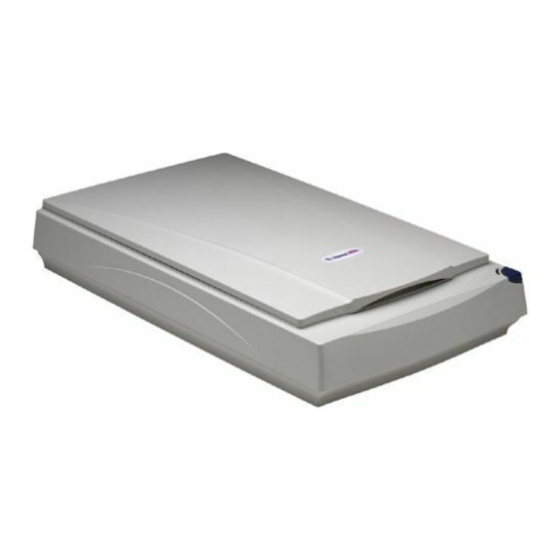
Page 7: The Scanner
CANNER CANNER Document cover Document pad Glass Reference frame Button USB port Power jack Document cover. Close the document cover after placing items on the scanner glass. Document pad. Helps to secure the document in place on the scanner glass. Glass. -
Page 8: Getting Help
USB F ISIONEER LATBED CANNER NSTALLATION UIDE ETTING The PaperPort software includes a complete help system that answers questions about the scanner and its software. If you have questions or the scanner doesn’t seem to work correctly, please use the help. To get help while using the PaperPort software: •... -
Page 9: Connecting The Scanner To Your Computer
If the plug does not attach easily, make sure that you are plugging it in correctly. Do not force the plug into the connection. 3. Plug the power adapter cable into the jack on the Visioneer scanner. - Page 10 USB F ISIONEER LATBED CANNER NSTALLATION UIDE 4. Plug the power adapter into an AC (wall) outlet. The power-on light on the front of the scanner comes on indicating the scanner is receiving power. The following diagram shows the cable connections to a computer with a USB port.
-
Page 11: Setting Up The Scanner
Twain devices installed on your computer. 3. Choose the Visioneer Scan Manager, and then click Select. Your scanner is now set to scan with the PaperPort software. Note: You don’t need to complete Steps 2 and 3 again, unless you... -
Page 12: Scanning An Item
Twain icon in PaperPort. You can scan many types of items, from small business cards to A4-sized pages. The Visioneer scanner also has special settings for scanning color photos and fine print (like the fine print on a contract). For more information about scanner settings, see “Adjusting Scanner Settings”... - Page 13 3. Click the Twain icon on the PaperPort software’s Command Bar, or choose Acquire from the File menu. The Visioneer Scan Manager dialog box appears. Note: For additional details about the Scan Manager’s features click the Help Button in the Visioneer Scan Manager.
-
Page 14: Using The Visioneer Scan Manager
USB F ISIONEER LATBED CANNER NSTALLATION UIDE SING THE ISIONEER ANAGER Select a scanner setting appropriate for how you want to use the scanned item. If you want to adjust Preview the item in the size of the scan ar- the preview window. -
Page 15: Adjusting Scanner Settings
DJUSTING CANNER ETTINGS 4. When you are satisfied with the preview item, click the Scan button on the Visioneer Scan Manager dialog box to scan the item. The scanned item appears in PaperPort. Thumbnail item DJUSTING CANNER ETTINGS You can adjust the scanner settings to fine-tune the scanned item. -
Page 16: Selecting A Predefined Scanner Setting
The scanner setting determines the resolution of the item and the number of possible shades of gray or color. These selections affect the speed of the scan and the file size. The Visioneer Scan Manager Dialog gives you the approximate size of the scan. -
Page 17: Customizing A Scanner Setting
4. Drag the slider bars for the brightness and contrast to set those features for the new setting. 5. Click Close to return to the Visioneer Scan Manager dialog box. 6. Click the Save As button. The Save As dialog box appears. -
Page 18: Scanning In Color
1. Do one of the following: press the Button on the scanner, click the Twain icon on the Command Bar, or choose Acquire from the File menu. The Visioneer Scan Manager dialog box appears. 2. Click Color Document—Faster or Color Document—Better Quality. -
Page 19: Adjusting The Brightness And Contrast
1. Do one of the following: press the Button on the scanner, click the Twain icon on the Command Bar, or choose Acquire from the File menu. The Visioneer Scan Manager dialog box appears. 2. Click the Advanced Settings button. The Advanced Settings dialog box appears. -
Page 20: Selecting The Area Of The Item You Want To Scan
To select the area you want to scan: 1. Click the Twain icon on the Command Bar, or choose Acquire from the File menu. The Visioneer Scan Manager dialog box appears. 2. Click the Preview button. An image of the scanned item appears in the Preview area. -
Page 21: Cleaning The Scanner Glass
LEANING THE CANNER LASS LEANING THE CANNER LASS Scanning items that have excessive amounts of dirt or dust may dirty the glass. To ensure the best quality scanned item, wipe the scanner glass with a soft clean cloth to rid the glass of dust or other debris. -
Page 22: Paperport 3100 & 6100 Usb Scanner Specifications
6100 USB: 36-Bit color (internal), 12-Bit gray (internal), 1-Bit line art/text Scanning resolution Optical resolution: 3100 USB: 300 x 600 dpi 6100 USB: 600 x 1200 dpi Maximum resolution (interpolated): 2400 x 2400 dpi Maximum Item sizes 8.5 x 11.69 inches (21.6 x 29.7 cm)
Need help?
Do you have a question about the 3100 USB and is the answer not in the manual?
Questions and answers