Table of Contents
Advertisement
Quick Links
Download this manual
See also:
User Manual
RAID Migration Instructions
The Intel Matrix Storage Console offers the flexibility to upgrade from a single Serial
ATA (SATA) hard drive to RAID configuration when an additional SATA hard drive is
added to the system. This process will create a new RAID volume from an existing
disk. However, several important steps must be followed at the time the system is
first configured in order to take advantage of RAID when upgrading to a second
SATA hard drive:
1. BIOS must be configured for RAID before installing W indows on the single
SATA hard drive. Refer to On-Chip ATA Devices for properly setting of
the BIOS.
2. Install the Intel Application Accelerator RAID Driver during W indows Setup.
Refer to Installing Software for instructions on installing the driver dur-
ing W indows Setup.
3. Install the Intel Matrix Storage Console after the operating system is installed.
To create a volume from an existing disk, complete the following steps:
Important
A Create from Existing Disk operation will delete all existing data from the
added disk and the data cannot be recovered. It is critical to backup all
important data on the added disk before proceeding. However, during the
migration process, the data on the source disk is preserved.
After the Intel Matrix Storage Console has been successfully installed and the sys-
tem has rebooted, click on the Intel Application Accelerator shortcut link (Start --> All
Programs --> Intel M atrix Storage Manager --> Intel Matrix Storage Console)
and the following window will appear:
Intel ICH9R SATA RAID
C-15
Advertisement
Table of Contents

Related Manuals for MSI P35 NEO2-FR - Motherboard - ATX


Summary of Contents for MSI P35 NEO2-FR - Motherboard - ATX
-
Page 1: Raid Migration Instructions
Intel ICH9R SATA RAID RAID Migration Instructions The Intel Matrix Storage Console offers the flexibility to upgrade from a single Serial ATA (SATA) hard drive to RAID configuration when an additional SATA hard drive is added to the system. This process will create a new RAID volume from an existing disk. -
Page 2: Create Raid Volume From Existing Disk
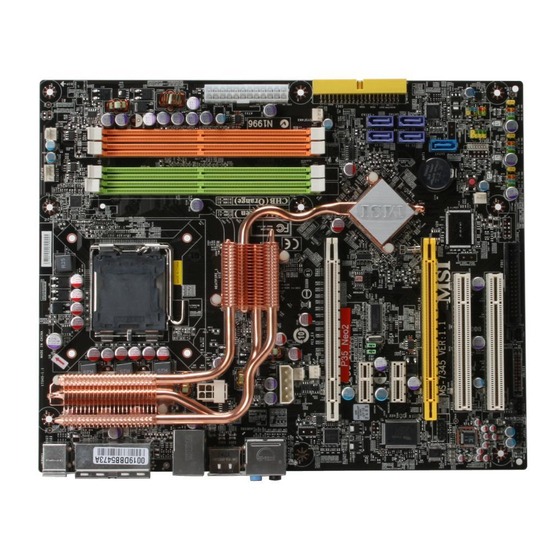
M S-7345 M ainboard Create RAID Volume from Existing Disk To create a RAID volume from an existing disk, choose Action --> Create RAID Volume from Existing Hard Drive. Note: The “Action” button only appears in advance mode. To enable the advance mode, go to View -->... - Page 3 Intel ICH9R SATA RAID (1) Step 1: Configure Volume Here you can configure the new RAID volume by entering the volume name, selecting the RAID level and strip size. † RAID Volume Name: A desired RAID volume name needs to be typed in where the ‘RAID_Volume1’ text currently appears above.
- Page 4 M S-7345 M ainboard expensive (requiring read-in prior to write, in order to be able to calculate the correct parity information), or similar to RAID-1 writes. The write efficiency depends heavily on the amount of memory in the machine, and the usage pattern of the array.
- Page 5 Intel ICH9R SATA RAID (3) Select Member Hard Drive(s) Then select the member disk (the target disk) that you wish to use and then click “- -->” to move it to the Selected field. Then click Next to continue. Please note that the existing data on the selected hard drive(s) will be deleted permanently.
- Page 6 M S-7345 M ainboard (4) Specify Volume Size Specify the amount of available array space to be used by the new RAID volume. You may enter the amount in the space or use the slider to specify. It is recommended you use 100% of the available space for the optimized usage.
- Page 7 Intel ICH9R SATA RAID (6) Start Migration The migration process may take up to two hours to complete depending on the size of the disks being used and the strip size selected. A dialogue window will appear stating that the migration process may take considerable time to complete, meanwhile a popup dialogue at the taskbar will also show the migration status.
-
Page 8: Degraded Raid Array
M S-7345 M ainboard Degraded RAID Array A RAID 1, RAID 5 or RAID 10 volume is reported as degraded when one of its hard drive members fails or is temporarily disconnected, and data mirroring is lost. As a result, the system can only utilize theremaining functional hard drive member. To re- establish data mirroring and restore data redundancy, refer to the procedure below that corresponds to the current situation. - Page 9 Intel ICH9R SATA RAID 5. Exit Intel RAID Option ROM, and then reboot to W indows system. 6. W hen prompted to rebuild the RAID volume, click 'Yes'. 7. The Intel(R) Storage Utility will be launched. Right-click the new hard drive and select 'Rebuild to this Disk'.
Need help?
Do you have a question about the P35 NEO2-FR - Motherboard - ATX and is the answer not in the manual?
Questions and answers