Advertisement
Quick Links
______________________________________________________________
C
ARVIN
X-AMP
Tube Guitar Amplifiers
OPERATION MANUAL
Manual 96-00100
Revision 2.0
Dec 1990
Covers the Following Models
X-50B, X-100B
X60, XT112, XV112, XV212
(800)854-2235
__________________________________________________________________
Advertisement

Related Manuals for CARVIN X-AMP


Summary of Contents for CARVIN X-AMP
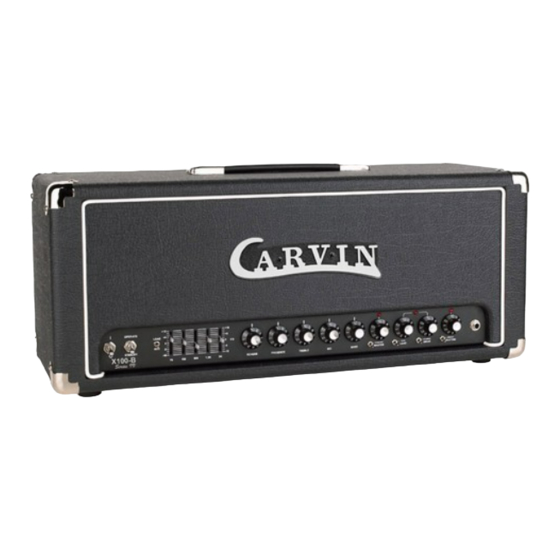
- Page 1 ______________________________________________________________ ARVIN X-AMP Tube Guitar Amplifiers OPERATION MANUAL Manual 96-00100 Revision 2.0 Dec 1990 Covers the Following Models X-50B, X-100B X60, XT112, XV112, XV212 (800)854-2235 __________________________________________________________________...
- Page 2 For the New Owner Quick Start Up Quick Start Up Detail Control Descriptions Front Controls Rear Controls Understanding the X-Amp How to Set Your X-Amp The X-AMP Design Specifications Specifications Service and Technical Information Trouble Shooting Schematic Diagrams Warranty Information...
-
Page 3: Receiving Inspection
We wish to ensure your complete satisfaction and enjoyment with your new X-Amp. If you would like to comment on features or performance of your new X-Amp, please feel free to contact us. Comments from our customers help us improve and further develop our products and our business. - Page 4 Quick Set Up If you're like most new owners, you're probably in a hurry to use your new X-Amp. Here are some brief instructions to get you started. 1) CONNECTING AC POWER • Check and change if necessary the rear AC Voltage Switch to the proper voltage. On some models a switch will not be not found, instead pull out the Fuse Holder (built into the AC cord receptacle) and turn it over to the proper voltage as seen on the holder.This automatically switches the voltage and the fuse to the proper...
- Page 5 EXAMPLES OF X-AMP CONTROL SETTINGS - In order to get your "sound" from the X-amp you will probably need to spend a bit of time trying various combinations of amp settings and guitar settings. We have put together the following "recipes" for various sounds which we hope will get you started.
- Page 6 (Refer to schematic diagram) Signal input to the X-Amp is by way of either the High or Lo input jacks. These are shorting type jacks with input resistor arrangement (R62 & R63) such that the LO input is attenuated 6 dB with respect to the HI input when either jack is used alone.
- Page 7 Power Output—XT112 50 watts rms (145 watts peak) XV112, XV212 100 watts rms (250 watts peak) Speaker(s) XT112/XV112: one Carvin BR12 XV212: two BR12's Adjustable Power Output 25%, 50%, and full power Output Impedance 4, 8, and 16 ohms Output Tubes— XT112...
-
Page 8: In Case Of Trouble
If this is the case, the tube will have to be replaced. Viewing the amp from the rear, V1 is the small tube at the far right. At CARVIN we select this tube for low microphonics. - Page 9 CHANNEL SWITCHING / FOOTSWITCH PROBLEMS a) Verify that the channel switcing and reverb are working properly with the footswitch disconnected. b) If the footswitch is not working, tighten the small set screw in the XLR connector on the footswitch cable. NOTE: this is a reversed—right-hand thread).
-
Page 10: Warranty And Service Information
THE ORIGINAL INVOICE IS REQUIRED TO VERIFY YOUR WARRANTY. Carvin takes no responsibility for any horn driver or speaker damaged by this unit. This warranty is in lieu of all other warranties, expressed or implied. No representative or person is authorized to represent or assume for Carvin any liability in connection with the sale or servicing of Carvin products.
Need help?
Do you have a question about the X-AMP and is the answer not in the manual?
Questions and answers