Advertisement
Package Contents
Check the packaging for the following items. If any is missing or damaged, please contact the place of purchase immediately.
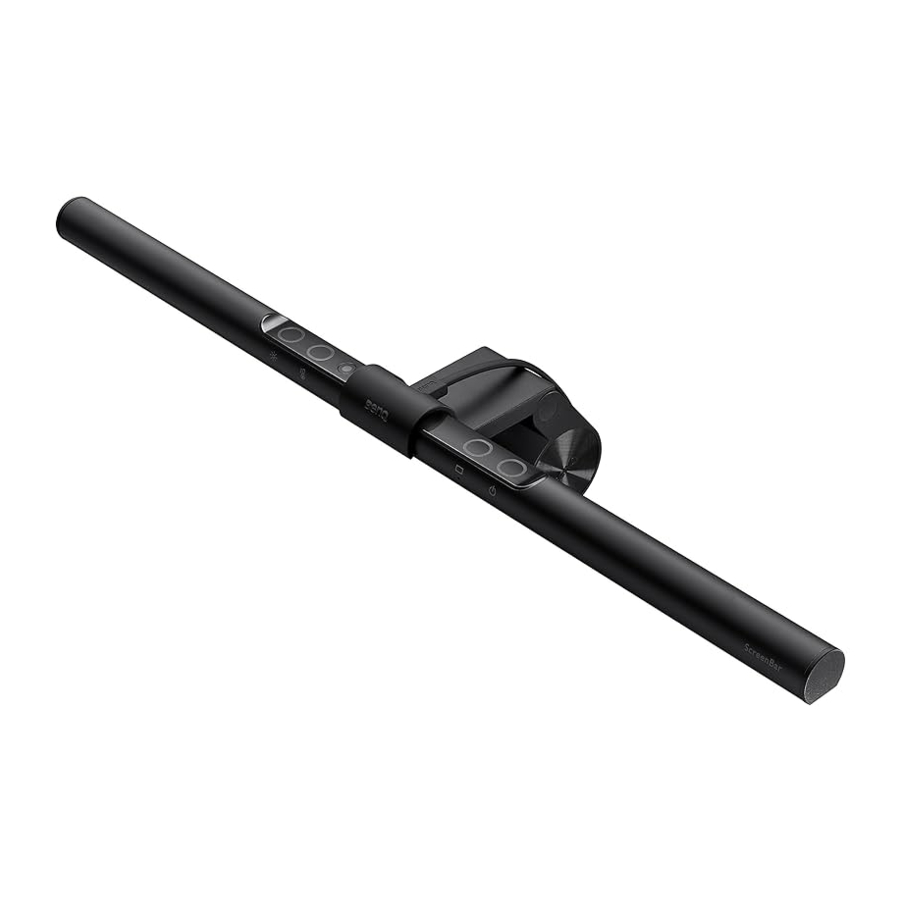
- ScreenBar lamp x 1
- Clip x 1
- USB power cable x 1
 The illustrations in this guide are for your reference only and may look different from the appearance of the actual product.
Installation
- As shown in [Figure
![]() ], insert the ScreenBar lamp into the clip.
], insert the ScreenBar lamp into the clip.

- Rest the clip on top of your monitor [Figures
![]() ,
, ![]() ]. It is recommended that you fit the clip closely against the monitor frame so there is no visible gap in between [Figure
]. It is recommended that you fit the clip closely against the monitor frame so there is no visible gap in between [Figure ![]() ].
].
![information]() The applicable range of the monitor frame thickness is 1cm - 3cm.
The applicable range of the monitor frame thickness is 1cm - 3cm.

- Connect the Micro-USB/Type-C connector of the supplied USB power cable to the MicroUSB/Type-C port on the lamp [Figure
![]() ], and the USB connector to the USB port of your computer [Figure
], and the USB connector to the USB port of your computer [Figure ![]() ]. The lamp will automatically turn ON upon receiving power from the USB port.
]. The lamp will automatically turn ON upon receiving power from the USB port.

 ], insert the ScreenBar lamp into the clip.
 ,
,  ]. It is recommended that you fit the clip closely against the monitor frame so there is no visible gap in between [Figure
  ].
].
 ], and the USB connector to the USB port of your computer [Figure
  ]. The lamp will automatically turn ON upon receiving power from the USB port.
![information]() Do not use a USB extension cable, or a USB cable other than the one supplied. Otherwise the lamp will not function properly.
Do not use a USB extension cable, or a USB cable other than the one supplied. Otherwise the lamp will not function properly.- It is recommended that the lamp's power be supplied by the USB port of your computer. If a portable power bank or AC power adapter is to be used as the power source for the lamp, the power output shall meet the requirement (output voltage: 5V, output current: 1A or above) in order for the lamp to function normally.
- If the Auto Dimmer Mode indicator flashes, make sure you are using the USB cable that is provided and no USB extension cable is being used.
Using the Lamp
Turning on/off the Lamp and Entering Auto Dimmer Mode
Turning on/off the Lamp

To turn on the lamp, touch the power button  on the lamp. To turn off the lamp, touch the power button
  again.
Entering Auto Dimmer Mode
To enter Auto Dimmer Mode, touch the Auto Dimmer Mode button  on the lamp when the lamp is on. The Auto Dimmer Mode indicator will light up. The Auto Dimmer Mode automatically adjusts the lamp's brightness according to the ambient lighting condition and optimizes the color temperature setting.

![information]() Do not block the light sensor on the lamp. Otherwise the Auto Dimmer Mode will not function properly.
Do not block the light sensor on the lamp. Otherwise the Auto Dimmer Mode will not function properly.- If the Auto Dimmer Mode is turned on, the lamp will monitor the ambient lighting condition and dynamically adjust the brightness and color temperature settings.
- The Auto Dimmer Mode will exit automatically and the Auto Dimmer Mode indicator will go off when you manually adjust brightness or color temperature.
![]()
- In circumstances where static electricity is strong, the lamp will enter the Auto Dimmer Mode automatically as a safety measure.

Manually Adjusting Brightness and Color Temperature
Adjusting Brightness

- When the lamp is on, touch the brightness adjustment button
![]() on the lamp. The brightness will change each time you touch the button. You can select from 15 brightness levels.
on the lamp. The brightness will change each time you touch the button. You can select from 15 brightness levels. - You can also adjust brightness by touching and holding the brightness adjustment button
![]() . The lamp's brightness will change gradually and when it reaches your desired level, release the button.
. The lamp's brightness will change gradually and when it reaches your desired level, release the button.
Adjusting Color Temperature

- When the lamp is on, touch the color temperature adjustment button
![]() on the lamp. The color temperature will change each time you touch the button. You can select from 8 color temperature settings: 6500K (daylight), 5700K (cool white), 5000K, 4500K (neutral white), 4000K, 3500K (warm white), 3000K and 2700K (soft white).
on the lamp. The color temperature will change each time you touch the button. You can select from 8 color temperature settings: 6500K (daylight), 5700K (cool white), 5000K, 4500K (neutral white), 4000K, 3500K (warm white), 3000K and 2700K (soft white). - You can also adjust color temperature by touching and holding the color temperature adjustment button
![]() . The lamp's color temperature will change gradually and when it reaches your desired setting, release the button.
. The lamp's color temperature will change gradually and when it reaches your desired setting, release the button.
 on the lamp. The color temperature will change each time you touch the button. You can select from 8 color temperature settings: 6500K (daylight), 5700K (cool white), 5000K, 4500K (neutral white), 4000K, 3500K (warm white), 3000K and 2700K (soft white).
 . The lamp's color temperature will change gradually and when it reaches your desired setting, release the button.
If the power supply is suddenly interrupted, the light will automatically return to its settings before the power outage when the power is restored.
- If the light was on before the power outage, it will automatically turn on when power is restored, and memorize the brightness and color temperature before the power outage.
- If the light was off before the power outage, it will remain off when power is restored.
Maintenance and Troubleshooting
- Turn off the lamp first, and unplug the lamp from the USB port. Wipe any smears or dusts off the lamp's outer casing using a soft, lint-free cloth lightly moistened with a mild detergent solvent. Do not use alcohol or any other chemical solvents like kerosene, naphtha and so on, as the lamp's casing may become damaged.
- Do not rinse the lamp or any of its components directly with water.
- If the lamp does not turn on, check to make sure that there are no loose connections between the USB cable and USB ports.
- If the problem persists, please contact the original place of purchase for help.
Specifications
| Model | AR17 |
| Color rendering index (CRI) | Ra ≥ 95 |
| DC power input | 5V/max. 1A |
| Dimensions (width x depth x height) | 45 x 9 x 9.2 cm |

For Your Safety
- Use only the supplied USB power cable and connect only to USB port power (5V DC, 1A). Otherwise the lamp will fail to work normally or result in a fire hazard.
- In order to prevent any damages to the lamp, do not hang or place any objects on the lamp.
- Route the USB power cable so as to avoid it from being pinched by items placed upon it or against it.
- If the lamp will not be used for a long period of time, unplug it from the USB port.
- The light source contained in this luminaire can't be replaced.

- In case of the following situations, unplug the lamp from the USB port immediately and contact the authorized service center or a qualified service person for inspection or repair:
- When the outer casing of the lamp is broken
- When there are strange odors coming from the lamp
- When the LED light source flickers
- When the insulation of the lamp's wiring is damaged or frayed, and the metal strings inside can be seen
- Do not use the lamp in a humid environment (like in a bathroom or outdoors). Otherwise the components inside may short-circuit and result in accidents.
- This lamp is designed for indoor use only. Do not use it outdoors.
- Never disassemble the lamp or remove any components from it, as doing so may result in accidents and will void the product warranty.
Documents / ResourcesDownload manual
Here you can download full pdf version of manual, it may contain additional safety instructions, warranty information, FCC rules, etc.
Advertisement


Need help?
Do you have a question about the ScreenBar AR17 and is the answer not in the manual?
Questions and answers