Table of Contents
Advertisement
Quick Links
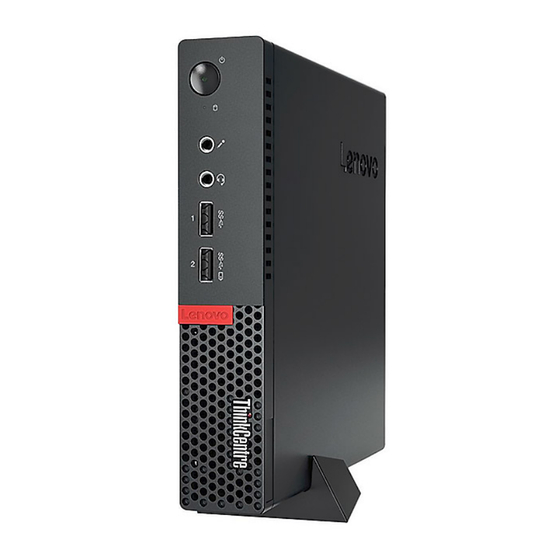
Computador Lenovo ThinkCentre M720
O ThinkCentre M720q Tiny não vai bagunçar sua mesa. Equipados com a
8ª Geração de processadores Intel, com memória e armazenamento de
última geração, é rápido, ágil e versátil! Minúsculo no nome, mas não no
desempenho, este PC compacto também oferece maior segurança,
confiabilidade e eficiência energética.
bztech.com.br
Advertisement
Table of Contents

Related Manuals for Lenovo 10TA


Summarization of Contents
Chapter 1. Overview
Front view
Details the front panel components and connectors of the computer.
Rear view
Details the rear panel components and connectors of the computer.
System board
Illustrates and labels the components on the computer's system board.
Machine type and model label
Explains the location and purpose of the machine type and model label for identification.
Chapter 3. Tips on using the computer
Attaching a Kensington-style cable lock
Instructions on how to secure the computer to a desk or fixture using a cable lock.
Installing the computer into the TIO monitor
Steps for integrating the computer with a Tiny-in-One monitor for setup.
Chapter 4. Replacing hardware
Before replacing hardware
General precautions and essential notes to follow before performing hardware replacement.
Handling static-sensitive devices
Precautions to prevent damage from static electricity when handling computer components.
Knowing FRUs (including CRUs)
Explains Field Replaceable Units (FRUs) and Customer Replaceable Units (CRUs).
Locating FRUs (including CRUs)
Lists FRUs and CRUs and where to find detailed information for replacement.
Replacing the keyboard or wireless keyboard
Instructions for replacing the computer's keyboard or wireless keyboard.
Replacing the mouse or wireless mouse
Steps for replacing the computer's mouse or wireless mouse.
Replacing the power adapter
Detailed instructions for replacing the computer's power adapter.
Replacing the vertical stand
Steps for removing and installing the computer's vertical stand.
Replacing the VESA mount bracket
Instructions for replacing the VESA mount bracket.
Replacing the external optical drive
Steps for replacing the external optical drive.
Replacing the power adapter bracket
Instructions for replacing the power adapter bracket.
Removing the computer cover
Step-by-step guide for safely removing the computer's outer cover.
Replacing the storage drive
Instructions for replacing the internal storage drive.
Replacing the storage drive cable
Steps for replacing the cable connecting the storage drive.
Replacing the PCI Express card and PCI Express card adapter
Instructions for replacing PCI Express cards and their adapters.
Replacing the internal speaker
Steps for replacing the internal speaker component.
Replacing the advanced speaker
Instructions for replacing the advanced speaker component.
Replacing the system fan
Steps for replacing the computer's cooling system fan.
Replacing the heat sink
Instructions for replacing the heat sink assembly.
Replacing the coin-cell battery
Steps for replacing the CMOS coin-cell battery.
Replacing the microprocessor
Detailed instructions for replacing the computer's microprocessor (CPU).
Replacing the Wi-Fi card
Steps for replacing the wireless network (Wi-Fi) card.
Replacing the Wi-Fi antennas
Instructions for replacing the computer's Wi-Fi antennas.
Replacing the antenna bracket
Steps for replacing the antenna bracket.
Replacing the bottom cover
Instructions for replacing the bottom cover of the computer.
Replacing the memory module
Steps for replacing the computer's RAM modules.
Replacing the M.2 solid-state drive
Instructions for replacing the M.2 solid-state drive.
Replacing the system board and chassis
Steps for replacing the main system board and chassis.
Need help?
Do you have a question about the 10TA and is the answer not in the manual?
Questions and answers