
Related Manuals for Ferroli EGEA TECH 260 LT-S


Summarization of Contents
General Information
Recipients of the Manual
Identifies intended audience for the manual and distinguishes content for each.
Guide to the Manual
Explains the manual's structure, compliance, and content.
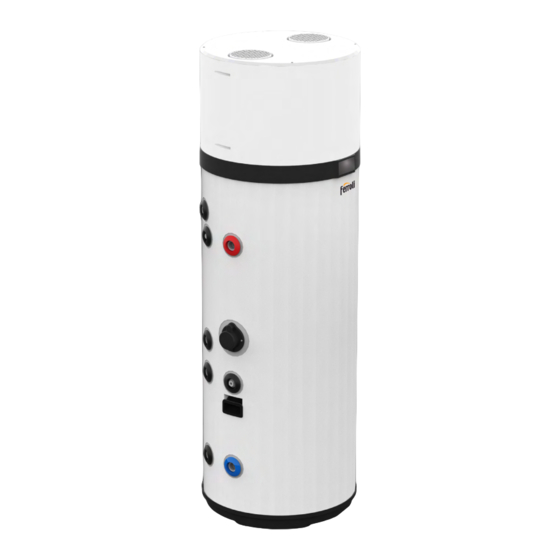
Use of the Water Heater
Basic Safety Rules
Prohibits opening while powered and touching wet surfaces.
Maintenance by the User
Advises turning off the device before cleaning and not pulling the power cord.
General and control panel cleaning
Monthly cleaning with a soft, dry cloth; avoid water and flammable substances.
Operating anomalies / failures
User must switch off, disconnect, and contact technician for issues.
Maintenance by Expert Technician
Any intervention must be by qualified personnel, especially for refrigeration circuits.
Description of the User Interface
Explains the capacitive keys, LED display, and icons for modes and status.
Turning the Water Heater On/Off and Unlocking Keys
Covers the steps for powering the unit on/off and unlocking the control panel.
Standby and OFF Modes
Describes the standby ('Stb') and off ('Off') display states and their functionalities.
Operating Mode Selection
Explains the different operating modes: ECO, BOOSTER, ELECTRIC, VENTILATION, AUTO.
Setting the Hot Water Set-Point
Allows adjustment of water temperature in different modes.
Cascade Functionality
Explains how multiple units can work together, managed by a Master unit.
Accessing User and Installer Menus
Guides on accessing submenus like RTC, FAN, PHV, SG, etc.
Faults and Protection Codes
Lists error codes and display indications for device faults and protections.
Troubleshooting Guide
Provides recommended actions for common malfunctions and issues.
Handling and Transport
"G3 Kit 24L" Accessory
Details the components included in the G3 kit mandatory for installation.
Handling and Unpacking
Instructions for safe handling, unpacking, and checking the packaged unit.
Receipt of Components
Lists accessories and documentation to check upon receipt.
Construction Features
Dimensional Data
Presents diagrams and a table with the unit's dimensions for different models.
Installation and Commissioning
Storage Instructions
Specifies storage conditions: dry place, protected from dust, and ambient temperature limits.
Limits of Use
Prohibits use in hazardous environments or applications requiring higher safety levels.
Operating Limits
Shows a chart with allowed ranges for inlet air and hot water temperatures.
Preparation of the Installation Site
Emphasizes careful site preparation for efficiency and safety, following local regulations.
Floor Fixing
Instructions for securing the unit to the floor using supplied brackets.
Aeraulic Connections
Details standard, cascade, special, and prohibited aeraulic connections.
Hydraulic Connections
Explains connecting cold water supply and outlet lines.
Piping for Domestic Hot Water
Details connecting the hot water system, including G3 kit components.
Solar Thermal System Integration
Explains how to connect the appliance to a solar thermal system.
Electrical Connections
Details requirements for connecting the appliance to the mains electricity supply.
Electrical Diagram
Provides the wiring diagram of the equipment with a list of connections.
Cascade Wiring Diagram
Shows the wiring diagram for connecting multiple units in a cascade.
Commissioning Procedure
Covers checks, cleaning, plant commissioning, and parameter adjustments.
Replacements and Repairs
Power Board Fuse and Thermostat Replacement
Procedures for replacing the power board fuse and electric heater safety thermostat.
Sacrificial Anode Check/Replacement
Explains how to check and replace the sacrificial anode every 1-2 years.
Tank Emptying and Internal Inspection
Procedure for draining the tank and inspecting its interior.
Power Cord Replacement
Instructions for replacing the power cord if damaged, must be done by qualified personnel.
Requirements for Operation, Service, and Installation
General Warnings
Emphasizes that maintenance must be done by qualified personnel and the unit placement.
Maintenance Guidelines
Operator must check specific points during maintenance operations.
Need help?
Do you have a question about the EGEA TECH 260 LT-S and is the answer not in the manual?
Questions and answers