Table of Contents
Advertisement
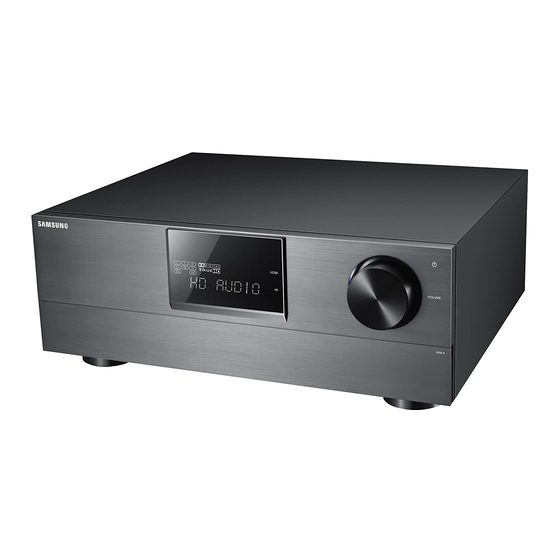
AV Receiver System
HW-C700-C770S-C770BS-XAA_0609.in1 1
HW-C700-C770S-C770BS-XAA_0609.in1 1
user manual
imagine
the possibilities
Thank you for purchasing this Samsung product.
To receive more complete service,
please register your product at
www.samsung.com/register
HW-C700
HW-C700B
HW-C770S
HW-C770BS
2010-06-09
2010-06-09
5:06:29
5:06:29
Advertisement
Table of Contents


Need help?
Do you have a question about the HW-C700B and is the answer not in the manual?
Questions and answers