Table of Contents
Advertisement
Quick Links
SERVICE MANUAL
Ver. 1.0 2012.11
Link (English)
SPECIFICATIONS
DISASSEMBLY
REPAIR PARTS LIST
Link (Japanese)
SPECIFICATIONS
DISASSEMBLY
REPAIR PARTS LIST
分解図につきましては,英語版を
ご参照下さい。
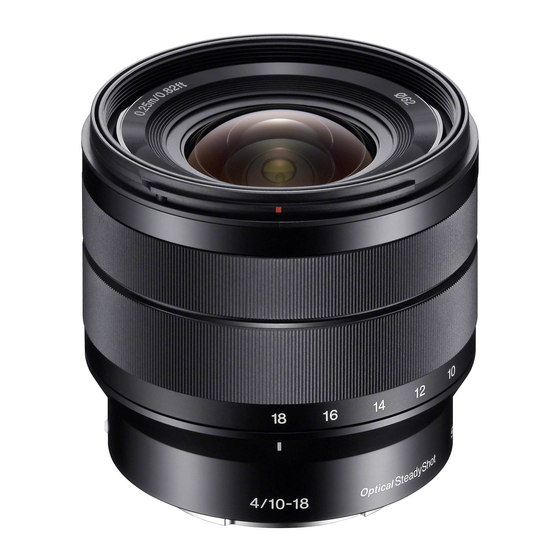
SEL1018 (E 4/10-18 OSS) (E 10-18mm F4 OSS)
9-834-705-11
SEL1018
(E 4/10-18 OSS) (E 10-18mm F4 OSS)
US Model
Canadian Model
AEP Model
Chinese Model
Japanese Model
SERVICE NOTE
SERVICE NOTE
INTERCHANGEABLE LENS
Sony Corporation
Revision History
Revision History
Ver.
Date
History
1.0
2012.11
Official Release
983470511.pdf
S.M. Rev.
Contents
issued
—
—
2012K08-1
© 2012.11
Published by Sony Techno Create Corporation
Advertisement
Table of Contents

Related Manuals for Sony E 10-18mm F4 OSS


Summarization of Contents
SERVICE MANUAL
Revision History
Records changes and updates to the service manual over time.
English Links
Provides links to English resources like specifications and repair parts lists.
Japanese Links
Provides links to Japanese resources like specifications and repair parts lists.
SPECIFICATIONS
Lens Technical Specifications
Details key optical and physical parameters of the lens, including focal length and aperture.
Included Items List
Lists all accessories and documentation provided with the lens package.
Design and Specification Disclaimer
States that design and specifications are subject to change without prior notice.
SERVICE NOTES AND SAFETY
Chemical Handling Precautions
Guidelines for safely managing volatile chemicals used during servicing operations.
Exterior Part Handling
Best practices for cleaning and installing external components to prevent damage.
Unleaded Solder Procedures
Specific instructions and precautions for working with unleaded solder on circuit boards.
Critical Safety Checks Post-Repair
Essential safety inspections to perform after repair before returning the unit.
Optics Block Replacement Procedure
Step-by-step guide for replacing the service-exclusive optics block unit.
DISASSEMBLY PROCEDURES
Repair Notes for Disassembly
Important precautions to observe to prevent damage during disassembly.
Universal Wrench Usage Guide
Instructions on how to use the specialized universal wrench tool for lens disassembly.
Required Service Tools List
Lists specific tools and materials needed for disassembly and repair.
EXPLODED VIEW AND ASSEMBLY NOTES
Exploded View Diagram
Illustrates the lens components with reference numbers for part identification.
Fixed Tube Section Removal Caution
Warning about potential disassembly of the optical block when removing the fixed tube section.
ASSEMBLY HELP SECTIONS
HELP01: Contact Block Assy Folding
Instructions for properly folding the flexible board of the contact block assembly.
HELP02: Zoom Ring Assy Installation
Procedure for installing the zoom ring assembly and checking its operation.
HELP03: Front Tube Assy Assembly
Steps for assembling the front tube, including adhesive application.
ASSEMBLY HELP CONTINUED
HELP04: Ornamental Plate Installation
Steps to affix adhesive tape and install the ornamental plate correctly.
HELP05: Filter Screw Frame Installation
Procedure for attaching the filter screw frame to the optical block.
REPAIR PARTS INFORMATION
Parts List Notes and Disclaimers
Explains notations for standardized parts, non-stocked items, and missing components.
Exploded Parts View Diagram
Visual representation of all replaceable parts with corresponding part numbers.
ACCESSORIES LIST
Accessories for Non-Japanese Models
Lists standard accessories like lens caps, hood, and manuals for international markets.
Accessories for Japanese Models
Lists standard accessories like lens caps, hood, and manuals for the Japanese market.
E-MOUNT LENS GENERAL ADJUSTMENT GUIDE
Adjustment Guide Revision History
Records revisions made to this general guide for E-mount lens adjustments.
General Lens Confirmation and Adjustment
Covers overall procedures for verifying and adjusting E-mount lenses.
ADJUSTMENT PROGRAM PREPARATION
Required Equipment for Adjustment
Lists all necessary hardware and software for performing lens adjustments.
Equipment Connection Setup
Diagram and instructions for connecting the computer, control box, and lens.
Lens Adjustment Program Installation
Steps for downloading and installing the lens adjustment software.
Starting the Lens Adjustment Program
Procedure to launch the adjustment software and initiate communication.
PROJECTIVE RESOLVING POWER CHECK
Lens Test Projector Setup
Instructions for configuring the lens test projector and related equipment.
Resolving Power Check Method
Detailed steps for performing and evaluating the projective resolving power test.
PROJECTIVE RESOLVING POWER CHECK METHOD
Zoom and Focus Adjustment
Procedures for adjusting zoom position and focus during the test.
Projector Focus and Distance Setting
Setting the projector's focus and projection distance for accurate testing.
Reading Resolution Values
Guidance on how to measure and interpret the resolving power readings.
Spurious Resolution Warning
Information on identifying and avoiding misinterpretation of false resolution patterns.
COMPLETING RESOLVING POWER CHECK
Final Value Confirmation and Adjustment
Verifying final lens parameter values and adjusting the projector if necessary.
Concluding the Resolving Power Test
Steps to properly shut down the equipment and exit the test program.
FLANGE BACK CHECK
Required Equipment for Flange Back Check
Lists tools and equipment necessary for performing flange back verification.
Preparations for Flange Back Check
Initial setup and configuration steps before conducting the flange back check.
Need help?
Do you have a question about the E 10-18mm F4 OSS and is the answer not in the manual?
Questions and answers