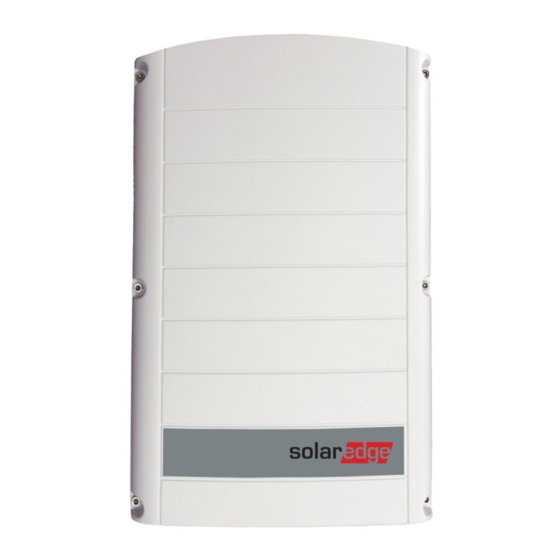
Table of Contents
Advertisement
Advertisement
Table of Contents

Summarization of Contents
Handling and Safety Instructions
Safety Symbols
Explains symbols used in the document to denote hazards and important information.
Introducing the SolarEdge Power Harvesting System
What is the SolarEdge Power Harvesting Solution?
Introduces the system's purpose and components.
Installation Workflow
Provides an overview of the installation steps and their page references.
Transport and Storage
Details guidelines for safely transporting and storing the inverter.
Equipment List
Lists recommended tools and equipment for system installation.
Installing the PowerBoxes
Applicable Notes and Warnings
Highlights important notes and safety warnings specific to PowerBox installation.
Step 1, Mounting the PowerBoxes
Guides on how to securely mount the PowerBoxes to the racking.
Step 2, Connecting Each PV Module to a PowerBox
Explains the process of connecting PV modules to AOB and TFI PowerBoxes.
Step 3, Connecting PowerBoxes in Strings
Details how to connect PowerBoxes in series to form strings for the system.
Installing the Inverter
Identifying the Inverter
Explains how to find the inverter's serial number and electrical ratings.
Selecting the Mounting Location
Provides guidance on choosing an appropriate location and required clearance.
Mounting the Inverter
Outlines the steps for physically mounting the inverter onto its bracket.
Connecting the Inverter
Covers connecting AC and DC wires, including safety warnings.
Residual Current Device
Discusses the internal and external Residual Current Device (RCD) requirements.
Commissioning the Installation
Commissioning – Workflow
Outlines the sequence of steps for activating and commissioning the system.
Step 1, Activating the System
Details the initial steps to power up and activate the inverter and system.
Step 2, Pairing PowerBoxes to the Inverter
Explains the logical pairing process between PowerBoxes and the inverter.
Step 3, Verifying Proper Operation
Describes how to check if the system is operating correctly after activation.
Step 4, Reporting Installation Data
Guides on how to report installation data to the SolarEdge Monitoring Portal.
Replacing and Adding System Components
Modifying an Existing Installation
Explains procedures for modifying an already operational installation.
Replacing the Fans
Provides instructions on how to replace internal and external fans of the inverter.
Inverter User Interface
Inverter LCD Panel and LEDs
Describes the inverter's LCD panel indicators and status LEDs.
Inverter LCD Panel and User Buttons
Explains how to navigate and use the LCD panel and buttons for system status.
Configuring the Inverter Using the SolarEdge Configuration Tool
Details using the software tool for advanced inverter configuration.
Technical Specifications
Three Phase Inverter
Lists detailed technical specifications for the Three Phase Inverter models.
Thin Film PowerBox
Provides technical specifications for the Thin Film PowerBox.
Add-On PowerBox
Provides technical specifications for the Add-On PowerBox.


Need help?
Do you have a question about the SE12k and is the answer not in the manual?
Questions and answers