Advertisement
Advertisement

Related Manuals for Modena RO 9115


Summary of Contents for Modena RO 9115
- Page 1 User Manual Book Water Purifier Igienico Series RO 9115, RO 8115, RO 8101...
- Page 2 Thank you for your trust in choosing MODENA products for your household needs. With your satisfaction as our priority, we constantly aim to deliver stylishly designed products equipped with state-of-the-art technology to assist you in your daily activities. This is your guidebook containing everything you need to know about our product.
-
Page 3: Table Of Contents
CONTENTS PAGE • Introduction • Part 1 : Name of Parts • Part 2 : Installation • Part 3 : How to Use • Part 4 : Maintenance • Part 5 : Precaution Action • Part 6 : Problem & Solution •... -
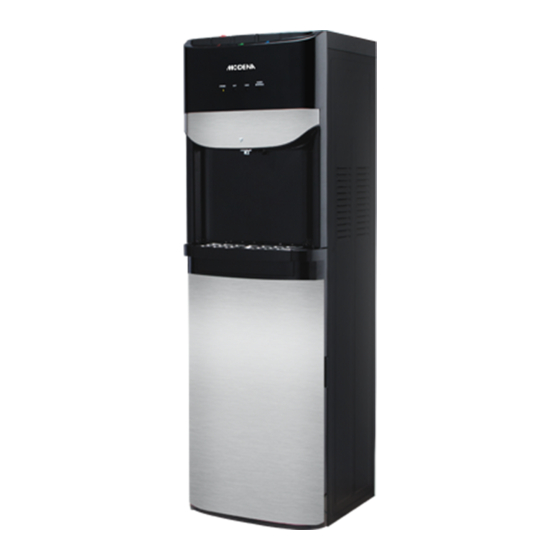
Page 4: Part 1: Name Of Parts
Part 1: Name of Parts RO 9115 (Front) (Side) (Rear) Remarks: 1. Control Panel 7. Cold water drain 13. Water inlet 2. Water tap 8. Cooling switch 14. Base 3. Body of product 9. Power Cord 4. Water collector 10. Water tank drain 5. - Page 5 RO 8115 (Front) (Rear) Remarks: 1. Heating lamp 7. Water collector 13. Hot water drain 2. Cooling lamp 8. Door 14. Condenser 3. Filter change lamp 9. Filter reset switch 15. Water drain 4. Control Panel 10. Heating switch 16. Water inlet 5.
- Page 6 RO 8101 (Front) (Rear) Remarks: 1. Hot water button 7. Filter change lamp 13. Power cord 2. Not available 8. Water tap 14. Water drain 3. Cold water button 9. Water collector 15. Condenser 4. Top cover 10. Door 16. Water drain 5.
-
Page 7: Part 2: Installation
Part 2: Installation Please read this instruction manual carefully before operating the unit to ensure safety and proper usage. Pay attention to the entire sign in either pictures or written explanation. 1. Open the top of the cardboard, take out the foam and accessories. Unpack the product and install the water collector 2. - Page 8 7. Install all filters into the product. Hold the filter in your left hand and filter housing in your right hand, insert it upwards and tighten it by turning it counterclockwise. The filter installation order is: Filter#1 PP → Filter#2 C1 → Filter#3 RO → Filter#4 C2 8.
- Page 9 RO 8115 & RO 8101 9. Insert the PE to the pipe water inlet quick joint and tighten it. 10. When installing or replacing the filters, make sure that the product is turned off and disconnected from power source. 11. Plug the cable to power socket. Ensure that the plug is properly grounded to prevent electrical failure.
- Page 10 ATTENTION! 1. This product is designed for indoor use only 2. Ensure that the filters and pipes are properly installed and the door is tightly closed 3. Avoid installing the product on a damp, wet area, and on places with bad electrical installation.
-
Page 11: Part 3: How To Use
Part 3: How to Use RO 9115 Control Panel: Remark Description UV lamp inside the tank is operating Purifying Product is purifying the water Heating process is complete Heating Heating process is in progress Cold Cooling process is complete Cooling Cooling process is in progress Full Water inside the tank is sufficient... - Page 12 3. Touch the child lock button , hot water will be dispensed. , then touch the hot water button Touch the hot water button again to stop dispensing 4. Touch the cold water button and ambient water button together for 3 seconds to enter the filter reset mode.
-
Page 13: Part 4: Maintenance
RO 8101 Display Panel: From top to bottom: Lamp Description Lamp will turn on when heating process is in progress and will turn off Heating when completed Lamp will turn on when cooling process is in progress and will turn off Cooling when completed Lamp will blink/flash when the filter needs to be replaced. - Page 14 Part 5: Precaution Action a. Place the product in an even and stable surface. Avoid damp areas. Provide a minimum of 20 cm distance from the wall. Do not place flammable materials near the product b. To avoid damaging the product, do not connect the power or turn on the heating switch when the water tank is empty or when there is no water flow c.
- Page 15 If there is damage to the power cord immediately contact the MODENA call center for replacement. Replacing the power cord must be done by personnel with experience and understanding of electricity. Never replace the power cord by yourself, due to the dangers that could lead to harm to you and the others.
-
Page 16: Problem & Solution
Part 6: Problem & Solution Please inspect the following problem and symptoms before contacting the call center: Problem Possible Cause Recommended Action • • Water is not hot nor cold Excessive use of hot/cold Wait until water during short period of heating/cooling process time is complete... - Page 17 Part 7: Specification MODEL RO 8101 RO 8115 RO 9115 Hot, Normal & Type Hot & Cold Hot & Cold Cold Lower compartment Filter storage Filter storage Filter storage Color Black Black White Hot water output (Liter/hour) Cold water output(Liter/hour) Hot water capacity (Liter) 1.16 1.16...
- Page 18 11/20...
Need help?
Do you have a question about the RO 9115 and is the answer not in the manual?
Questions and answers