Advertisement
Advertisement
Table of Contents

Related Manuals for Eahora Apus


Summary of Contents for Eahora Apus
- Page 1 KD986...
-
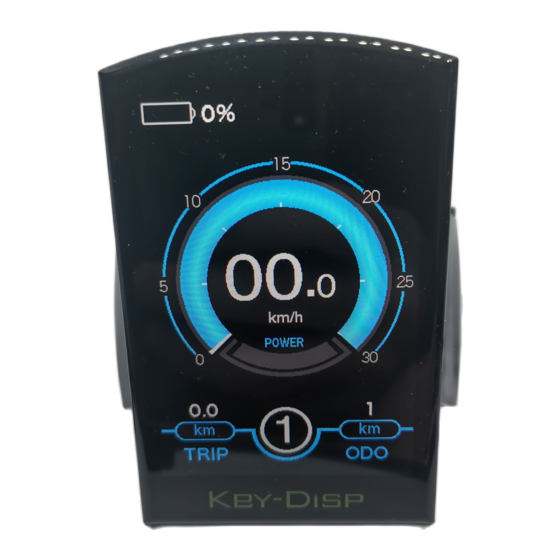
Page 2: Appearance And Size
Product Model Smart Color LCD Display for E-bike Model: KD986 Specifications Power Supply: 24V/36V/48V Rated Working Current: 10mA Maximum Working Current: 30mA Shutdown Current Consumption: <1uA Operating Temperature: -20℃~ 60℃ Storage Temperature: -30℃~ 70℃ Appearance and Size Display(unit: mm):... -
Page 3: Function Summary
Remote(unit: mm): Function Summary KD986 has various of functions to meet the owners’ needs: Speed Indication (real-time speed/maximum speed/average speed) Mileage Indication (single trip mileage/odometer mileage) Trip Time Indication Push-assistance Function Indication Headlight Indication Assistance-level Indication Battery Percentage Indication Motor Power Indication... -
Page 4: General Operation
General Operation Switching On/Off Press the power button to switch on the E-bike system and power supply. Hold the power button for 2s to switch off the E-bike system and power supply. After switching off the E-bike system, the current consumption is less than 1uA. - Page 5 Push-assistance Mode Hold the “-” button for 2s to activate the push-assistance function and keep pressing the “-” button to use this function. The E-bike will work at a constant speed of 6 k m/h under this mode and the screen will show “...
- Page 6 Assistance-level Press the +/- button to switch the E-bike system assistance-level which will also change the motor output power. The default setting of assistance-level is “0-5”. “0” refers to no output power. “1” refers to the minimum output power while “5” refers to the maximum output power.
- Page 7 Motor Power Indication The motor power can be read on the interface. Motor Power Indication USB Connection Indication Plug a USB external device into the display and the interface will show an indicator as below. USB Connection Indication...
- Page 8 Error Code Indication Error code appears when the electronic control system of the E-bike fails. Every error code refers to a different component fault. When there is an error code, please eliminate the fault in time or it can’t work normally. Error Code Indication Error code Definition...
-
Page 9: General Settings
General Settings After switching on the E-bike system and power supply, hold the “+” button and the “-” button together for 2s to enter the general settings menu. It includes Display Setting and Advanced settings. All the settings should only be operated after the bike is parked General Settings... -
Page 10: Display Settings
Display settings: Single Trip Distance Clearance To clear trip distance, press the +/- button to select “Yes” or “No”. “Yes” refers to clear a single ride distance. “No” refers to not clear a single ride distance. “No” is the default setting. Press the “i”... - Page 11 Wheel Diameter Settings Wheel refers to wheel diameter settings. Press the +/- button to increase or decrease the wheel diameter. The default value is 28 inch. Press the “i” button to save the modified setting. Wheel Diameter Settings LCD Luminance Setting LCD Luminance refers to the brightness of the screen.
-
Page 12: Advanced Settings
Advanced settings: Use the correct password to enter the advanced settings interface. The default password is 1212. Press the +/- button to switch the number. Press the "i" button to confirm each number. Password Input Assistance-level Setting There are 8 different modes of assistance-level: 0-2, 1-2, 0-4, 1-4, 0-6, 1-6, 0-8, 1-8. - Page 13 Voltage Setting for Battery Bars Set Voltage refers to the battery power bars setting. The rated voltage can be switched to 36 volts or 48 volts . The default voltage is 48 volts. The voltage value of each bar can be set. For example, VOL 1 refers to the voltage value of the first bar which is set as 41.5 volts.
-
Page 14: Quality Assurance And Warranty Scope
Throttle Speed Limitation Setting Throttle speed refers to the max speed limit setting of the throttle. There are four options: 6/25/30/99.9 (km/h). The default speed limit of the throttle is 6km/h which means the speed isn't able to surpass 6km/h when using the throttle. Press the +/- button to switch the value. -
Page 15: Connection Layout
Connection Layout Pin Sequence Table Color Function Red(VCC) ﹢ Blue(K) Controller power Black(GND) ﹣ Green(RX) Data acceptance Yellow(TX) Data tran Some wires were covered by water-proof connectors and the color is invisible. Cautions Due to safety concerns, do not plug or unplug the display when it is powered on.
Need help?
Do you have a question about the Apus and is the answer not in the manual?
Questions and answers