Summarization of Contents
Chapter 1. Overview
Front view
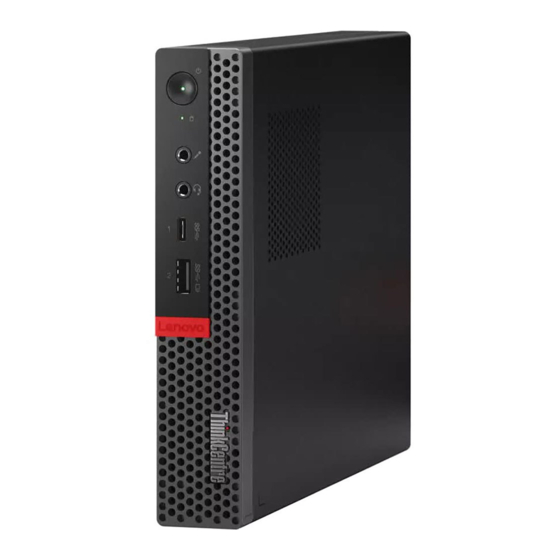
Details the front panel components of the computer system, including indicators and connectors.
Rear view
Details the rear panel connectors and ports available on the computer system.
System board
Provides a diagram and labels for the computer's main system board components.
Machine type and model label
Explains the location and purpose of the machine type and model label for identification.
Chapter 2. Specifications
Power supply
Lists the available power supply options and their wattages for the computer.
Storage drives
Details the types of storage drives supported, such as 2.5-inch and M.2 SSDs.
Video features
Describes the video output capabilities of the integrated graphics card, listing supported connectors.
Audio features
Outlines the audio capabilities, including supported speakers and connectors.
Input/Output (I/O) features
Lists and describes the various input and output ports on the computer.
Expansion
Details available expansion options like memory slots and PCI Express slots.
Network features
Lists the networking capabilities, including Ethernet and Wireless LAN.
Physical dimensions
Provides the exact physical measurements (width, height, depth) of the computer.
Weight (without the package)
States the maximum weight of the computer configuration as shipped.
Statement on USB transfer rate
Explains factors affecting USB data transfer rates and potential variations.
Chapter 3. Tips on using the computer
Attaching a Kensington-style cable lock
Instructions on how to secure the computer to a desk or fixture using a cable lock.
Installing the computer into the TIO monitor
Guide for integrating the computer with a specific Tiny-in-One monitor.
Chapter 4. Replacing hardware
Before replacing hardware
Important precautions and notes to read before performing any hardware replacements.
Handling static-sensitive devices
Precautions to prevent static electricity damage to computer components during handling.
Knowing FRUs (including CRUs)
Explains Field Replaceable Units (FRUs) and Customer Replaceable Units (CRUs) and their definitions.
Locating FRUs (including CRUs)
Information on how to locate FRUs and contact Lenovo support for parts.
Replacing the computer cover
Step-by-step instructions for removing and reinstalling the computer's outer casing.
Replacing the storage drive
Procedure for removing and installing the computer's storage drive (HDD or SSD).
Replacing the storage drive cable
Instructions for disconnecting and replacing the data cable for the storage drive.
Replacing the PCI Express card and adapter
Guide for removing and installing PCI Express cards and associated adapters.
Replacing the internal speaker
Steps to remove and install the internal speaker component.
Replacing the advanced speaker
Instructions for removing and installing the advanced speaker component.
Replacing the system fan
Procedure for removing and installing the computer's cooling fan.
Replacing the heat sink
Steps for removing and installing the heat sink assembly.
Replacing the coin-cell battery
Guide for replacing the CMOS battery that maintains system date, time, and settings.
Replacing the microprocessor
Detailed instructions for safely removing and installing the computer's microprocessor (CPU).
Replacing the Wi-Fi card
Procedure for removing and installing the wireless network card.
Replacing the Wi-Fi antennas
Instructions for replacing the computer's internal Wi-Fi antennas.
Replacing the antenna bracket
Steps to remove and install the bracket that holds the Wi-Fi antennas.
Replacing the bottom cover
Procedure for removing and reinstalling the computer's bottom access panel.
Replacing the memory module
Guide for installing or replacing RAM modules (DIMMs) in the memory slots.
Replacing the M.2 solid-state drive
Instructions for removing and installing the M.2 solid-state drive.
Replacing the system board and chassis
Comprehensive guide for replacing the motherboard and the main computer chassis.
Completing the parts replacement
Final steps to ensure the computer is correctly reassembled and functional after repairs.


Need help?
Do you have a question about the 10RS and is the answer not in the manual?
Questions and answers