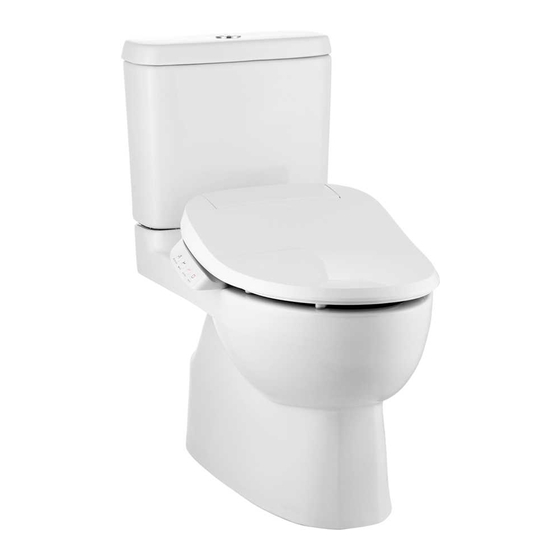
Summarization of Contents
Important Information
Before You Begin Installation
Key precautions and preparation steps before starting toilet installation.
Installation Steps
Verify Water and Drain Positions
Check the location of water supply and drain outlet on the floor.
Position and Secure Floor Template
Use a template to mark hole positions for secure toilet mounting.
Drill Mounting Holes and Install Anchors
Drill holes for toilet mounting and flange, then insert anchors.
Install Mounting Brackets
Position and install the brackets according to the template.
Installation Steps
Mount Toilet Bowl to Floor
Carefully align and lower the toilet bowl onto the waste pipe.
Secure Toilet Bowl with Brackets
Thread screws into brackets to secure the toilet bowl firmly.
Installation Steps
Install Toilet Tank
Place the tank on the bowl and secure it with bolts and washers.
Install Flush Button and Tank Cover
Assemble the flush button mechanism and attach the tank cover.
Installation Steps
Connect Water Supply Hose
Connect the water supply hose and check for leaks after flushing.
Adjust Water Level
Learn how to adjust the water level inside the tank if needed.
Installation Steps
Apply Silicone Sealant
Apply silicone sealant around the base of the toilet for stability.
Install Toilet Seat
Install the toilet seat and connect any required accessories.
Seal Replacement Procedure
Shut Off Water Supply
Turn off the water supply before starting seal replacement.
Remove Tank Components
Lift tank cover, remove push button, and remove float valve.
Remove and Replace Flush Valve Seal
Turn flush valve counterclockwise, pull up, and replace the seal.
Seal Replacement Procedure
Reinstall Flush Valve and Float Valve
Place flush valve and float valve in position and attach locks.
Reassemble Push Button and Tank Cover
Connect push button and attach the tank cover.
Restore Water Supply
Open the water supply valve and check for leaks.
Care and Cleaning Guide
Warning: Avoid In-Tank Cleaners
Do not use chlorine-based cleaners in the tank to prevent damage.
Troubleshooting Common Issues
Address Poor Flushing Performance
Solutions for issues like weak or incomplete flushes.
Resolve No Flush Situations
Steps to take when the toilet does not flush at all.
Fix Fill Valve Malfunctions
Troubleshoot fill valve turning on/off by itself or running water.
Resolve Long Tank Fill Times
Identify and fix causes for slow water refilling in the tank.
Eliminate Noisy Tank Fill Cycles
Find and resolve causes of noise during tank refilling.


Need help?
Do you have a question about the K-75991X and is the answer not in the manual?
Questions and answers