Advertisement
Quick Links
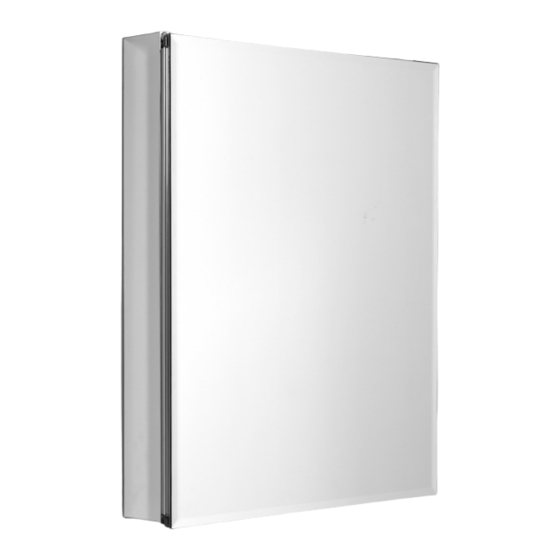
Assembly Instructions - Model MRA2430
Instrucciones de Ensamblado - Modelo MRA2430
Instructions d'assemblage - Modèle MRA2430
Before You Begin:
Thank you for purchasing this product. Please identify all parts and hardware pieces before you begin. When laying
out parts, place them on a soft surface to prevent scratching.
If any pieces are missing, call our Toll Free Number 1-800-892-3986 between 8:00AM-5:00PM EST Monday
through Friday or contact our website at www.zenith-products.com for more information.
Antes de que empiece:
Muchas gracias por comprar este producto. Identifique todas las piezas y las piezas de ferretería antes de comenzar.
Al distribuir las piezas, colóquelas sobre una superficie suave para evitar que se rayen.
Si faltaran piezas, llame a nuestro número gratuito 1-800-892-3986 entre las 8:00 a.m.- 5:00 p.m., hora del
este, de lunes a viernes o contáctenos a través de nuestro sitio web en www.zenith-products.com para
solicitar mas información.
Avant de commencer :
Merci d'avoir acheté ce produit. Veuillez identifier toutes les pièces et les accessoires de montage avant de commencer.
Lorsque vous déballez les pièces, placez-les sur une surface non rugueuse afin d'éviter les éraflures.
S'il venait à vous manquer des pièces, appelez notre numéro sans frais 1.800.892.3986 entre 8 h et 17 h
(heure de l'Est des États-Unis), du lundi au vendredi, ou contactez notre site Web à www.zenith-products.com
pour de plus amples informations.
Pg 1 of 13
www.zenith-products.com
IS2430-I6
©2013 Zenith Products Corp.
MCS 9/25/2013
Advertisement

Summarization of Contents
Assembly Preparation and Support
Initial Setup and Missing Parts
Identify all parts and hardware before beginning assembly. Contact information for missing pieces is provided.
Safety and Installation Precautions
Mounting System Limitations
System intended for drywall/studs only. Consult professionals for alternative wall materials.
Child Safety and Handling
Keep small parts away from children to prevent choking hazards.
Surface Mount Installation Steps
Step 1: Attach Bottom Bracket
Level and attach the bottom bracket to the wall using screws, ensuring it is centered.
Step 2: Install Top Brackets
Install top brackets, slide them, and lift the cabinet box onto the bottom bracket, securing it with screws.
Step 3: Apply Mirror Tape Pads
Apply mirror tape pads to side mirror brackets and attach brackets with screws and washers.
Step 7: Adjust Door Position
Adjust door alignment using screws for side-to-side, up-down, and in-out positioning.
Step 9: Attach Side Mirrors
Center and flush side mirrors with cabinet edges, pressing gently to ensure contact with tape pads.
Recess Mount Installation Steps
Step 4: Prepare Wall Opening
Check for obstructions, ensure wall is not load-bearing, and prepare an opening for the cabinet box.
Step 5: Secure Cabinet Box
Position cabinet box in the opening, ensure flange covers uniformly, and fasten sides with screws.
Common Installation Steps
Step 6: Install Hinges
Remove door protectors, release hinge plates, and install hinges onto the door using screws.
Step 8: Install Glass Shelves
Determine shelf locations, install clips, apply tape pads, and carefully place glass shelves.


Need help?
Do you have a question about the MRA2430 and is the answer not in the manual?
Questions and answers