Table of Contents
Advertisement
Quick Links
INDEX
Component list . . . . . .2
Tool list . . . . . . . . . . . .4
1
Unpacking . . . . . . . . . .5
2
Stem & Handlebar . . . . .6
3
Front wheel . . . . . . . . .7
4
Set bike up . . . . . . . . . .9
5
Fender . . . . . . . . . . . . .10
6
Fender stays . . . . . . . .11
7
Seatpost . . . . . . . . . . . .12
8
Saddle . . . . . . . . . . . . .13
9
Angles . . . . . . . . . . . . .14
10 Bell . . . . . . . . . . . . . . . .15
11 Pedals . . . . . . . . . . . . .16
12 Reflector . . . . . . . . . . .17
13 All set up . . . . . . . . . . .18
14 Maintenance . . . . . . . . .19
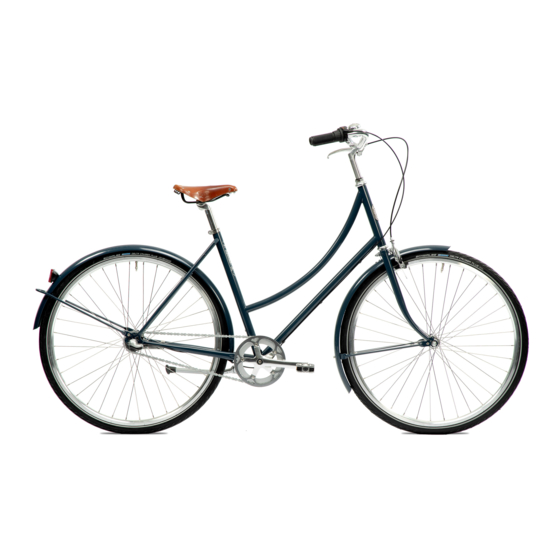
A new Pelago bicycle is packed pre-assembled in a box with
most of the parts already installed.
The bicycle is packed in the box to prevent it from damage
in shipping, and that's why some parts are not installed. Don't
worry - assembling the bike is easy and soon you'll be riding!
These instructions are only guidelines for building up your new
bicycle and there might be small variations with specific models.
If you have any questions or do not understand something in the
instructions, consult with your local dealer, bicycle shop or our
web support.
This manual is not intended as a comprehensive use, service,
repair or maintenance manual. Please see a dealer or professional
bicycle service for all service, repairs or maintenance.
MANUFACTURER
Pelago Mfg Ltd.
Helsinki, Finland
info@pelagobicycles.com
TEL +358 (0)45 161 6847
Advertisement
Table of Contents

Summarization of Contents
Unpacking and Initial Setup
Unpacking Bicycle
Carefully unpack the bicycle, ensuring no damage occurs during removal from the box.
Initial Bicycle Positioning
Place the bicycle on its rear wheel and fork to facilitate assembly of other components.
Stem and Handlebar Assembly
Insert Stem to Frame
Insert the stem into the bicycle's head tube and tighten securely with the specified tool.
Insert Handlebar to Stem
Attach the handlebar to the stem, ensuring correct orientation for your bicycle model.
Front Wheel Installation
Install Front Wheel to Fork
Mount the front wheel onto the fork, paying attention to the tire's rotation direction.
Tighten Front Wheel to Fork
Secure the front wheel axle to the fork with the correct torque specification.
Bike Setup and Stability
Set Bike Up with Kickstand
Position the bike upright using the kickstand to ensure stability during the assembly process.
Fender Installation
Prepare Front Brake for Fender
Prepare the front brake by removing the nut and washer before fitting the fender.
Install Front Fender
Attach the front fender to the bicycle, ensuring correct alignment with the brake caliper.
Fender Stay Installation
Remove Fender Bolts and Clamps
Remove necessary bolts and clamps to prepare for fender stay attachment.
Install Fender Stays
Securely attach the fender stays to the bicycle frame and fender.
Seatpost and Saddle Assembly
Install Seatpost Clamp and Seatpost
Install the seatpost clamp and seatpost into the frame, observing minimum insertion.
Remove Saddle Clamp
Detach the saddle clamp from the seatpost to prepare for saddle mounting.
Install Saddle
Mount the saddle onto the seatpost, tightening to the specified torque.
Component Angle Adjustment
Check Saddle Angle
Verify the saddle is tilted between 0-5 degrees for optimal riding comfort.
Check Handlebar Angle
Adjust the handlebar angle to approximately 10 degrees for preferred ergonomics.
Bell Installation
Install Bicycle Bell
Attach the bell to the handlebar, ensuring it is easily accessible for use.
Pedal Installation
Install Right Pedal
Screw the right pedal clockwise into the crank arm on the drive side.
Install Left Pedal
Screw the left pedal counter-clockwise into the crank arm on the non-drive side.
Reflector Installation
Install Front Reflector
Mount the front reflector onto the handlebar for visibility, especially with dynamo lights.
Final Checks and Break-in
Bike Assembly Complete
Confirm all components are correctly installed and understand basic checks before riding.
Post-Assembly Checks
Check brakes, tires, and gears, and consider a first service after a break-in period.


Need help?
Do you have a question about the Capri and is the answer not in the manual?
Questions and answers