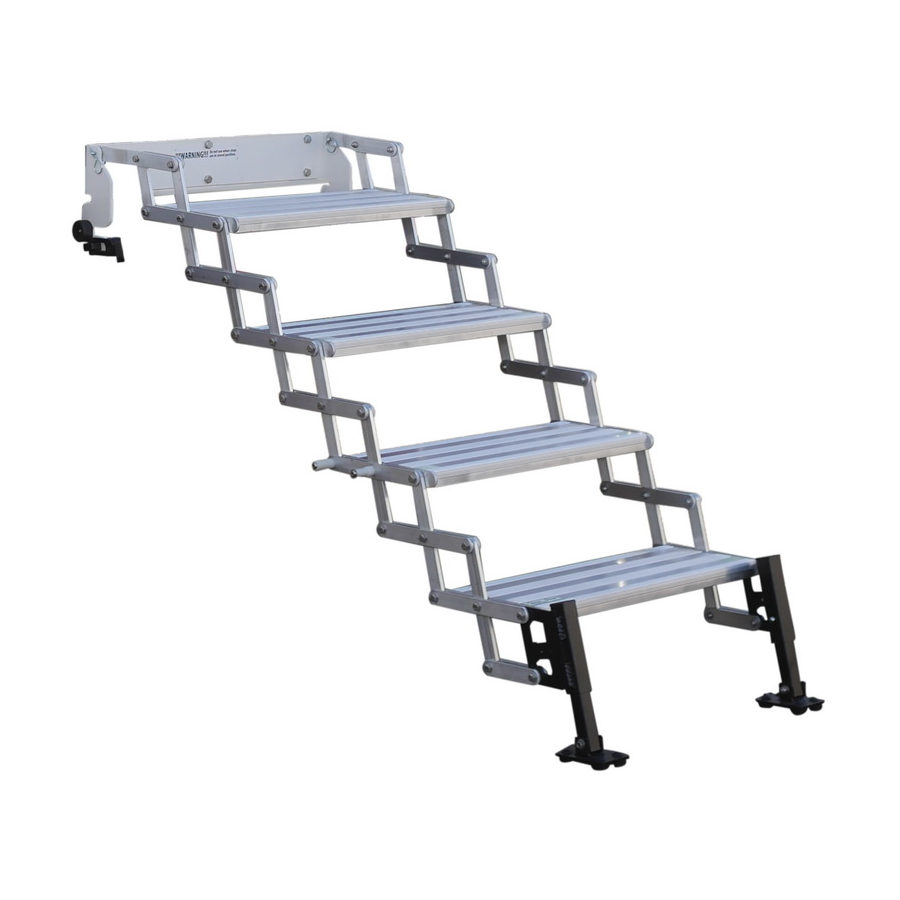
Summarization of Contents
Suspension
Warning: Fire Danger
Warning about fire danger when installing the GlowStep Revolution Uprising near heat sources.
Installation
Step 1: Prepare the RV Door
Open RV door wide and remove threshold molding or gas struts if present.
Step 2: Prepare the GlowStep Uprising
Remove steps from packaging and extend to fully open position.
Step 3: Mount the Main Bracket
Rest main bracket inside door frame and attach right-hand mounting bracket.
Step 4: Drill and Mount Brackets
Center GSRU, ensure brackets are flush, drill mounting holes in door frame.
Step 5: Secure Mounting Brackets
Secure brackets to door frame flange and install lag screws into the floor.
Step 6: Final Bracket Tightening
Slide main bracket into mounting slots and tighten hardware to specified torque.
Operating and Adjusting the GlowStep Revolution Uprising
Storing the Steps
Instructions for collapsing steps by lifting bottom step and pushing towards RV.
Storing the Steps into RV
Rotate collapsed steps up into RV, engage safety latch, and close door.
Deploying the GlowStep Uprising
Open door, slide safety latch, rotate steps outward, pull bottom step to expand.
Adjusting All-Terrain Landing Gear
Guide on adjusting landing gear feet for leveling steps angled up or down.
Deploying the Bottom Step
Move lever, pull bottom step down and away to expand and lock.
Storing the Bottom Step
Move lever, push bottom step inward and upward to lock in stored position.
Setting the Hinge Tension
Adjusting Hinge Tension
Tighten or loosen hinge bolts by 1/16th turn for smooth operation.
Screen Door Modification
Clearance Adjustments for Screen Door
Mark screen door frame for clearance based on GSRU resting point.
Cutting the Screen Door Frame
Extend marked lines and use a rotary tool with cutoff wheel to modify frame.
Product Registration and Warranty
Register for Lifetime Warranty
Instructions to register products for lifetime warranty and receive a gift.
Official Warranty Registration Card
Form to fill out for warranty registration with purchase details.


Need help?
Do you have a question about the A9105 and is the answer not in the manual?
Questions and answers