Insignia NS-20EM50A13 Quick Setup Manual
20" widescreen led monitor
Hide thumbs
Also See for NS-20EM50A13:
- Manual de l'utilisateur (12 pages) ,
- Guía del usuario (12 pages) ,
- User manual (10 pages)
Advertisement
Quick Links
Download this manual
See also:
User Manual
Congratulations on your purchase of this
high-resolution color monitor. This color
monitor represents the state of the art in
monitor design, and is designed for
reliable and trouble-free performance.
Please read this guide thoroughly before
installation.
Package contents
• 20" Widescreen LED monitor
• Power cable
• VGA cable
• Quick Setup Guide
WE ARE GOING GREEN!
A copy of your User Guide is not provided in the box
but is available online.
Go to www.insigniaproducts.com,
click Support & Service, enter your model number
in the Product Search field, then click Search.
Installing the stand base
1 Remove the monitor from the box and lay
it face down on a table, with a soft cloth or
towel beneath it to protect the screen.
2 Insert the base into the stand column until
it clicks into place.
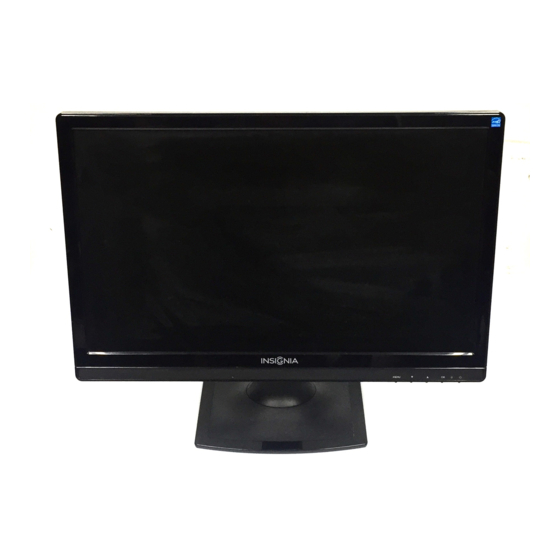
Features
Front view
Rear view
[REVIEWERS: Please provide better graphics.]
Removing the stand base and
column for mounting to a wall
1 Lay the monitor face down on a table, with
a soft cloth or towel beneath it to protect
the screen.
2 Squeeze the sides of the column cover and
pull to remove it.
20" Widescreen LED Monitor | NS-20EM50A13
3 Using a Philips screwdriver, remove the
three screws that secure the column to the
monitor.
4 Wiggle the column loose from the monitor.
Quick Setup Guide
#
Component
Description
1
MENU
Press to open the on-screen display (OSD)
menu and enter menu mode. Press again to
exit the OSD and return to display mode.
2
In menu mode, press to scroll down or decrease
settings in the OSD menus.
In normal operation, press to access the
Contrast/Brightness/Backlight menu.
3
In menu mode, press to scroll up or increase
settings in the OSD menus.
In normal operation, press to access the Color
Vision Mode menu.
4
OK
In menu mode, press to confirm a selection or
setting in the OSD menus.
In normal operation, press the button for three
seconds to auto adjust the image. Or, press the
button to enter the input select menu, you can
choose the input source from VGA or DVI.
5
LED indicator
Turns blue when the monitor is on. After
monitor is turned off, LED will turn off.
Press to turn the monitor on. Press again to turn
6
Power On/Off
the monitor off.
7
Power connector
Plug the AC power cord into this connector.
8
DVI jack
Plug an optional DVI connector into this jack.
Plug the VGA connector into this jack.
9
VGA jack
Advertisement

Related Manuals for Insignia NS-20EM50A13


Summary of Contents for Insignia NS-20EM50A13
- Page 1 Quick Setup Guide 20" Widescreen LED Monitor | NS-20EM50A13 Features Component Description Congratulations on your purchase of this Front view high-resolution color monitor. This color MENU Press to open the on-screen display (OSD) monitor represents the state of the art in menu and enter menu mode.
-
Page 2: Making Connections
• Video Mode Adjust: select Full Screen, Over Screen, or Aspect © 2012 BBY Solutions, Inc., Inc. All rights reserved. INSIGNIA is a trademark of BBY Solutions, Inc. 3 Under Resolution, move the slider to the resolution you want, then Registered in some countries.
Need help?
Do you have a question about the NS-20EM50A13 and is the answer not in the manual?
Questions and answers