Table of Contents
Advertisement
Advertisement
Table of Contents

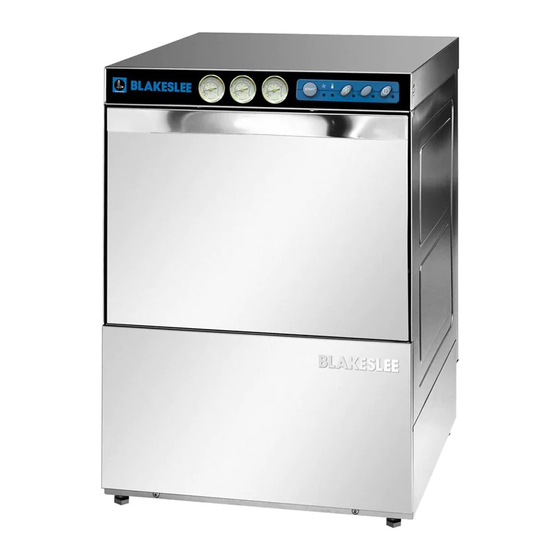
Summary of Contents for Blakeslee UC-18
- Page 1 Istruzioni per l'installazione l'uso e la manutenzione Instructions for Installation, Use and Maintenance Notice d'installation, d'emploi et d'entretien Instrucciones para la instalación, uso y mantenimiento G-3000 UC-18 COD.: 3000 APPLICARE ETICHETTA Ed. 05 - 12/2018 MATRICOLA...
- Page 2 Thank you for choosing our appliance. The installation, use and maintenance instructions given in this manual have been prepared to ensure the long life and correct operation of your appliance. Follow these instructions carefully. We have designed and manufactured this appliance according to the latest technological developments.
-
Page 3: Table Of Contents
TRANSLATION OF THE ORIGINAL INSTRUCTION CONTENTS Page WARNINGS 1. MACHINE INSTALLATION 1.1 Serial number data INSTALLER SECTION 1.2 Receiving the machine 1.3 Storage 1.4 Prepare for installation 1.5 Water connections 1.6 Water supply characteristics 1.7 Positioning the machine 1.8 Electrical connection 1.9 Temperature adjustment 1.10 Rinse aid dispenser operation 2. -
Page 4: Warnings
WARNINGS This instructions booklet must be kept with the machine for future consultations. If the machine is sold or transferred to other users, make sure the booklet always goes with the unit so that the new owner can have all the necessary information on operations and all relevant instructions. The dishwasher shall be installed in accordance with local codes, or in the absence of local codes, installed in accordance with the applicable requirements in the National Electrical Code, NFPA 70, Canadian Electrical Code (CEC), Part 1, CSA... - Page 5 at least 15 seconds after the motors stop. WARNINGS: IT IS FORBIDDEN TO INSERT HANDS AND/OR TOUCH INTERNAL PART WHEN THE MACHINE IS OPERATING AND/OR AT THE END OF THE WASH CYCLE. that disconnected the machine from the electrical network, the position of the water end of the day and for any service/maintenance operation following this procedure: Disconnect the electrical supply by the omni-polar switch (main switch located on the wall).
-
Page 6: Machine Installation
ATTENTION: 1. MACHINE INSTALLATION 1.1 Serial number data FAMIGLIA PRODOTTO RoHS PRODUCT FAMILY FAMILLE DU PRODUIT FAMILIA PRODUCTO FAMILIE DES PRODUKTES CODE DWXXXX FAMIGLIA PRODOTTO PRODUCT FAMILY FAMILLE DU PRODUIT FAMILIA PRODUCTO IPXX FAMILIE DES PRODUKTES CODE DWXXXX.YYYY CODICE MODELLO MODEL CODE CODE ARTICLE CODIGO MODELO... -
Page 7: Installer Section
INSTALLER SECTION 1.2 Receiving the machine unloading operations. 1.1) and to the ones of the available electrical supply. that might have come loose during transportation, to prevent water dripping leakages, or other damages, during the machine operation. for disposing the packing material. 1.3 Storage The stored parts should be checked periodically to detect any sign of deterioration. -
Page 8: Positioning The Machine
INSTALLER SECTION 1.7 Positioning the machine Remove the packing with care. Check that the machine is properly levelled, by adjusting the legs. the support feet. 1.8 Electrical connection Before the installation: Make sure that the voltage is the same as reported on the data-plate. 1.1). -
Page 9: Rinse Aid Dispenser Operation
INSTALLER SECTION 1.10 Rinse aid dispenser operation Operation: pressure. Water connection: are inserted in the rinse aid tank. Priming: To prime the dispenser, turn on the appliance and carry out several complete wash cycles or press the adjustment screw during the wash cycle and open and close the door combined with pressing the pin D. This method speeds up the Adjustment: maximum amount, turn the screw anticlockwise about 20 complete turns. -
Page 10: Detergent Dispenser Installation
INSTALLER SECTION 2. DETERGENT DISPENSER INSTALLATION 2.1 Electrical connection Follow the wiring diagram attached to the machine. 2.2 Water connection b) Correctly mount the injector point B). pict. 1 2.3 Dispensing the detergent The detergent dispenser capacity can be adjusted using a screwdriver as shown in picture 1. -
Page 11: User Section
USER SECTION 4. CONTROL PANEL AND RELATIVE SYMBOLS CONTROLS INDICATORS ON/OFF switch 0-1 Tub full indicator Washing cycle button indicator Manual button Temperature indicator Wash type selector 5. OPERATION rinse aid use). pict. 4 The operation is signalled by the switch indicator lighting up or by the indicator with the symbol 4) comes on when the water temperature is reached. -
Page 12: Warnings
USER SECTION crockery. Eventually, run a manual rotation of the arms to check it. substances, that in large amounts, can alter the crockery and plastic parts colors. Crockery and cutlery not suitable for dishwasher Not suitable for dishwasher: pict. 5 We recommend to buy exclusively crockery and cutlery suitable for dishwashing. -
Page 13: Detergent Use
USER SECTION 5.2 Detergent use The detergent must be put directly in the tub. detergent is very important for a successful wash. This machine must be operated with an automatic detergent dosing pump. Verify the correct operation by checking the 5.3 Rinse aid use The machine automatically draws the product. -
Page 14: Maintenance
USER SECTION 6. MAINTENANCE 6.1 Routine maintenance ATTENTION: The machine is not protected against pressurized water sprays. Do not use pressure cleaning systems against the machine. It is recommended to contact your chemicals distributor for proper cleaning instructions, in order to have detailed indications on methods and products suitable for the correct periodical machine sanitation. -
Page 15: Ecological Aspects
USER SECTION 8. ECOLOGICAL ASPECTS 8.1 Recommendations for optimal use of energy, water and additives Use the machine fully loaded when possible This shall prevent detergent, rinse aid, water and energy waste. Detergent and rinse-aid Use detergent and rinse-aid chemicals with high biodegradability, to respect the environment best. Verify the proper dosing will cause unsatisfactory dish washing and/or hygiene. -
Page 16: Troubleshooting
USER SECTION 9. TROUBLESHOOTING Type of problem Possible causes Cure The machine does not Main switch not ON. Turn switch ON. turn on The machine does not Water valve shut. Open the hot and/or cold water valve. load water. caked with lime deposists an external water softener Faulty pressure switch service)


Need help?
Do you have a question about the UC-18 and is the answer not in the manual?
Questions and answers