Table of Contents
Advertisement
Gas Grill
LP Gas Grill Owner's Guide
YOU mUST ReAd THIS OwneRS GUIde
beFORe OPeRATInG YOUR GAS GRILL
m dAnGeR
If you smell gas:
1. Shut off gas to the appliance.
2. extinguish any open flames.
3. Open lid
4. If odor continues, keep away from the
appliance and immediately call your gas
supplier or your fire department.
Leaking gas may cause a fire or explosion
which can cause serious bodily injury or
death, or damage to property.
m wARnInG:
1. do not store spare LPG cylinder within 10
feet (3m) of this appliance.
2. do not store or use petrol or other
flammable liquids or vapors within 25 feet
(8m) of this appliance.
#90819
#00000
m wARnInG: Follow all leak-check
procedures carefully in this manual prior
to barbecue operation. do this even if the
barbecue was dealer-assembled.
nOTICe TO InSTALLeR: These instructions
must be left with the owner and the owner
should keep them for future use.
THIS GAS APPLIAnCe IS deSIGned FOR
OUTdOOR USe OnLY.
m wARnInG: do not try to light this
appliance without reading the "Lighting"
Instructions section of this manual.
90819 SA 02/28/11
LP
SOUTH AFRICA
Advertisement
Table of Contents

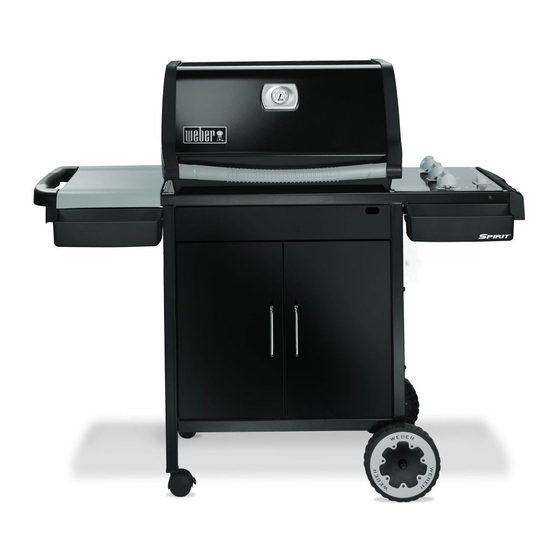
Summary of Contents for Weber Spirit EP 310
- Page 1 Gas Grill LP Gas Grill Owner’s Guide #90819 #00000 m wARnInG: Follow all leak-check YOU mUST ReAd THIS OwneRS GUIde procedures carefully in this manual prior beFORe OPeRATInG YOUR GAS GRILL to barbecue operation. do this even if the barbecue was dealer-assembled. m dAnGeR If you smell gas: nOTICe TO InSTALLeR: These instructions...
- Page 2 ® m do not use a flame to check for gas leaks. m Combustible materials should never be within 24 inches (61 cm) of the back or sides of your weber gas barbecue. ®...
-
Page 3: Warranty
3-years no rust through or burn through apply to you. Porcelain-enameled Weber does not authorize any person or company to assume for it any other obligation or liability in Flavorizer bars, 2-years no rust through or burn through Infrared Rotisserie Burner, 2-years connection with the sale, installation, use, removal, return, or replacement of its equipment;... -
Page 4: Exploded View 210
View 210 SpiritClscSlvrA_LP_SA_09 050609 www.weber.com ®... -
Page 5: Exploded View List 210
Cylinder Glides ® Left Front Trim Assembly Arm Igniter door Glides Left Condiment basket Flavorizer bars bottom Shelf ® Cookbox Hardware Rear Panel Right door Assembly Front Panel burner Tubes Assembly matchlight Holder Left Frame Panel manifold Hardware www.weber.com ®... -
Page 6: Exploded View 310
View 310 SpiritClscSlvrB_LP_SA_09 050609 www.weber.com ®... -
Page 7: Exploded View List 310
Plastic Plug disposable drip Pan GeNeral iNsTrUcTioNs Your Weber ® gas barbecue is a portable outdoor cooking appliance. With the Weber ® • Check that the area under the control panel and the bottom tray are free from gas barbecue you can grill, barbecue, roast and bake with results that are difficult to debris that might obstruct the flow of combustion or ventilation air. -
Page 8: Storage And/Or Nonuse
H (high). Then to complete cooking, you would set brush. As needed, remove from grill and wash with warm soapy water, then rinse with BURNER 1 and BURNER 3 at M (medium). Refer to your Weber cookbook for detailed water. -
Page 9: Gas Instructions
The regulator must be connected to the LPG cylinder on the outside of the base cabinet, on the right side of the grill. m wARnInG: never store an extra (spare) LPG cylinder under or near the weber gas barbecue. ®... -
Page 10: Remove Control Panel And Burner Control Knobs
Note: All factory-made connections have been thoroughly checked for gas leaks. The burners have been flame-tested. As a safety precaution however, you should recheck all fittings for leaks before using your Weber® Gas Barbecue. Shipping and handling may loosen or damage a gas fitting. -
Page 11: Safe Handling Tips For Liquid Propane Gas Cylinders
5 minutes to allow the gas to clear if the be damaged in any way, do not use the barbecue. Replace barbecue does not light, may result in an explosive flame- using only weber authorised replacement hose. Contact ®... -
Page 12: Main Burner Manual Lighting
After BURNER 1 is lit, you can turn on BURNER 2 and BURNER 3 (7). Note - Always light BURNER 1 first. The other burners ignite from BURNER 1. TO eXTInGUISH Push down and turn each burner control knob clockwise to the OFF position. Turn gas supply OFF at the source. www.weber.com ®... -
Page 13: Troubleshooting
THIS IS nOT A deFeCT. If problems cannot be corrected by using these methods, please contact the Customer Service Representative in your area using the contact information on our web site. Log onto www.weber.com ® maiNTeNaNce... -
Page 14: Annual Maintenance
Customer Service Representative in your area using the contact information on our web the screens, remove the burners for cleaning the screens. site. Log onto www.weber.com ® Brush the Spider/Insect Screens lightly with a soft bristle brush (i.e. an old toothbrush). -
Page 15: Replacing Main Burners
(button) down, and ® returns to the up position. If the Crossover ® ignition system still fails to light, contact the Customer Service Representative in your area using the contact information on our web site. Log onto www.weber.com ® www.weber.com ®... - Page 16 ATTenTIOn: This product has been safety tested and is only certified for use in a specific country. Refer to country designation located on outer carton. These parts may be gas carrying or gas burning components. Please contact Weber-Stephen Products LLC, Customer Service Department for genuine Weber- Stephen Products LLC replacement part(s) information.


Need help?
Do you have a question about the Spirit EP 310 and is the answer not in the manual?
Questions and answers