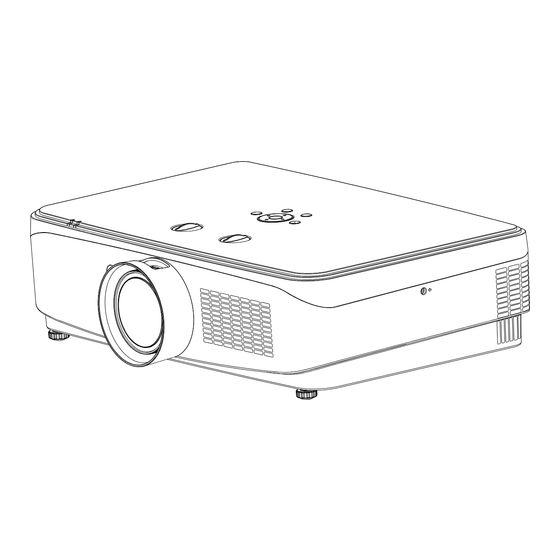
Summarization of Contents
Important Safety Tips
Precautions for use
General advice for safe operation and compliance with regulations.
Laser Declaration and Precautions
Emergency Treatment Method
Procedure for handling abnormalities to prevent damage or loss.
Handling and Transport Precautions
Lens Protection and Transport
Handling lens protection and safe transport procedures.
Installation Environment Safety
General safety advice for installation and operation environment.
Operational Adjustments Safety
Focus Adjustment Safety
Method for adjusting focus for optimal image clarity.
Product Lifecycle Safety
Security, Disposal, and Storing
Guidelines for projector security, disposal, and storage.
Part names and functions
Control Panel Overview
Description of buttons and indicators on the projector's top control panel.
Terminal Panel Identification
Details of all input and output ports on the projector.
Top Control Panel Layout
Visual guide and function of buttons on the projector's top control panel.
Indicator Lights Status
Explains the meaning of the projector's status indicator lights.
Remote Control Layout
Diagram and identification of buttons on the remote control.
Remote Control Operation
Operating Range
Information on the effective range and angle for remote control use.
Placing the Projector
Projection Distance Tables
Charts showing recommended distances for various screen sizes.
Adjustable Feet Usage
How to use the projector's adjustable feet for height and tilt.
Menu Bar Navigation
Signal Menu Options
Settings for signal input and image adjustments.
Image Menu Options
Controls for image modes, contrast, and brightness.
Sound Menu Options
Settings for sound modes and volume.
Setup Menu Options
Configuration options for projector operation.
Advanced Settings
Network settings and information viewing.
Remote Control Operations
FREEZE, SOURCE, AUTO SETUP, ECO Buttons
Functions of key remote control buttons for various operations.
Remote Control Functions
BLACK SCREEN, TIMER, IMAGE MODE Buttons
Explains the functionality of specific remote control buttons.
Image Adjustment Features
Phase Adjustment
Correcting flickering images or smeared outlines.
Image Display Mode
Selecting different aspect ratios for the projected image.
Clock Adjustment
Adjusting the projector's internal clock settings.
Advanced Setup Options
High Altitude Fan Control
Adjusting fan speed based on projector altitude.
Laser Mode Settings
Changing screen brightness via laser mode selection.
Quick Cooling Options
Settings for cooling fan operation after projector shutdown.
Keystone and Projection Modes
Keystone Correction Types
Details on correcting keystone distortion for different corners.
Projection Mode Settings
Options for front, rear, or ceiling projection.
Blue Screen Options
Setting the background color when no signal is input.
Startup and Sleep Modes
Startup Screen Configuration
Options for the screen displayed upon projector startup.
Sleep Mode Settings
Configuring automatic sleep mode based on input signal absence.
Projector Keyboard Lock
Enabling or disabling the projector's physical buttons.
Control and Power Settings
Remote Control Lock
Enabling or disabling the remote control.
AC Direct Power On
Configuring power-on behavior when plugged in.
Standby Mode Network Function
Managing network features while in standby mode.
Test Pattern Display
Accessing built-in test patterns for calibration.
Security Password Settings
Startup Password Lock
Enabling password protection for projector startup.
Change Your Password
Procedures for changing the security password.
Return to Default Settings
Resetting projector settings to factory defaults.


Need help?
Do you have a question about the RL-6000UT and is the answer not in the manual?
Questions and answers