Table of Contents
Advertisement
GETTING STARTED GUIDE
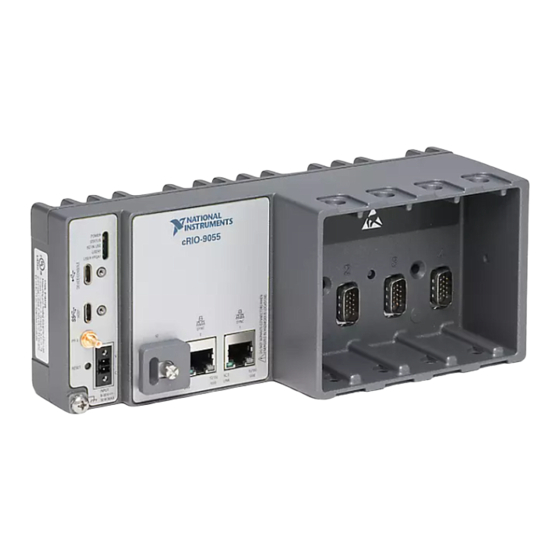
cRIO-905x
Embedded CompactRIO Controller with Real-Time Processor and
Reconfigurable FPGA
This document describes how to begin using the cRIO-905x.
In this document, the cRIO-9053, cRIO-9054, cRIO-9055, cRIO-9056, cRIO-9057, and
cRIO-9058 are referred to collectively as cRIO-905x.
Note
Refer to the device Safety, Environmental, and Regulatory Information
document, shipped with your cRIO-905x controller and available on
manuals, for important safety and environmental specifications necessary when
setting up your device.
Unpacking the Kit
Notice
To prevent electrostatic discharge (ESD) from damaging the device, ground
yourself using a grounding strap or by holding a grounded object, such as your
computer chassis.
1.
Touch the antistatic package to a metal part of the computer chassis.
2.
Remove the device from the package and inspect the device for loose components or any
other sign of damage.
Notice
Note
3.
Unpack any other items and documentation from the kit.
Never touch the exposed pins of connectors.
Do not install a device if it appears damaged in any way.
ni.com/
Advertisement
Table of Contents

Summarization of Contents
What You Need to Get Started
Install Software
Install application software and device drivers on the host computer in the specified order.
Installing Software on the Host Computer
Software Compatibility Resources
Resources for checking software versions and compatibility for CompactRIO systems.
Connecting the cRIO-905x
Connecting the Controller to Ground
Connect the cRIO-905x grounding terminal to the facility's grounding electrode system.
Connecting the Controller to Power
POWER LED Indicators
Table showing the color and pattern of the POWER LED and its meaning.
NI Power Supplies
Table listing recommended NI power supplies and their part numbers.
Troubleshooting the Controller
The cRIO-905x is Not Communicating with the Network
Troubleshoot why the cRIO-905x is not communicating with the network and configure settings.
Verify the System IP Configuration
Verify the system IP configuration of your cRIO-905x using safe mode and USB connection.
Configure the Windows Firewall
Configure the firewall in Windows to ensure the cRIO-905x can communicate with the network.
System Reset
Understand the reset behavior of the cRIO-905x.
STATUS LED Indicators
Table describing the meaning of different STATUS LED patterns on the cRIO-905x.
Using the cRIO-905x in LabVIEW
Adding the cRIO-905x to a LabVIEW Project
Steps to create a new LabVIEW project configured with the cRIO-905x controller.


Need help?
Do you have a question about the cRIO-9056 and is the answer not in the manual?
Questions and answers