Advertisement
OPERATING INSTRUCTIONS FOR NAVI-UPDATE
(CONTENT & FEATURES) FOR E>GO
Use/Coverage:
The so called "SyncTool" in combination with the Naviextras Toolbox Software allows to download new map
data, Teleatlas map bugfixes, as well as new add-on's like speedcams, activation of TMC Pro with a USB stick,
and to transfer the downloaded files to your E>GO unit. Please note that you can find updates that are free of
charge, as well as updates that will have to be paid with a credit card.
Requirements:
1) You need a USB stick of at least 4GB data size (max. 8GB).
Note: The USB stick must be formatted to FAT32 before use (right click on the USB drive in the Win Explorer,
then choose "Format"
2) You need the SyncTool software – see the instructions below.
3) You need the Naviextras Toolbox - see the instructions below.
How to use SyncTool / Toolbox:
1) Download the ZIP-file called "SyncTool".
2) Unzip the file with either WinZIP or the native unpacking software that comes with Windows XP/Vista/Win7.
3) You obtain a folder called "Update".
Image2
1 of 3
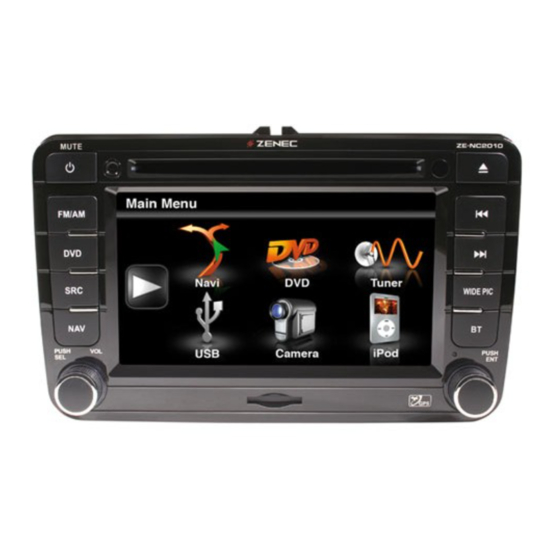
(ZE-NC2010, ZE-NC2040, ZE-NC5010XX, ZE-NC3810)
FAT32).
Image 1
Image3
W W W . Z E N E C . C O M
Advertisement
Table of Contents

Subscribe to Our Youtube Channel
Related Manuals for ZENEC ZE-NC2010 - FOR NAVI-UPDATE


Summary of Contents for ZENEC ZE-NC2010 - FOR NAVI-UPDATE
- Page 1 OPERATING INSTRUCTIONS FOR NAVI-UPDATE (CONTENT & FEATURES) FOR E>GO (ZE-NC2010, ZE-NC2040, ZE-NC5010XX, ZE-NC3810) Use/Coverage: The so called “SyncTool” in combination with the Naviextras Toolbox Software allows to download new map data, Teleatlas map bugfixes, as well as new add-on’s like speedcams, activation of TMC Pro with a USB stick, and to transfer the downloaded files to your E>GO unit.
- Page 2 4) Copy the “Update” folder to the root directory of your USB stick which has been formatted to FAT32 file system before. Image 4 5) Connect the USB stick to the media link box of your E>GO in the vehicle. 6) Turn on the E>GO and navigate to the “Setup-Menu”...
- Page 3 8) After the SyncTool process has started, read and follow the steps and mind the warnings shown on screen. Image 9 Image 10 9) After the sync process has completed, remove the USB stick. 10) Connect the USB stick with your computer / notebook. 11) Start the Naviextras Toolbox service online, after you have created an account and log in was sucessful.
Need help?
Do you have a question about the ZE-NC2010 - FOR NAVI-UPDATE and is the answer not in the manual?
Questions and answers