Table of Contents
Advertisement
Quick Links
Thank you for purchasing this Panasonic product.
■ This manual is common to all the models regardless of suffixes of the Model No.
z for Taiwan
BT: Black model, the standard zoom lens supplied
z for India
BD: Black model, the standard zoom lens supplied
WD: White model, the standard zoom lens supplied
z for Asia (except for Taiwan, India, Korea) / Oceania / Africa
BA/B: Black model, the standard zoom lens supplied
WA/W: White model, the standard zoom lens supplied
z for other countries or regions
B: Black model, the standard zoom lens supplied
W: White model, the standard zoom lens supplied
■ Before operating this product, please read the instructions carefully and save this manual
for future use.
■ Before using this product, be sure to read "Read this first!" ( x pages 5 to 13).
Operating Instructions
DLP™ Projector
Model No.
Functional Manual
Commercial Use
PT-RZ970
PT-RW930
PT-RX110
LBD: Black model, the lens sold separately
LWD: White model, the lens sold separately
LBA/LB: Black model, the lens sold separately
LWA/LW: White model, the lens sold separately
LB: Black model, the lens sold separately
LW: White model, the lens sold separately
ENGLISH
DPQP1026ZA/J1
Advertisement
Table of Contents

Related Manuals for Panasonic PT-RX110


Summarization of Contents
Chapter 1 Preparation
Precautions for use
Essential safety guidelines and warnings for projector operation, transport, and installation.
Security
Measures to protect the projector from unauthorized access and information leakage.
DIGITAL LINK
Explanation of Panasonic's proprietary technology for transmitting signals over twisted-pair cables.
Art-Net
Description of Art-Net as an Ethernet protocol for controlling illumination and stage systems.
Early Warning Software
Information on software for monitoring projector status and predicting maintenance needs.
Disposal
Guidelines for the proper disposal of the projector according to environmental regulations.
Cautions on use
Important warnings and advice for optimal and safe projector operation.
Accessories
List of standard accessories included with the projector for initial setup and operation.
Optional accessories
List of optional accessories available to enhance projector functionality and compatibility.
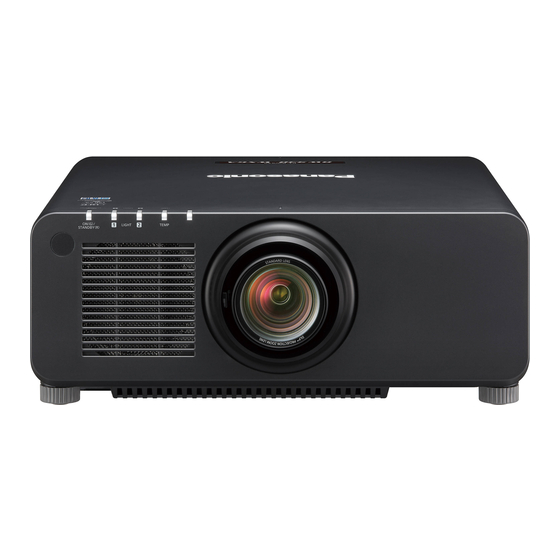
About your projector
Overview of the projector's main components and features.
Chapter 2 Getting Started
Setting up
Instructions and considerations for installing the projector in various orientations and locations.
Removing/attaching the projection lens
Procedures for safely removing and attaching the projector's projection lens.
Connecting
Guidance on connecting external devices and cables to the projector for signal input.
Chapter 3 Basic Operations
Switching on/off the projector
Step-by-step instructions for powering the projector on, off, and understanding power indicators.
Projecting
Procedures for selecting input signals and initiating projection.
Operating with the remote control
Explanation of how to use the remote control for various functions like shutter and OSD.
Using the automatic setup function
How to automatically adjust image position, resolution, and clock phase for optimal display.
Using the function button
Instructions on assigning frequently used operations to the Function button for quick access.
Displaying internal test pattern
Guide to displaying built-in test patterns for projector body checks.
Using the status function
How to display the projector's current operational status and system information.
Setting ID number of the remote control
Instructions for setting remote control IDs for managing multiple projectors.
Chapter 4 Settings
Menu navigation
Guide to navigating the projector's on-screen menu system for settings and adjustments.
[PICTURE] menu
Settings for adjusting image quality, including picture mode, contrast, brightness, and color.
[POSITION] menu
Adjustments for image position, aspect ratio, zoom, clock phase, and geometry correction.
[ADVANCED MENU] menu
Settings for advanced image processing features like Digital Cinema Reality and Edge Blending.
[DISPLAY LANGUAGE] menu
Option to change the language displayed on the projector's on-screen menus.
[DISPLAY OPTION] menu
Settings related to display options such as color matching, screen settings, and input signal adjustments.
[PROJECTOR SETUP] menu
Core setup options for projector installation, operation modes, and system settings.
[P IN P] menu
Settings for the Picture-in-Picture function to display two images simultaneously.
[TEST PATTERN] menu
Accessing and using built-in test patterns for image adjustment and diagnostics.
[SIGNAL LIST] menu
Managing registered input signals, including renaming and deleting.
[SECURITY] menu
Settings for security features like password protection and control device limitations.
[NETWORK] menu
Configuration for network functions, including Digital Link, Art-Net, and IP settings.
Chapter 5 Operations
Network connection
How to connect the projector to a computer and network for remote control and monitoring.
Web control function
Instructions for accessing and controlling the projector via a web browser interface.
Chapter 6 Maintenance
Light source/temperature indicators
Information on projector indicators and troubleshooting steps for common issues.
Maintenance
Procedures for cleaning the projector's outer case and lens surface.
Troubleshooting
A guide to identifying and resolving common problems encountered with the projector.
[SELF TEST] indications
Explanation of error and warning codes displayed during the projector's self-test.
Chapter 7 Appendix
Technical information
Details on protocols like PJLink, Art-Net, and control commands for external integration.
Specifications
Comprehensive technical specifications of the projector, including power, dimensions, and performance.
Dimensions
Physical dimensions of the projector, useful for installation planning.
Precautions for attaching the Ceiling Mount Bracket
Safety guidelines and procedures for securely mounting the projector using an optional bracket.
Need help?
Do you have a question about the PT-RX110 and is the answer not in the manual?
Questions and answers