Table of Contents
Advertisement
instruction manual
502-2 & 503-2 instructions
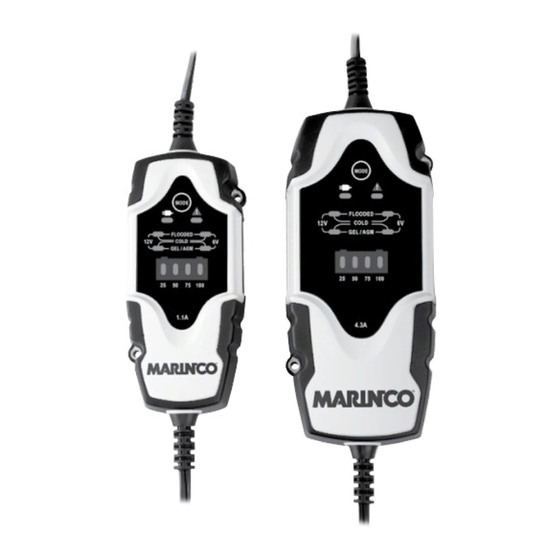
1.1 and 4.3 AMP
Charge Pro™ Portable Chargers
marinco.com
MODELS: 27101 and 27104
The Marinco 27101 and 27104 chargers are designed to recharge, maintain
and extend your battery's life in applications where your battery is stored for
long periods of time. These chargers are very versatile with selectable battery
chemistries, voltages and connectors for your battery. The chargers operate on
115 Volt, 60 HZ AC and show the charge level of your battery.
WARNING THIS CHARGER SHOULD BE USED TO CHARGE ONLY 6 OR 12
VOLT DC LEAD ACID, AGM OR GEL CELL TYPE BATTERY SYSTEMS. USE
ON OTHER THAN 6 OR 12 VOLT DC SYSTEMS CAN CAUSE THE BATTERY
TO EXPLODE AND CAUSE PERSONAL INJURY.
Advertisement
Table of Contents

Related Manuals for marinco Charge Pro 27104


Summarization of Contents
Marinco Charger Instructions
Product Overview
Introduction to Marinco 1.1 and 4.3 AMP Charge Pro™ Portable Chargers, models 27101 and 27104.
Important Safety Instructions
General Safety Precautions
Covers precautions against environmental exposure, improper use of accessories, cord damage, physical damage, disassembly, and electrical shock during maintenance.
Manual Reading and Usage Guidance
Emphasizes reading the entire manual and all cautions before operating the charger.
Lead-Acid Battery Safety
Explosive Gas Warning
Highlights the danger of explosive gases generated by lead-acid batteries during normal operation and the importance of following instructions.
Personal Precautions
Details personal safety measures including having aid, water/soap, eye protection, handling acid spills, avoiding sparks, metal items, charging only lead-acid, and not charging frozen batteries.
Preparing to Charge
Battery Preparation Steps
Covers removing battery, ensuring ventilation, cleaning terminals, adding water, consulting manufacturer, and setting voltage.
Charger Location
Charger Placement Guidelines
Advises on placing the charger away from the battery, avoiding placement above the battery, and ensuring proper ventilation.
DC Connection Precautions
DC Clip Safety
Details safe connection and disconnection of DC output clips, emphasizing not touching clips together and proper attachment.
Connecting Battery in Vehicle
Cord Positioning and Clearance
Position AC/DC cords to prevent damage and stay clear of moving vehicle parts like fans or belts.
Polarity and Grounding Identification
Check battery post diameter for polarity and determine chassis grounding for correct connection.
Vehicle Connection Procedures
Connect positive clip to battery, negative clip to chassis/engine block for negative-grounded vehicles, and vice versa for positive-grounded.
Disconnecting from Vehicle Battery
Procedure to disconnect AC cord, chassis clip, and then battery terminal clip.
Connecting Battery Outside Vehicle
External Battery Connection Steps
Covers polarity check, positive clip connection, avoiding facing battery, and reverse disconnection sequence for batteries outside the vehicle.
Operation Conditions
Ambient Conditions and Usage
Avoid adverse conditions like high temperatures, flammable gases, or using charger inside a vehicle.
General Operation Guidelines
Ventilation and Environment
Ensure sufficient ventilation, avoid poorly ventilated rooms, and keep away from ignition sources.
Temperature and Condensation
Avoid operating immediately after moving from cold to warm room due to condensation risk.
User Supervision and Safety
Emphasizes supervision for inexperienced users, children, or handicapped individuals.
Battery Voltage Check
Verify battery voltage is 6V or 12V before starting the charging process.
Rechargeable Battery Notes
Connection and Disconnection
Disconnect battery from loads before connecting charger, disconnect ground first, and disconnect charger before connecting loads.
Polarity and Acid Handling
Observe polarity, avoid skin/eye contact with battery fluids, and do not dismantle batteries.
Battery Handling Precautions
Batteries must not be short-circuited or thrown into fire due to explosion risk.
Charger Operation Modes
LED Indicator Guide
Description of illuminated LEDs for charging status, power, and error detection.
Charging a Lead Acid Battery
Vehicle Electronic Sensitivity
Warning about sensitive electronic parts in modern vehicles that can be damaged if not handled properly.
Battery Voltage and Chemistry
Ensure battery is 6V or 12V and determine its chemistry for correct charging.
Charger Power-Up and Mode Selection
Details initial LED illumination, mode button usage for voltage/chemistry selection, and memory function.
Error LED and Troubleshooting
Guidance on checking connections and polarity if the 'Error' LED is illuminated.
Charging Process and Completion
Explains the charge start delay, status LEDs, and disconnection procedure upon completion.
Advanced Functions and Troubleshooting
6V COLD Mode
Details for 6V COLD mode, suitable for low temperatures, including LED indicators.
Regeneration Function
Explains the automatic regeneration mode for deep discharged batteries and its limitations.
Defective Battery Detection
Describes how the charger detects defective batteries and the corresponding LED indication.
Mode Selection and Cleaning
Instructions on how to select modes and clean the charger exterior.
Troubleshooting Common Issues
Addresses issues like no LEDs illuminating, inability to change modes, and error LED indications.
Specifications and Warranty
Product Specifications
Details input voltage, charge end voltage, charging current, battery types, capacity, and weight for models 27101 and 27104.
Limited Warranty
Covers the two-year limited warranty, repair/replacement policy, and proof of purchase requirements.
Warranty Claim Process
Information on how to submit a warranty claim online via the Marinco website.
Contact and Additional Information
Marinco Website and Catalog
Provides website address for more information and catalog requests.
Need help?
Do you have a question about the Charge Pro 27104 and is the answer not in the manual?
Questions and answers