
Related Manuals for SANLI SLBV260


Summary of Contents for SANLI SLBV260
- Page 1 Blower / Blower Vac SLB260 Blower SLBV260 Blower Vac Please read this instruction manual carefully before operating your new Sanli Blower / Blower Vac.
- Page 2 Australian Consumer Law. You will be provided with a refund, repair or exchange by Sanli for this product if it becomes defective within the warranty period. Sanli will bear the reasonable expense of claiming the warranty.
-
Page 3: Table Of Contents
Attaching the vacuum bag ..................7 Starting your Blower / Blower Vac ................8 Basic maintenance made easy ................... 9 Using your accessories - (Blower Vac only) .............. 10 Technical specifications .................... 10 Fast trouble shooting ....................11 Contact Sanli Australia....................12 Sanli Blower / Blower Vac User Guide... -
Page 4: Blower / Blower Vac Features
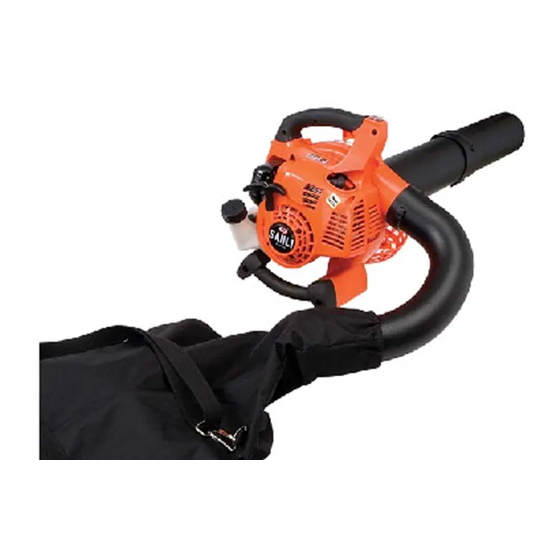
Blower / Blower Vac features. Blower Vac Throttle control Choke lever Air filter Fuel mixing bottle Tools Fuel tank Blower attachment Ignition switch Spark plug Starter handle Securing screw Vacuum tube attachment Vacuum bag Straps Elbow tube Blower Sanli Blower / Blower Vac User Guide... -
Page 5: Tips On Blower / Blower Vac Safety
And never use or store the Blower / Blower Vac near a naked flame. 11. Sanli recommends that you wear ear protectors, safety goggles and safety boots when using a Blower / Blower Vac. 12. All servicing and repair work under warranty must be carried out by an Authorised Sanli Dealer, otherwise the 12 month warranty may be void. -
Page 6: Assembly Instructions
2). Figure 2. Attaching the vacuum tube. Join the two Vacuum attachment tubes together (refer to number 12 on page 4) then open grill and attach onto machine as shown (Figure 3). Rotate tube clockwise into locking position. Lock Figure 3. Sanli Blower / Blower Vac User Guide... -
Page 7: Attaching The Vacuum Bag
Pull narrow end of tube out of hole until it is held firmly in place at wider end (Figure 4). Figure 4. Attach elbow tube to the machine and twist in place as shown in (Figure 5) then tighten the securing screw. Figure 5. Sanli Blower / Blower Vac User Guide... -
Page 8: Starting Your Blower / Blower Vac
For warm restarts, do not prime, just pull the cord and it will start after one or more STOP pulls. To stop the engine, simply slide the ignition switch forward to the STOP position (Figure 9). Figure 9. Sanli Blower / Blower Vac User Guide... -
Page 9: Basic Maintenance Made Easy
3. Storing petrol and oil. WARNING! Petrol is highly flammable so extreme caution must be taken. Always store petrol in approved containers and ensure petrol is less than three months old. Sanli Blower / Blower Vac User Guide... -
Page 10: Using Your Accessories - Blower Vac Only
Spark plug gap 0.6 to 0.7 mm 0.6 to 0.7 mm Fuel tank capacity 500ml 500ml Noise level 79dBA 79dBA Dry weight 4.5kg (not including vac) 4.5kg Warranty 1 year domestic warranty 1 year domestic warranty Sanli Blower / Blower Vac User Guide... -
Page 11: Fast Trouble Shooting
Refer below to the list of potential problems you may encounter, along with suggested remedies. For servicing and all warranty work, contact your local Authorised Sanli Dealer. Problem... -
Page 12: Contact Sanli Australia
Call the Sanli Customer Service Desk on 1800 466 068 Email: support@sanli.com.au Web: www.sanli.com.au Head Office: 9 Gatwood Close, Padstow, NSW 2211...
Need help?
Do you have a question about the SLBV260 and is the answer not in the manual?
Questions and answers