Table of Contents
Advertisement
Advertisement
Table of Contents

Related Manuals for Pioneer DEH-X26UI


Summarization of Contents
Owner's Manual
Important (Serial number)
Notes the location and recording of the unit's serial number for security and convenience.
Before you start
Information to User
Details on user rights regarding alterations and modifications to the equipment.
The Safety of Your Ears is in Your Hands
Guidance on safe listening levels to protect hearing from potential damage.
About this unit
Information regarding tuner frequency allocation for North America and potential reception issues.
Using this unit
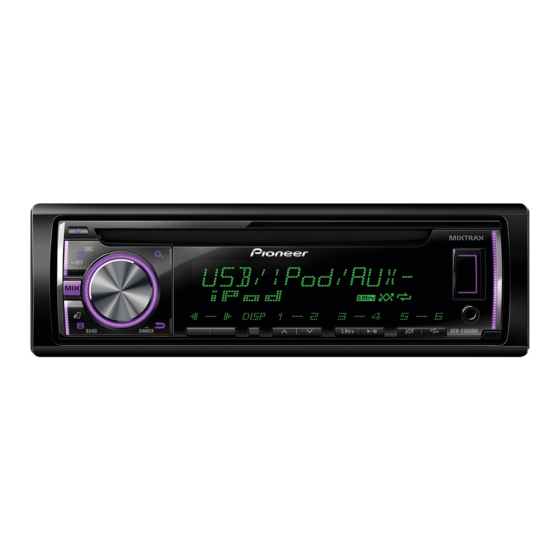
Head unit
Identification of key components and ports on the front of the head unit.
Remote control
Identification of buttons and functions on the remote control unit.
Display indication
Diagrams showing the display layout for different models.
Set up menu
Procedure for initial setup, including clock setting.
Basic operations
Instructions for removing/attaching the front panel and turning the unit on/off.
Selecting a source
How to cycle through and select available audio sources.
Adjusting the volume
Method for controlling the audio volume level.
Use and care of the remote control
Guidelines for operating and maintaining the remote control.
Frequently used menu operations
Navigation tips for common menu functions.
Storing and recalling stations for each band
How to save and access radio presets.
Switching the display
Methods to change the information shown on the unit's display.
Function settings
Accessing and adjusting various operational settings.
BSM (best stations memory)
Automatic storage of the six strongest radio stations.
LOCAL (local seek tuning)
Tuning to stations with only strong signals for good reception.
SEEK (left/right key setting)
Assigning functions to the unit's left and right keys.
CD/CD-R/CD-RW and USB storage devices
Operations for playing discs and USB devices.
MTP connection
Connecting MTP-compatible Android devices via USB.
Operations using the MIXTRAX button
Activating and using the MIXTRAX feature for music mixing.
Selecting and playing files/tracks from the name list
Navigating and selecting audio files using a list.
iPod
Operations and settings related to connected iPod devices.
Using this unit's iPod function from your iPod
Controlling iPod functions directly from the connected iPod.
Function settings
Adjusting specific settings for iPod audio and playback.
Streaming Pandora®
Requirements and procedure for using Pandora internet radio.
Starting procedure for iPhone users
Steps to connect and start using an iPhone with the unit.
Basic operations
General playback controls and track skipping.
Switching the display
Changing the information shown on the display.
Selecting and playing the Shuffle/station list
Navigating and selecting items from shuffle or station lists.
Operations using special buttons
Using specific buttons for playback and sound enhancement.
Function settings
Adjusting various operational settings for the unit.
Using connected device applications
Using the unit to control and stream from iPhone applications.
For iPhone users
Compatibility and usage notes for iPhone and iPod touch devices.
Starting procedure for iPhone users
Steps to connect and initiate playback for iPhone users.
Basic operations
General track selection and playback controls.
Switching the display
Methods to change the information shown on the unit's display.
Function settings
Accessing and adjusting various operational settings.
Audio adjustments
Detailed options for tuning audio output, including Fader, Balance, EQ, Loudness, and Subwoofer.
System menu
CLOCK SET (setting the clock)
Procedure to set the unit's clock time.
12H/24H (time notation)
Setting the clock display between 12-hour and 24-hour formats.
INFO DISPLAY (sub information)
Configuring the type of text displayed in the sub information section.
AUX (auxiliary input)
Enabling or disabling the auxiliary input for external devices.
DIMMER (dimmer)
Turning the display dimmer on or off.
BRIGHTNESS (brightness adjustment)
Adjusting the display brightness level.
Selecting the illumination color
Illumination function menu
Accessing the menu for customizing illumination settings.
KEY COLOR (key section color setting)
Selecting colors for the unit's keys.
DISP COLOR (display section color setting)
Selecting colors for the unit's display.
BOTH COLOR (key and display color setting)
Setting a unified color for both keys and display.
ILLUMI FX (illumination effect mode)
Activating or deactivating illumination effects on the display.
Customizing the illumination color
Creating custom color schemes for keys and display.
About MIXTRAX
MIXTRAX menu
Accessing and adjusting MIXTRAX playback and effect settings.
SHORT PLAYBCK/SHORT MODE (short playback mode)
Selecting the duration of short playback segments.
FLASH AREA (flash area)
Choosing areas for flashing colors to be displayed.
FLASH PATTERN (flash pattern)
Selecting patterns for flashing colors based on sound or bass levels.
MIX PATTERN (mix pattern)
Selecting patterns for mix effects based on audio levels.
DISPLAY FX/DISP FX (display effect)
Turning the MIXTRAX special effects display on or off.
CUT IN FX (manual cut-in effect)
Enabling or disabling sound effects during manual track changes.
Initial menu
SP-P/O MODE (rear output and preout setting)
Configuring rear speaker and RCA outputs for full-range speakers or subwoofers.
Installation
Connections
Wiring instructions and diagrams for connecting the unit and accessories.
Power cord
Wiring connections for the power cord when not using a rear speaker lead.
Power amp (sold separately)
Wiring connections for an optional power amplifier.
Installation
Important notes and guidelines for securely installing the unit in a vehicle.
DIN front/rear mount
Methods for installing the unit using front-mount or rear-mount techniques.
DIN Front-mount
Steps for installing the unit using the front-mount method.
DIN Rear-mount
Steps for installing the unit using the rear-mount method.
Removing and re-attaching the front panel
Instructions for detaching and re-attaching the unit's front panel.
Securing the front panel
Method for securing the front panel with a screw.
Additional information
Troubleshooting
Common symptoms, causes, and solutions for unit malfunctions.
Error messages
List of error codes and their meanings for troubleshooting.
Handling guidelines
Recommendations for handling discs and the player unit.
Discs and player
Guidelines for using compatible discs and player care.
Need help?
Do you have a question about the DEH-X26UI and is the answer not in the manual?
Questions and answers