Advertisement
Table of Contents
- 1 Table of Contents
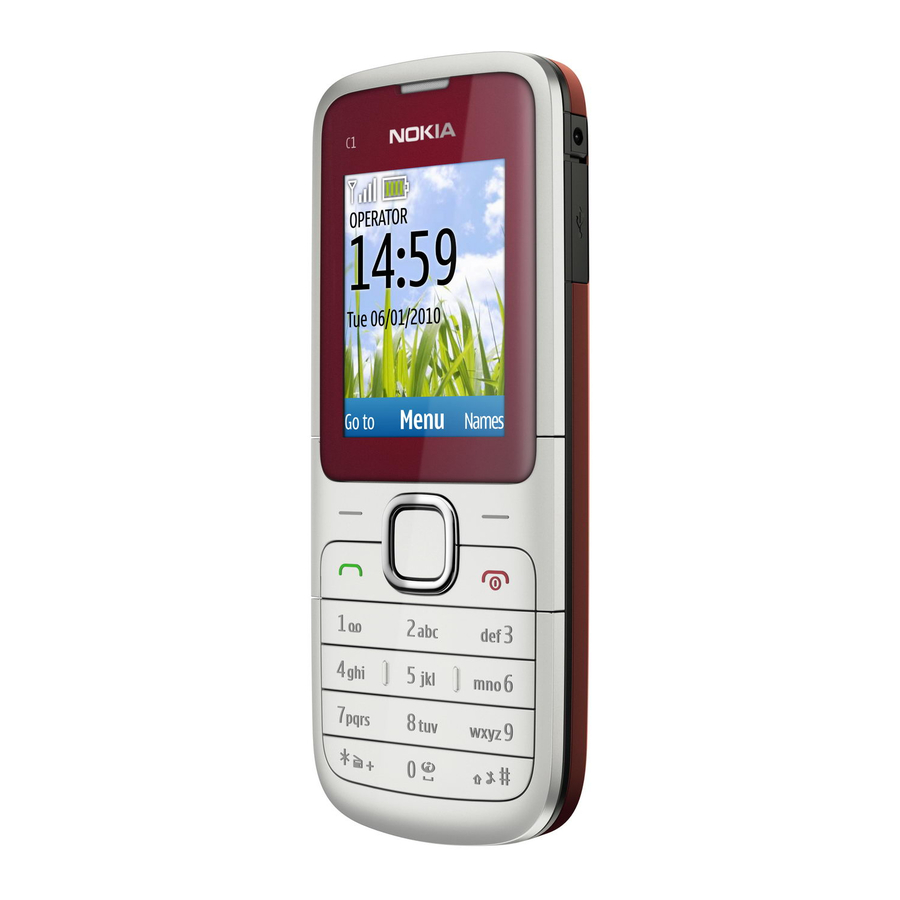
- 2 Nokia C1-01 / C1
- 3 Rm-607 / Rm
- 4 Copyright
- 5 Warnings and Cautions
- 6 Esd Protection
- 7 Care and Maintenance
- 8 Battery Information
- 9 Exploded View
- 10 Service Devices
- 11 Software Update
- 12 Disassembly Instructions
- 13 Assembly Hints
- 14 Solder Components
- Download this manual
See also:
User Manual
1
SERVICE MANUAL
Level 1&2
RM-607 / RM-608
Transceiver characteristics
Band
RM-607:
EGSM 900/1800
RM-608:
EGSM 850/1900
Nokia C1-03 is for China Rural markets only
Display
128x160 TFT display
Camera
VGA camera
Operating System
S40
Connections:
3.5 mm AV connector, Stereo FM radio, Micro USB,
Bluetooth, MicroSD card support up to 32GB
Transceiver with BL-5C / BL-5CB battery pack
Talk time
BL-5C:
Ectel: 5.5 h
Best: 20 h
BL-5CB:
Ectel: 4 h
Best: 15 h
Note:
Talk times are dependent on network parameters
and phone settings
Confidential | Copyright © 2010 Nokia | All rights reserved
Nokia C1-01 / C1-03
RM-607 / RM-608
Service Manual Level 1&2
Standby
BL-5C:
Ectel: 593 h
Best: 744 h
BL-5CB:
Ectel: 465 h
Best: 583 h
Version 2.0
Advertisement
Table of Contents

Related Manuals for Nokia C1-03


Summarization of Contents
Copyright Information
Copyright Notice
Legal notice regarding copyright ownership and usage restrictions of the document.
Safety Warnings and Cautions
Critical Safety Warnings
Operational warnings regarding vehicle systems, explosive atmospheres, and medical devices.
Service Cautions
Precautions for qualified personnel during servicing, including ESD and component handling.
ESD Protection Procedures
General ESD Protection Requirements
Mandatory ESD protection for all servicing and handling of electronic parts.
Product Care and Maintenance Guidelines
Care and Maintenance Recommendations
Guidelines for keeping the phone dry, clean, and protected from environmental damage.
Battery Information and Handling
Battery Usage, Charging, and Disposal
Information on battery performance, charging, handling, and proper disposal methods.
Exploded View and Part Identification
Phone Component Breakdown
Diagram showing disassembled phone parts and their identification numbers.
Required Service Devices and Tools
Service Equipment List
List of essential devices and tools for servicing the phone, including batteries and cables.
Software Update Procedure
Software Flash Concept
Overview of the software flashing process using PC and service cable.
Disassembly Instructions
Initial Disassembly Steps
Steps 1-6 for initial disassembly, including tool usage and cover removal.
Mid-Disassembly Steps
Steps 7-12 covering A-COVER removal and KEYMAT release.
Engine Board Removal Steps
Steps 13-18 for removing the KEYMAT, screws, and the main engine board.
Component Removal Steps
Steps 19-24 for removing the engine board, earpiece, DC jack, and antenna module.
Shielding and Display Components Removal
Steps 25-30 for removing antenna module, UI shielding, and light guide.
Final Disassembly Steps
Steps 31-33 completing disassembly by removing the DOMESHEET and final checks.
Assembly Hints and Torque Specifications
Screw Tightening Torque
Specifications for tightening Torx screws during assembly to ensure proper fit and function.
Solder Component Locations
PCB Component Identification
Diagrams showing the top and bottom of the main printed circuit board with key components identified.
Need help?
Do you have a question about the C1-03 and is the answer not in the manual?
Questions and answers