Table of Contents
Advertisement
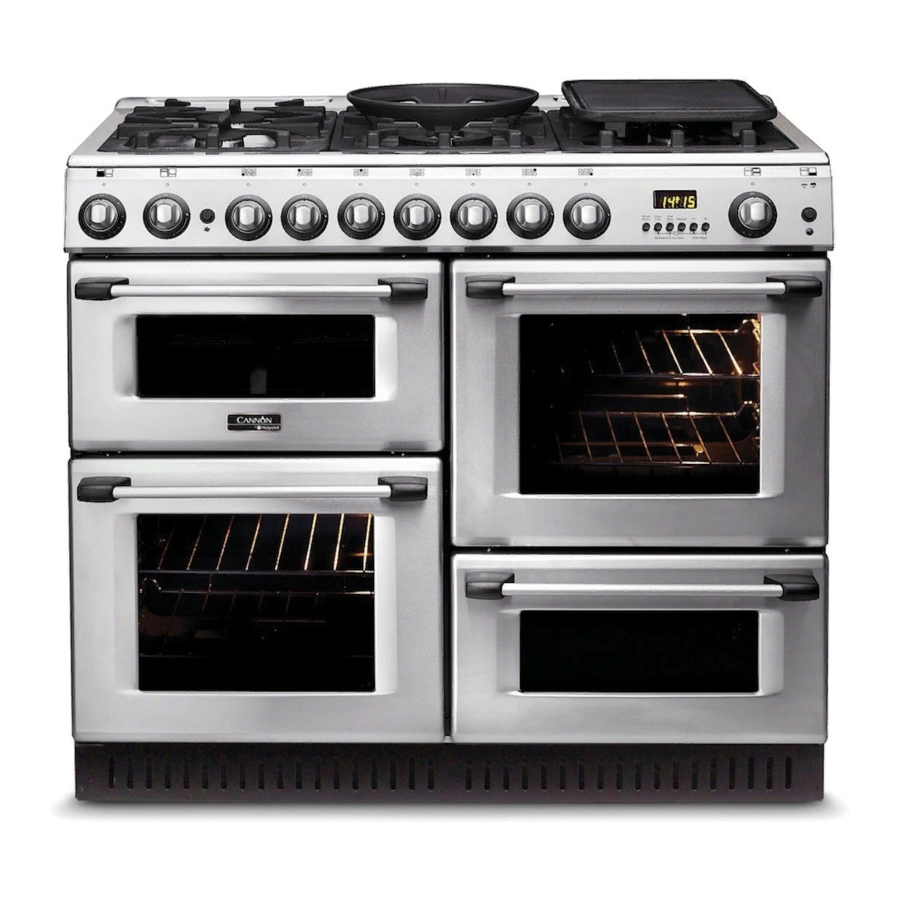
PROFESSIONAL 1000
TRADITIONAL 1000
Use and Installation Instructions
This appliance must be installed in accordance with the regulations in force and
only used in a well ventilated space.
The data badge is fitted on the rear panel. The model/serial number can also be found
on a badge located below the left-hand oven door beneath the door seal.
Read these instructions before installing or using the appliance and retain them for
future use.
Part No. 195044520.00
Advertisement
Table of Contents

Related Manuals for Cannon 10455G


Summary of Contents for Cannon 10455G
- Page 1 PROFESSIONAL 1000 TRADITIONAL 1000 Use and Installation Instructions This appliance must be installed in accordance with the regulations in force and only used in a well ventilated space. The data badge is fitted on the rear panel. The model/serial number can also be found on a badge located below the left-hand oven door beneath the door seal.
-
Page 2: Table Of Contents
Introduction For Your Safety Oven Timer Operation Hotplate Griddle Twin Grill Fan Oven Conventional Oven Oven Cooking Charts The Slow Cook Setting Warming Compartment Care and Cleaning Something Wrong with your cooker? Installation Instructions Key Contacts DISPOSAL OF YOUR PRODUCT: To minimise the risk to injury to children please dispose of your product carefully and safely. -
Page 3: Introduction
To help you make the best use of your cooker, PLEASE READ THIS BOOKLET CAREFULLY. Your new cooker is guaranteed and will give lasting service. The guarantee is only applicable if the cooker has been installed in accordance with the Installation Instructions. -
Page 4: For Your Safety
Please read the precautions below before using your cooker. ALWAYS . . . ALWAYS make sure you understand the controls before using the cooker. ALWAYS check that all controls on the cooker are turned off after use. ALWAYS stand back when opening an oven door to allow heat to disperse. ALWAYS use dry, good quality oven gloves when removing items from the ovens. - Page 5 NEVER . . . NEVER leave children unsupervised where the cooker is installed as all surfaces will get hot during and after use. NEVER allow anyone to sit or stand on any part of the cooker. NEVER store items that children may attempt to reach above the cooker. NEVER heat up unopened food containers as pressure can build up causing the container to burst.
-
Page 6: Oven Timer Operation
OVEN TIMER OPERATION The oven timer offers you the following features: 1. Time of Day 2. Automatic Cooking 3. Minute Minder AUTOMATIC COOKING The fanned oven can be controlled automatically. GUIDANCE ON AUTOMATIC COOKING 1. Select foods which will take the same time to cook. 2. - Page 7 OVEN TIMER OPERATION CLOCKFACE The timer incorporates a 24 hour clock. Ensure the correct time of day is always set, before using your cooker. SYMBOLS A ‘bell’ symbol will light up when you select a Minute Minder Period and will remain lit for the period set.
-
Page 8: Setting The Minute Minder
OVEN TIMER OPERATION SETTING THE TIME OF DAY Step 1 Make sure all oven controls are turned Off. Step 2 Check the electricity supply to the cooker is turned on. Step 3 When switched on the display will show 0.00 and the Auto symbol, Step 4 Press &... -
Page 9: Auto Cooking Programmes
OVEN TIMER OPERATION AUTO COOKING PROGRAMMES There are two Auto Cooking programmes that can be selected using your timer:– (a) To set the timer to switch the oven(s) On and Off Automatically (b) To set timer to switch on immediately and OFF automatically after a set cook period. a) TO SET THE TIMER TO SWITCH THE OVEN(S) ON AND OFF AUTOMATICALLY This allows you to cook at a specified time for a chosen period before the oven switches off Automatically. - Page 10 OVEN TIMER OPERATION Note 1 When cooking automatically the Cook Period can be checked at any time by simply pressing the Cook Period button. Note 2 When cooking automatically the End Time can be checked at any time by simply pressing the End Time button.
- Page 11 OVEN TIMER OPERATION TO CANCEL AN AUTO COOKING PROGRAMME BEFORE THE COOK PERIOD HAS FINISHED. Step 1 Turn the oven control(s) to the OFF position. Step 2 Press the Manual button to return the oven(s) to “Manual” operation. Note 1 When cooking automatically the Cook Period can be checked at any time by simply pressing the Cook Period button.
-
Page 12: Hotplate
The hotplate has one dual control wok burner, one large high speed burner, three normal simmering burners and one small simmering burner. The dual control wok burner consists of a smaller inner and a larger outer burner that can operate either together or separately. - Page 13 SAFETY REQUIREMENTS FOR DEEP FAT FRYING 1. Never fill chip pans more than one third full with oil or fat. 2. Never leave oil or fat unattended during the heating or cooling period. 3. Never heat fat or fry with a lid on the pan. 4.
-
Page 14: Griddle
A non-stick griddle is supplied for use over the two burners on the right hand side of the hob. The griddle is made of cast iron and the surface is covered with a special non- stick finish. To protect the non-stick coating never use metal cooking utensils as they may scratch the surface. -
Page 15: Some Recipe Ideas For Your Griddle
SOME RECIPE IDEAS FOR YOUR GRIDDLE DROPPED SCONES 4oz (100g) plain flour 1/4 tsp salt 1 level tsp (5ml) cream of tartar 1/2 level tsp (2.5ml) bicarbonate of soda 1 egg 1oz (25g) caster sugar 1/4 pint (150ml) milk 1/2oz (10g) margarine WELSH CAKES 6oz (175g) plain flour 1/2 level tsp (2.5ml) salt... -
Page 16: Twin Grill
CAUTION – ACCESSIBLE PARTS MAY BECOME HOT WHEN THE GRILL IS IN USE. YOUNG CHILDREN SHOULD BE KEPT AWAY. GRILLING SHOULD NEVER BE UNDERTAKEN WITH THE GRILL DOOR CLOSED. The grill control is designed to provide variable heat control of either the full width of the grill or just the grill half. -
Page 17: Fan Oven
The heating of the oven is achieved by turning the control knob clockwise to the required temperature as recommended in the temperature charts. The pilot light will immediately come on and will automatically go off and on during cooking as the oven thermostat maintains the correct temperature. - Page 18 TEMPERATURE AND TIME When all three shelves are used to cook large quantities of food for home freezing or parties, it may be necessary to increase the cooking times given in the charts by a few minutes to allow for the loss of heat due to the extra time taken to load the oven, and the larger mass of food.
-
Page 19: Conventional Oven
CONVENTIONAL OVEN OVEN CONTROL Heating of the oven is achieved by turning the control clockwise to the required oven tempera- ture scale on the control panel, as recommended in the temperature charts. The pilot light will immediately come on and off during cooking as the thermostat maintains the correct tempera- ture. - Page 21 Note: If soft margarine is used for cake making, temperatures recommended by the manufacturers should be followed. Temperatures recommended in this chart refer to cakes made with block margarine or butter only.
-
Page 22: The Slow Cook Setting
THE ‘SLOW COOK’ SETTING With the fanned oven thermostat set to 90˚ the oven can be used for slow cooking - The ‘Slow Cook’ setting. PREPARING FOOD FOR SLOW COOKING 1. All dishes cooked by the ‘Slow Cook’ setting should be cooked for a minimum 6 hours. -
Page 23: Care And Cleaning
CARE AND CLEANING WARNING: NEVER USE STEAM CLEANERS. Switch off the electricity supply and allow to cool before cleaning the cooker. Clean the cooker regularly and wipe up spills soon after they occur to prevent them from becoming burnt on. Never use biological washing powder, caustic cleaners, harsh abrasives, scouring pads, steam cleaners, aerosol cleaners or oven chemical cleaners of any kind. - Page 24 CARE AND CLEANING COOKER FINISH Vitreous Enamel Hotplate (Traditional), pan supports, burner caps, roasting dish, grill pan, oven base, rear and roof, door inner panels, grill and warming compartments. Aluminium Burner bodies, door handles. Glass Chromium Plating Oven shelves, grill pan grid, grill pan handle support Plastic Grill pan handle, control...
-
Page 25: Something Wrong With Your Cooker
SOMETHING WRONG Before contacting your Service Centre or Installer, check the problem guide below, there may be nothing wrong with your cooker. PROBLEM Slight odour or small amount of smoke when grill/oven used for first time. Oven cooks too fast or too slow. -
Page 26: Something Wrong
PROBLEM Cannot set an ‘Auto Cook’ programme or cannot get the Timer to turn the oven on or off at the required times. Timer display shows ‘0:00’ with ‘AUTO’ flashing. Fanned oven does not work, but the grill, top oven and hotplate burners work. -
Page 27: Installation Instructions
INSTALLATION INSTRUCTIONS Prior to installation, ensure that the local distribution conditions (nature of the gas and gas pressure) and the adjustment conditions are compatible. The adjustment conditions for this appliance are stated on the data badge which is fitted on the rear panel. - Page 28 INSTALLATION INSTRUCTIONS TECHNICAL DATA DIMENSIONS Height Width Depth GENERAL Gas connection Pressure test point Gas rate adjustment Aeration adjustment Electrical connection Total electrical heat input 240V a.c. HEAT INPUT BURNER HOTPLATE Front Left HOTPLATE Rear Left HOTPLATE Wok Inner Centre Front HOTPLATE Wok Outer Centre Front...
- Page 29 INSTALLATION INSTRUCTIONS CONVERSION FOR USE ON BUTANE OR PROPANE Each hob burner requires the injector to be replaced and each burner gas tap to have the by-pass screw adjusted according to the following procedure: Lift off the burner cap and the burner body and place it to one side. Remove the injector from the burner base with a suitable box spanner and discard.
- Page 30 INSTALLATION INSTRUCTIONS SPACE FOR FIXING The cooker can be close fitted below hotplate level. This requires a minimum distance of 1000mm between cupboard units of hotplate height. When installing next to a tall cupboard, partition or wall, for a minimum distance of 400mm above hotplate level, allow a side clearance of at least 65mm.
-
Page 31: Stability Chain
INSTALLATION INSTRUCTIONS UNPACKING Unpack the components from inside the grill and ovens: Check that the following parts are present. Meat pan Grill pan, grid and handle Loose burner parts (14) Aluminium burner bodies (6) Wok Stand After unpacking your cooker, make sure that you remove all the packing from the oven and grill, and any stickers from the oven door and the hob. - Page 32 INSTALLATION INSTRUCTIONS The cooker is designed to match the depth of standard 600mm worktops. An adaptor backplate should, therefore, be fitted within the shaded area shown to allow the cooker to be pushed fully to the wall. If a forward facing backplate is used, it must be chased into the wall.
-
Page 33: Electrical Connection
ELECTRICAL CONNECTION WARNING - THIS APPLIANCE MUST BE EARTHED Your cooker should have been checked to ensure that the voltage corresponds with your supply voltage, which is stated on the data badge fitted on the rear panel. The cooker must be connected by a contractor/engineer who is registered with the National Inspection Council for Electrical Installation Contracting (NICEIC), to a suitable double - pole control unit with a minimum rating of 30A and a minimum contact clearance of 3mm, which should be fitted adjacent to (but not above) the cooker, in... -
Page 36: Extended Warranty
Republic of Ireland: (01) 842 6836 For further product information All Cannon Services are offered as an extra benefit and do not affect your statutory rights. Merloni Elettrodomestici UK Ltd, Morley Way, Peterborough, PE2 9JB PRINTED BY SIMLEX . FOUR ASHES, WOLVERHAMPTON.
Need help?
Do you have a question about the 10455G and is the answer not in the manual?
Questions and answers