Tannoy SGM Series, SGM 10A / 12A / 15A Manual
- Quick start manual (41 pages)
Advertisement
Introduction
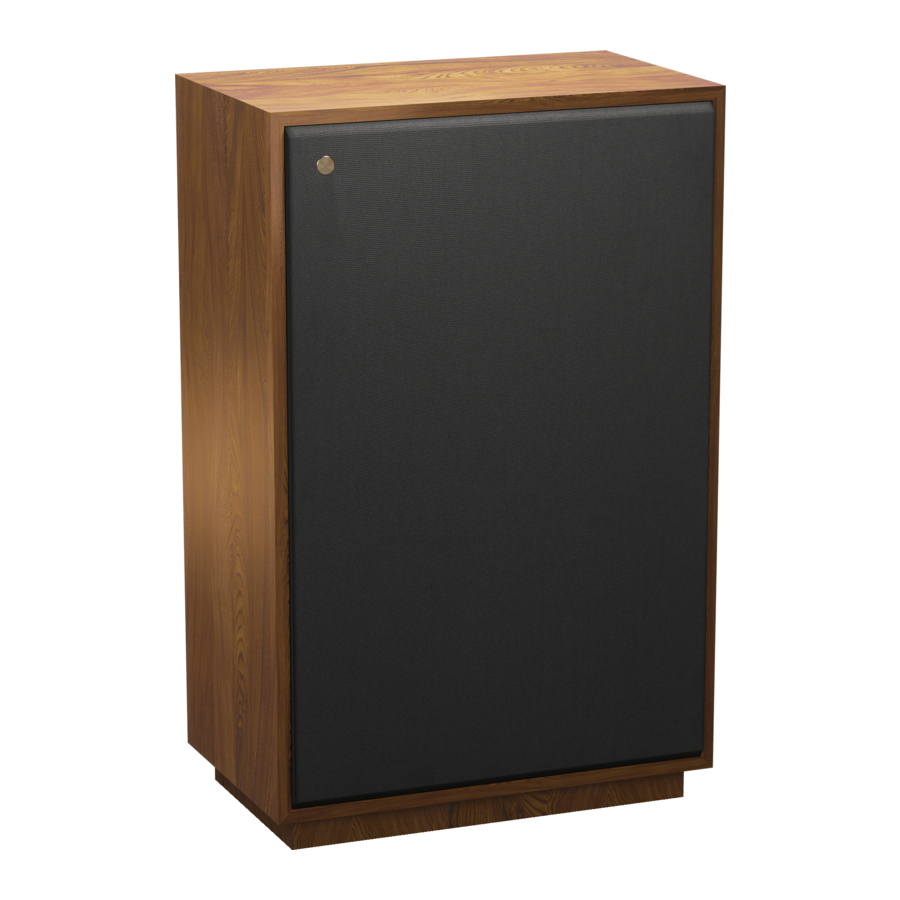
Thank you for purchasing Tannoy SGM-series monitors. These are professional mid-field reference monitors which provide unrivaled musical articulation and outstanding dynamics and accuracy. Using advanced dual concentric drivers, they offer the advantages of point source operation in a very cost-effective design. The attractive wood panel cabinet and front panel contribute to their excellent acoustic performance. Due to the point source operation, they will perform equally well in both landscape and portrait orientation.
This quick start guide is intended to provide the user with some useful advice on how to install and use the loudspeakers, as well as technical information about how the system is designed and its detailed specifications. We hope you get the best results from your monitoring system.
Once you have set up your new monitors as described in this document, please register your product online at www.tannoy.com – this does not limit your legal rights.
Unpacking
To get the speaker out of the carton without damage, open the flaps fully and bend them right back. Turn the package upside-down on the floor and lift the carton vertically up to leave the speaker resting on its packing tray.
Inspect each speaker for signs of transit damage. In the unlikely event of this having occurred, inform the carrier and the supplier. Keep all the packaging if damage has occurred as this will show evidence of excessive handling force. It is also a good idea to keep the carton for future transportation.

These monitors are capable of generating high sound levels over a sustained period of time. Because of their low levels of distortion, it is not always obvious that the sound level is high when working with these monitors. Please be aware that exposure to excessive levels over a sustained period of time can lead to permanent hearing damage.
SGM Series Controls

- DUAL CONCENTRIC SPEAKER
- BASS PORT
- TREBLE ROLLOFF - boosts or filters frequencies above 5 kHz.
- TREBLE ENERGY - provides a shelving filter to boost or cut frequencies above 1 kHz.
- PRESENCE ENERGY - boosts or cuts frequencies between 1 and 5 kHz (SGM 15A only).
- LEVEL KNOB - adjusts the volume output of the speaker. The PWR LED lights when the speaker is turned on. The SIG LED indicates a signal present, and LIM lights when the input is overloaded.
- INPUTS - accept signals via unbalanced RCA, balanced ¼" TRS or balanced XLR cable.
- LINK - passes the input signal through via XLR male connector.
- POWER SOURCE - receptacle accepts the included IEC power cable. The fuse can also be replaced here.
- POWER - switch turns the speaker on or off
Operation
Installation
When choosing a suitable location for the monitors, bear in mind that the physical mounting of loudspeakers can have a large influence on performance. For best results, the monitors should be mounted on a rigid structure, supported on pads making contact with the laminated panel. Self-adhesive foam pads are provided with the loudspeakers for that purpose. If you intend to arrange the monitors in landscape format, detach the whole pad from the backing paper and stick it on the large side to become the bottom of the cabinet; for portrait arrangement the pad is pre-cut so that one half can be easily detached to match the smaller size of the bottom panel.
We recommend location of the monitors so that the drive units are toed inwards, with their axes oriented towards the listening position. The distance between the two speakers should be 2 to 3 metres, depending on the monitoring position. The distance between the monitoring position and each speaker should be slightly greater than the distance between the speakers. If the speakers are placed too close to each other, the full stereo image may not develop. On the other hand, if you place them toofar apart you will notice a hole in the middle of the stereo image.
Ensure that the console position does not obscure the direct sound radiation from the Dual Concentric drive unit when sitting down. The engineer and producer should have a clear, uninterrupted view of the monitor loudspeakers.
Connect the audio signal source (console or interface output) to one of the input connectors on the rear of the speaker. Connections can be made via unbalanced RCA cable, but balanced ¼" TRS or XLR cables are recommended.
The ¼"/XLR combo jack is wired as shown:

Having chosen an appropriate location for your monitors and arranged them accordingly, connect the power cord to the mains socket and turn the power on. The PWR LED on the rear panel should now be illuminated.
Adjustment
With the LEVEL knob set at the center (12:00) position, slowly raise the output from your console or interface while audio is playing. The green SIG LED should light up whenever audio enters the speakers INPUTS. If the red LIM LED ever lights, reduce the output of your source audio. If more volume is needed, raise the LEVEL knob to an appropriate setting.
Each loudspeaker model features two controls labeled Treble Energy and Treble Roll-Off, and the SGM 15A has an additional control called Presence Energy. These allow the high frequency response to be tailored to your listening environment.
To make adjustments, each speaker should be operated one at a time in mono. Pan the output from your source audio so that the full signal passes only to the left or right speaker. The Treble Energy control increases or decreases the HF driver over its entire frequency range from 1 kHz to 20 kHz, while the Treble Roll-Off only affects the highest frequencies above 5 kHz. Presence Energy boosts or cuts frequencies between 1 and 5 kHz.
All controls should be set to the 'Level' position initially. If the sound is too bright or dull, the Treble Energy can be used for broad adjustments. After this setting has been established, further fine tuning with the Treble Energy (and Presence Energy for the SGM 15A) can be made as necessary. Changes to each control can be fairly subtle and may not be heard at all if the audio being monitored has little energy in the spectrum being adjusted. Keep in mind that speaker positioning and room acoustics also affect a speaker's response.
Servicing
Cleaning the cabinet
To remove marks and scuffs, use a medium soft brush. If necessary, a little warm water and detergent can be used, but under no circumstances use a solvent or abrasive cleaner. The surface will change colour when wet but will return to normal when dry.
Dual Concentric driver removal
Before any servicing operation, the amplifier should be disconnected from signal input and mains power. Lay the cabinet on its back, taking care to protect the rear plate. Remove the four hexagonal bolts and set aside. Ease the driver from the front of the cabinet, taking care not to mark the front surface.
Use a piece of stout cardboard to lever against if necessary. Remove the driver and disconnect the internal wiring, taking care not to damage the moving parts of the LF driver.
To refit the driver, connect the cables from the wiring harness to the LF (red +ve and blue -ve) and HF (white +ve and black -ve) terminals. Fit the driver into the mounting hole, fasten the bolts finger tight and then progressively torque them down so that the driver seats evenly.
Drive unit servicing
The HF unit may be fitted with a new diaphragm assembly. With the driver face down, release the three bolts securing the HF assembly and lift the HF unit vertically upwards and away from magnetic attraction caused by the LF magnet. Replace the diaphragm - it is self-centering - taking care to align the parts correctly.
To refit the HF unit, hold it about 30 cm vertically above the LF magnet in both hands while resting on your elbows. Slide your elbows apart and lower the HF unit onto the back of the LF magnet. As the HF unit gets close to the magnet you will feel the magnetic fields repelling. Align the fixing holes and secure with the bolts, tightening down evenly. Do not tighten the bolts finally until you are sure the HF unit is seated correctly and the two magnet systems appear parallel.
The LF unit may be re-coned in the normal way. Use only the parts and adhesive supplied in the re-cone kit.
Checking the unit
The whole unit can be checked using a sine wave generator connected to the input. A high quality, low distortion (preferably a beat frequency) oscillator will be required to check for any buzz and rattle noise generated by the drive unit. The voltage to be applied at the input should be 0.2 Vrms. Testing the whole unit has an obvious drawback in that, in the case of any defect it may be difficult to determine whether the drive unit or the amplifier is faulty. In which case each part would have to be checked independently, meaning that the drive unit should be removed (refer to above).
If for whatever reason the amplifier needs to be removed from the cabinet, care should be taken to remove only the relevant screws (there are 8 mounting screws, 2 on each side of the plate).
Fuse
A fuse is located just under the mains input. Replacement is simple and a spare fuse is provided inside the fuse housing itself. Always use the correctly rated fuse, as indicated on the silk screen printing, there are two different types according to the operating voltage.
Any other servicing regarding the electronic section should be undertaken by qualified and authorised personnel only.
In case of any malfunction of the unit, the first thing to be checked should be the input connection, especially if the source has unbalanced outputs as improper connection can result in significant level reduction and affect the response.
Specifications

Other important information
- Register online.
Please register your new Music Tribe equipment right after you purchase it by visiting tannoy.com. Registering your purchase using our simple online form helps us to process your repair claims more quickly and efficiently. Also, read the terms and conditions of our warranty, if applicable. - Malfunction.
Should your Music Tribe Authorized Reseller not be located in your vicinity, you may contact the Music Tribe Authorized Fulfiller for your country listed under "Support" at tannoy. com. Should your country not be listed, please check if your problem can be dealt with by our "Online Support" which may also be found under "Support" at tannoy.com. Alternatively, please submit an online warranty claim at behringer. com BEFORE returning the product. - Power Connections.
Before plugging the unit into a power socket, please make sure you are using the correct mains voltage for your particular model. Faulty fuses must be replaced with fuses of the same type and rating without exception.
Important Safety Instructions

 Terminals marked with this symbol carry electrical current of sufficient magnitude to constitute risk of electric shock. Use only high-quality professional speaker cables with ¼" TS or twist-locking plugs pre-installed. All other installation or modification should be performed only by qualified personnel.
This symbol, wherever it appears, alerts you to the presence of uninsulated dangerous voltage inside the enclosure - voltage that may be sufficient to constitute a risk of shock.
 This symbol, wherever it appears, alerts you to important operating and maintenance instructions in the accompanying literature. Please read the manual.

To reduce the risk of electric shock, do not remove the top cover (or the rear section). No user serviceable parts inside. Refer servicing to qualified personnel.
To reduce the risk of fire or electric shock, do not expose this appliance to rain and moisture. The apparatus shall not be exposed to dripping or splashing liquids and no objects filled with liquids, such as vases, shall be placed on the apparatus.
These service instructions are for use by qualified service personnel only. To reduce the risk of electric shock do not perform any servicing other than that contained in the operation instructions. Repairs have to be performed by qualified service personnel.
- Read these instructions.
- Keep these instructions.
- Heed all warnings.
- Follow all instructions.
- Do not use this apparatus near water.
- Clean only with dry cloth.
- Do not block any ventilation openings. Install in accordance with the manufacturer's instructions.
- Do not install near any heat sources such as radiators, heat registers, stoves, or other apparatus (including amplifiers) that produce heat.
- Do not defeat the safety purpose of the polarized or grounding-type plug. A polarized plug has two blades with one wider than the other. A grounding-type plug has two blades and a third grounding prong. The wide blade or the third prong are provided for your safety. If the provided plug does not fit into your outlet, consult an electrician for replacement of the obsolete outlet.
- Protect the power cord from being walked on or pinched particularly at plugs, convenience receptacles, and the point where they exit from the apparatus.
- Use only attachments/accessories specified by the manufacturer.
![]() Use only with the cart, stand, tripod, bracket, or table specified by the manufacturer, or sold with the apparatus. When a cart is used, use caution when moving the cart/ apparatus combination to avoid injury from tip-over.
Use only with the cart, stand, tripod, bracket, or table specified by the manufacturer, or sold with the apparatus. When a cart is used, use caution when moving the cart/ apparatus combination to avoid injury from tip-over.- Unplug this apparatus during lightning storms or when unused for long periods of time.
- Refer all servicing to qualified service personnel. Servicing is required when the apparatus has been damaged in any way, such as power supply cord or plug is damaged, liquid has been spilled or objects have fallen into the apparatus, the apparatus has been exposed to rain or moisture, does not operate normally, or has been dropped.
- The apparatus shall be connected to a MAINS socket outlet with a protective earthing connection.
- Where the MAINS plug or an appliance coupler is used as the disconnect device, the disconnect device shall remain readily operable.
![]() Correct disposal of this product: This symbol indicates that this product must not be disposed of with household waste, according to the WEEE Directive (2012/19/EU) and your national law. This product should be taken to a collection center licensed for the recycling of waste electrical and electronic equipment (EEE). The mishandling of this type of waste could have a possible negative impact on the environment and human health due to potentially hazardous substances that are generally associated with EEE. At the same time, your cooperation in the correct disposal of this product will contribute to the efficient use of natural resources. For more information about where you can take your waste equipment for recycling, please contact your local city office, or your household waste collection service.
Correct disposal of this product: This symbol indicates that this product must not be disposed of with household waste, according to the WEEE Directive (2012/19/EU) and your national law. This product should be taken to a collection center licensed for the recycling of waste electrical and electronic equipment (EEE). The mishandling of this type of waste could have a possible negative impact on the environment and human health due to potentially hazardous substances that are generally associated with EEE. At the same time, your cooperation in the correct disposal of this product will contribute to the efficient use of natural resources. For more information about where you can take your waste equipment for recycling, please contact your local city office, or your household waste collection service.- Do not install in a confined space, such as a book case or similar unit.
- Do not place naked flame sources, such as lighted candles, on the apparatus.
- Please keep the environmental aspects of battery disposal in mind. Batteries must be disposed-of at a battery collection point.
- This apparatus may be used in tropical and moderate climates up to 45°C.
 Use only with the cart, stand, tripod, bracket, or table specified by the manufacturer, or sold with the apparatus. When a cart is used, use caution when moving the cart/ apparatus combination to avoid injury from tip-over.
 Correct disposal of this product: This symbol indicates that this product must not be disposed of with household waste, according to the WEEE Directive (2012/19/EU) and your national law. This product should be taken to a collection center licensed for the recycling of waste electrical and electronic equipment (EEE). The mishandling of this type of waste could have a possible negative impact on the environment and human health due to potentially hazardous substances that are generally associated with EEE. At the same time, your cooperation in the correct disposal of this product will contribute to the efficient use of natural resources. For more information about where you can take your waste equipment for recycling, please contact your local city office, or your household waste collection service.
Documents / Resources
References
Download manual
Here you can download full pdf version of manual, it may contain additional safety instructions, warranty information, FCC rules, etc.
Advertisement


Need help?
Do you have a question about the SGM Series and is the answer not in the manual?
Questions and answers