TP-Link Omada Manual
Also See for Omada:
- Installation manual (52 pages) ,
- Quick installation manual (2 pages) ,
- User manual (105 pages)
Advertisement
Table of Contents
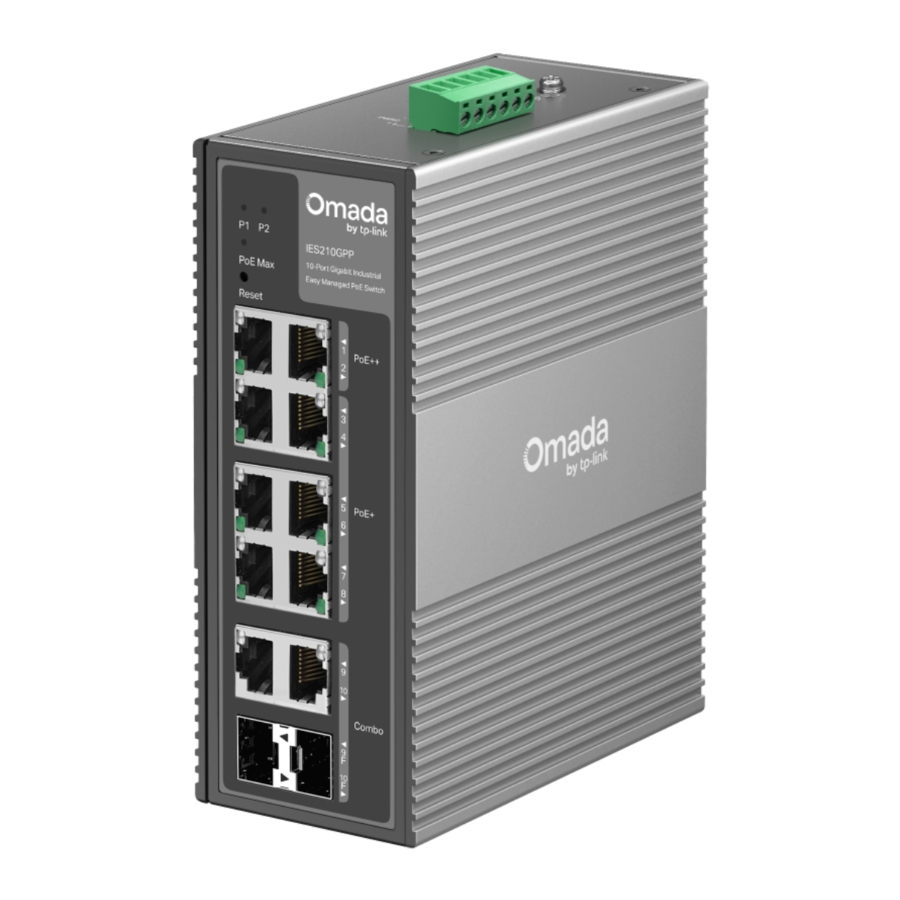
TP-Link Omada Manual
Mount Your Switch
Option 1: DIN-Rail Mounting

Removal from the DIN rail:

Option 2: Wall Mounting


*Mount your switch according to the diagrams in the opening chapter of this guide.
Connection
Note:
- Keep the power off until everything is properly connected.
- To avoid any device damage and bodily injury, connect the grounding stud to the grounding surface properly before connecting devices.
- The fault circuit will open when a relay warning event is triggered.
Connect Your Non-PoE Switch

Connect Your PoE Switch

Note:
- The PoE ports can also connect to non-PoE devices, but only transmit data.
- The PoE ports shall not be used to charge lithium batteries or devices supplied by lithium batteries.
- PoE budget calculations are based on laboratory testing. Actual PoE power budget is not guaranteed and will vary as a result of client limitations and environmental factors.
Documents / ResourcesDownload manual
Here you can download full pdf version of manual, it may contain additional safety instructions, warranty information, FCC rules, etc.
Advertisement


Need help?
Do you have a question about the Omada and is the answer not in the manual?
Questions and answers