Celestron NexStar SE / 6SE / 8SE, 11068, 11069 Manual
- Quick setup manual (21 pages) ,
- Quick setup manual (21 pages)
Advertisement
Setting Up
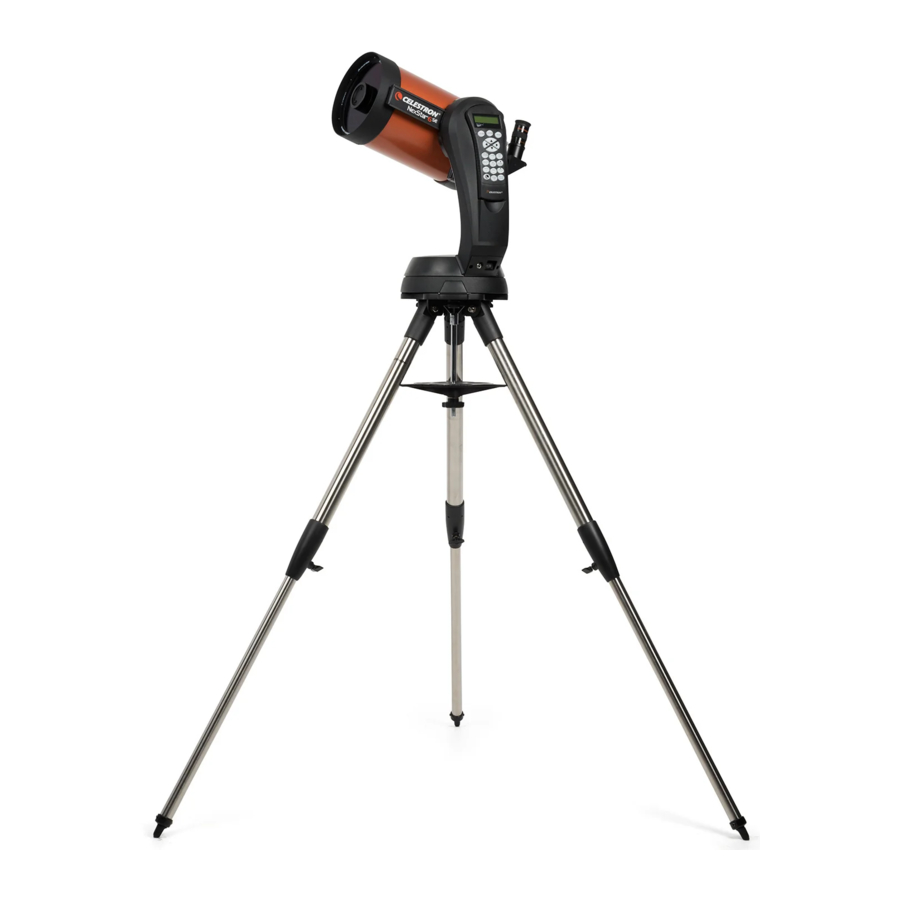
- Ensure that all parts of your NexStar 6SE or 8SE telscope are present: fork arm, optical tube, tripod, accessory tray, computerized hand control, 25mm eyepiece, StarPointer red dot finder scope, star diagonal, bubble level.
![]()
- Spread the tripod's legs out and place the tripod on the ground.
![]()
- Remove the leg brace locking knob.
![]()
- Slide the accessory tray onto the threaded rod so that each arm of the tray braces against each tripod leg. Replace and tighten the leg brace locking knob to secure the tray in place.
![]()
- To extend each tripod leg to the desired height, loosen the locking knob, pull the leg section out, and re-tighten the knob.
![]()
- To check that the tripod is level, place the bubble level on top of it. Carefully readjust the height of each leg as needed and then re-check using the level. Remove the level when you are done.
![]()
- Set the base of the telescope on the tripod head so that the hole in the center of the mount base aligns with the positioning pin on top of the tripod. Rotate the telescope mount so the 3 rubber feet align with the 3 recesses on the tripod mounting plate.
![]()
- Tighten the captive mounting bolts under the tripod head to secure the mount to the tripod.
![]()
- To adjust the balance or remove the tube from the base, simply loosen the quick-release clamp knob and slide the tube back towards the rear cell of the tube. Hold the tube firmly when mounting or dismounting. Ensure the dovetail clamp is tight before releasing the tube.
![]()
- Slide the StarPointer red dot finderscope onto mounting bracket. Tighten the screws on side of the finderscope StarPointer to secure it in place. Pull the small plastic tab from under the battery cover to allow the battery to make contact.
![]()
- Remove the cap on the rear of the telescope. Insert the silver barrel of the star diagonal into the visual back. Tighten the silver set screw to secure.
![]()
- Insert the silver barrel of the 25mm eyepiece into the star diagonal. Tighten the silver screw to secure.
![]()


- Remove the battery cover from the center of the base by gently lifting on the round portion of the cover. Insert 8 AA batteries into the holder and reattach the battery cover. Be careful to insert the batteries in the correct polarity.
![]()
- Turn on the power switch located at the base of the fork arm.
![]()
- Before you begin viewing, please remember to remove the tube lens cap.
![]()
- Slowly turn the focus knob until your subject is in sharp focus.
![]()


Moving the Telescope
With the telescope powered on, use the hand control directional slew buttons (the arrow keys) to move the scope up, down, left, or right. The altitude axis (up & down) also has a slip clutch that you can move by hand at any time. The azimuth axis (left and right) does not. Forcing the scope left and right without using the hand control can result in damage to the gears.

Aligning the Finderscope
The finder is one of the most important parts of your telescope. It helps you locate objects and center them in the eyepiece. The first time you assemble your telescope, you need to align the finder to the telescope's main optics. It's best to do this during the day*.

*SOLAR WARNING! Never attempt to view the Sun through any telescope without a proper solar filter!
![]()
- CHOOSE A TARGET
Take the telescope outside during the day and find an easily recognizable object, such as a streetlight, car license plate or sign. The object should be as far away as possible, but at least a quarter mile away.
![]()
- CENTER THE TARGET IN THE EYEPIECE
Look through the telescope using your lower powered eyepiece. Move the telescope until the object you chose lies in the center of the view. If the image is blurry, gently turn the focus knobs on either side of the telescope until it comes into sharp focus.
NOTE: The image in your telescope may appear inverted. This is perfectly normal in an astronomical telescope.
![]()
- LOOK THROUGH FINDERSCOPE
Once the object is centered in your 25mm eyepiece, look through the finderscope and locate the red dot.
![]()
- ADJUST THE FINDERSCOPE
Without moving the telescope, use the two adjustment knobs to move the finder around until the red dot appears over the same object you are observing in the telescope's 25 mm eyepiece.
![]()
- YOUR FINDERSCOPE IS NOW ALIGNED!
It should not require realignment unless it is bumped or dropped.
![]()


Hand Control Guide
Before you can begin using your NexStar 6SE or 8SE, you must set up your computerized hand control and go through the SkyAlign alignment procedure. For the NexStar SE to accurately point to the objects in the sky, it must first be aligned with known positions (stars) in the sky. With this information, the telescope can create a model of the sky, which it uses to locate any object in its database.
- The first time you turn on the scope, you will need to select the language. Press the number button corresponding to the language you prefer, and press ENTER.
![]()
- The display reads "NexStar SE Ready. " Press ENTER to begin the alignment procedure.
![]()
- Use the SCROLL UP and SCROLL DOWN buttons (located on #6 and #9 keys respectively) to select "SkyAlign" then press ENTER.
![]()
- The hand control will ask you for your observing site location. Use the SCROLL buttons to select "City Database" and press ENTER. Use the SCROLL buttons to see the options and ENTER once you have made your selection. You will select your continent, country, state, and nearest city from the list.
![]()
- Use the numeric keypad enter the current time. Press ENTER to continue. Press UNDO to backspace. If you entered the time in 12-hour format, you will need to select AM or PM.
![]()
- Select either Standard Time or Daylight Saving Time, depending on your location or the time of year.
![]()
- Use the numeric keypad enter today's date in MM/DD/YYYY format. Press ENTER to continue.
![]()
- The mount is now ready to be aligned. Use the directional arrow keys on the hand control to slew (move) the telescope towards any bright celestial object in the sky. Center the object in the finderscope and press ENTER. Once the alignment is underway, do not move the scope or tripod by hand. Use only the hand control to move the scope or errors in alignment will occur.
![]()
- If the finderscope has been properly aligned, the alignment star should now be visible in the field of view of the eyepiece.
![]()
- The hand control will prompt you to center the bright alignment star in the center of the eyepiece. Once centered, press ALIGN. This will accept the star as your first alignment position. The motors will automatically slow down to make this easier.
![]()
- For the second alignment object, choose a bright star or planet as far from the first alignment object as possible. Once again, use the directional arrow buttons to center the object in the finderscope and press ENTER. Once the object is centered in the eyepiece, press ALIGN.
![]()


- Repeat the process for the third alignment star. When the telescope has been aligned to the final star, the display will read "Match Confirmed. " Press UNDO to display the names of the three bright objects you aligned to, or press ENTER to accept these three objects for alignment.
![]()
- Now that your telescope is properly aligned, you are ready to find your first object. Press the SKY TOUR button (keypad #5) on the hand control. The hand control will display a list of objects that are visible, above your horizon, for the date and location you entered.
![]()
- Press OBJECT INFO (keypad #0) to read information about the object. Press the SCROLL DOWN scroll key to display the next object on the list. Press ENTER to automatically slew the scope to the selected target.
![]()


BONUS SOFTWARE

Your purchase includes software for your computer. You don't need to download this software to use your telescope, but it can enhance your experience.
Celestron Starry Night Astronomy Software
Celestron Starry Night, the premier astronomy software on the market, takes you on a guided tour of our Solar System's past, present, and future. It can help you learn about the night sky and plan your next observing session. Use Starry Night to model exactly how the night sky will appear from your backyard, a neighbouring town, or anywhere on Earth.
MINIMUM SYSTEM REQUIREMENTS
Windows:
- Windows 7 or higher
- 500MHz or higher processor
- 128 MB RAM
- 850 MB hard disk space
- 32 MB OpenGL-capable graphics card
- Monitor with 1024x768 pixel resolution (recommended)
Mac:
- Universal binary (PPC/Intel-compatible)
- OS X 10.4 or higher (10.5 or higher for Elementary)
- G3 450 MHz or higher processor
- 128 MB RAM
- 850 MB hard disk space
- 32 MB OpenGL-capable graphics card
- Monitor with 1024x768 pixel resolution (recommended)
SAFETY INSTRUCTIONS
- There is a risk of explosion if the battery is replaced with an incorrect type.
- The included battery is not rechargeable.
- Only use the battery as originally intended to avoid a short circuit. Connecting the conductive material directly to the battery's positive and negative sides will cause a short circuit.
- Do not use a damaged battery.
- Do not store the battery in an extremely cold or hot environment. Doing so can reduce battery life.
- Remove batteries if drained or if product is to be left unused for a long time.
- When replacing the battery, refer to the instruction manual and ensure the positive and negative sides are oriented correctly.
- Do not put the battery in fire.
- Dispose of the battery according to local regulations.
![]()
SOLAR WARNING: Never attempt to view the sun through any telescope.
NEED ASSISTANCE?
Contact Celestron Technical Support celestron.com/pages/technical-support
Product design and specifications are subject to change without prior notification. This product is designed and intended for use by those 14 years of age and older.
Documents / Resources
References
Download manual
Here you can download full pdf version of manual, it may contain additional safety instructions, warranty information, FCC rules, etc.
Download Celestron NexStar SE / 6SE / 8SE, 11068, 11069 Manual
Advertisement


Need help?
Do you have a question about the NexStar SE and is the answer not in the manual?
Questions and answers