Advertisement
Table of Contents
Contents
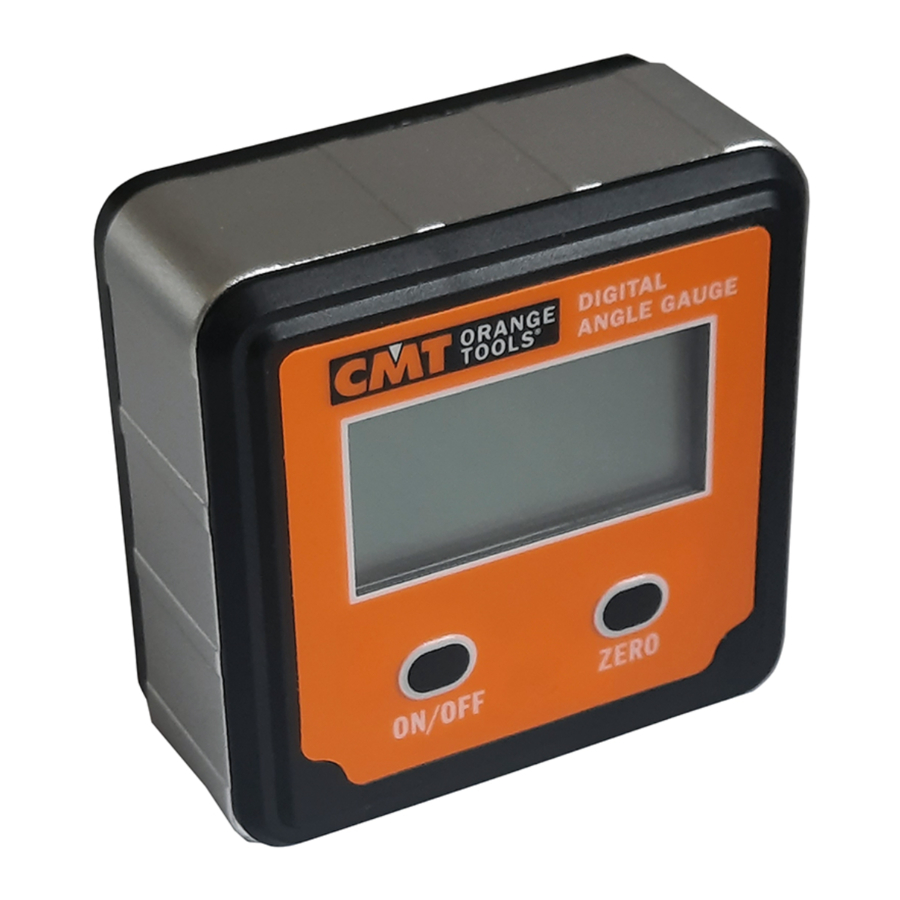
CMT ORANGE TOOLS DAG-001 Manual
INTENDED USE
- Works great for miter saws and table saws Accurately sets saw blade bevel angle.
SAFETY FIRST
- Always turn off and unplug your power tools before using your digital angle gauge. Never operate power tools without blade guards. Instructions below do not show guards.
BATTERY
- Insert battery (following polarity indication) by opening the slot cover on the backside of the gauge
(See Fig. 4 below).
ON/OFF BUTTON
- Press ON/OFF once to turn LCD backlight on, display will show figures in absolute mode (ABS). Press and hold ON/OFF for 3 seconds to turn it off.
- Keeping the gauge idle for 10 seconds will cause the backlight to turn off. To turn it on again, press ON/OFF or simply move the gauge.
- Keeping the gauge idle for 5 minutes will cause it to shut off. Press ON/OFF to turn it on again.
- If the device is tilted excessively on the short side (>30°), an "Error" message will appear.
ABSOLUTE AND RELATIVE MEASURING
- Turn gauge on, press ZERO to set display to 0.0°. Relative measuring mode is selected.
- To switch to absolute measuring mode, press ON/OFF once. When using the absolute measuring mode, the "ABS" symbol will show on the display.
- Absolute measuring mode calculates the angle between the starting flat surface and the end point. Relative measuring mode calculates the distance between 2 intermediate points (Fig. 1).
Horizontal Plane

Fig.1

ICON FUNCTION

ABS: The symbols indicate the side to tilt the instrument (where the angle is smaller) to return to 90°
ZERO: The symbol  indicates that the displayed angle is measured from the horizontal plane upward, while the symbol
  indicates that it is measured from top down relative to the horizontal plane.
CALIBRATION
Calibrate gauge in case of accidental falling, damages or angle faults only.

- Place gauge on a flat surface, press ON/OFF and ZERO at the same time until "-1" shows (Fig. 2).
- Short press ON/OFF. "-1-" should be flashing until "-2-" shows (Fig. 3).
- Turn gauge backward 180°, press ON/OFF. "-2-" should be flashing for a while (Fig. 4).
- When flashing is over, calibration is completed (Fig. 5).
INSTRUCTIONS FOR USE WITH SAW BLADE
- Set gauge on a flat surface such as a table saw and miter saw.
- Turn on gauge and press ZERO on a surface. Display will show 0.0° (Fig. 6).

Fig.6 - Attach gauge to your saw blade or jointer blade. The magnetic base will keep the gauge in position (Fig. 7).

Fig.7
Make sure gauge is kept perpendicular to the table (Fig. 8).

Fig.8 - Gauge on properly adjusted tools will display 90° (Fig. 9).

Fig.9 - Now you can press ZERO to set gauge to 0.0° and measure the angle of your cutting tool (Fig. 10 and 11).


TECHNICAL SPECIFICATIONS
- Range: 360° (±90°x4)
- Resolution: 0.1°
- Accuracy: ±0.1° (0°-90°); ±0.2°
- Size: 60x60x28mm (2-3/8"x2-3/8"x1-1/8")
- Battery: 1 AAA-1.5V - NOT INCLUDED
Documents / ResourcesDownload manual
Here you can download full pdf version of manual, it may contain additional safety instructions, warranty information, FCC rules, etc.
Advertisement


Need help?
Do you have a question about the DAG-001 and is the answer not in the manual?
Questions and answers