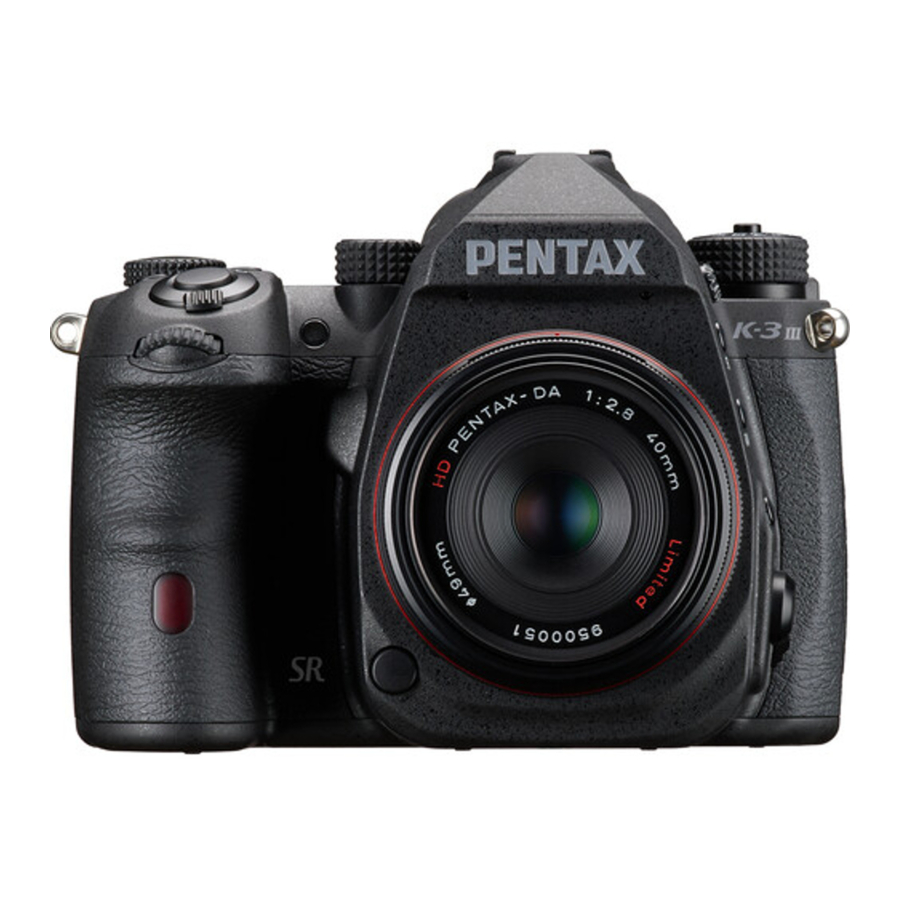
Pentax K-3 Mark III Manual
- Instructions (2 pages) ,
- User manual (8 pages) ,
- User manual (8 pages)
Advertisement
Introduction
'Astrophoto Assist' is an optional, purchasable function. It extends the range of functions and is not included in the camera's standard scope of delivery.
After you have received the QR code, please follow the installation procedure to unlock the premium functions:
Switch on the camera and select "Limited Functions" in the camera menu <Setup, Menu 6>. Highlight the premium feature you have purchased (the 'Astro Assist' feature unlocks all three additional options in a single operation).
To do this, select 'Read Unlock Code' and point the camera lens at your dedicated QR code.
Please follow the instructions on the menu screen:
TO READ THE QR CODE, PRESS THE GREEN BUTTON
When the 'Feature Unlocked' message appears, you can use the premium feature you purchased. It is added to the camera's still image capture section (Menu 3).
Astrophotography Assist User's Manual
Function Overview
- "Astrophotography Assist" is a premium function that packages "Star AF", "Remote Control Focus Fine Adjustment", and "Astrophoto Image Processing" features. By loading the unlock key for "Astrophotography Assist" in [Limited Function] of the
![]() 6 "Maintenance" menu, "Star AF", "Remote Control Focus Fine Adjustment", and "Astrophoto Image Processing" become available
6 "Maintenance" menu, "Star AF", "Remote Control Focus Fine Adjustment", and "Astrophoto Image Processing" become available


Star AF
Function Overview
- With "Star AF", the camera automatically focuses on stars which are generally difficult subjects to focus on. Subjects other than stars are not supported.
Make sure to securely mount the camera on a tripod, etc.
* This function works only with autofocus lenses.
* This function can be used only with Live View.
Preparation for Shooting
- Set [AF Active Area] to [
![]() Star AF] in [AF with Live View].
Star AF] in [AF with Live View].
Select [AF with Live View] in the![]() 1 "Focus Settings" menu.
1 "Focus Settings" menu.
![]()
Select [AF Active Area] in [AF with Live View].
![]()
Select [![]() Star AF] in [AF Active Area].
Star AF] in [AF Active Area].
![]()
 Star AF] in [AF with Live View].
 1 "Focus Settings" menu.

 Star AF] in [AF Active Area].
Shooting Procedures
- Switch the camera to Live View.
- Adjust the angle of view (zoom) and composition so that the desired stars are in the AF frame. Make sure only stars are in the AF frame.
"Star AF" mode screen
![]()
- Secure the camera to a tripod, etc. to make sure it does not move.
- Either press the shutter release button halfway, press the AF button, or press the shutter release button on the remote control unit to start focusing.
- The AF active area is magnified during focusing. (Focusing takes time. Keep the camera still until it is complete.)
Screen during focusing
![]()
- When focusing is complete, the AF frame turns green and the focus is locked. (Do not operate the lens after focusing is complete.)
Screen after focusing is complete
![]()
- Press the shutter release button fully or press the shutter release button on the remote control unit to release the shutter. When the AF frame is green (focus is locked), autofocus is not performed even if the shutter release button is pressed halfway.


- To unlock the focus, press the MENU button, or press the shutter release button halfway and then release it. The AF frame color returns from green to white (the state it was in before "Star AF" was started).

- Focusing takes approx. 10 to 20 seconds.
- When taking multiple frames, switch to manual focus after focusing is complete.
- If autofocus is complete but the stars are not in focus, the AF frame turns red and then returns to white after a certain amount of time passes.
- Focusing may fail in locations with ambient brightness (significant light pollution, etc.) or if you cannot see stars with the naked eye.
- If the stars still are not in focus after using "Star AF" multiple times, try adjusting the composition slightly or making other adjustments.
Remote Control Focus Fine Adjustment
Function Overview
- "Remote Control Focus Fine Adjustment" is a function to fine-tune the focus with the optional Remote Control Waterproof O-RC1 without operating the lens or camera. This function is useful for astrophotography, macro shooting, and other situations where direct contact with the lens makes subtle focusing difficult. Make sure to securely mount the camera on a tripod, etc.
* This function works only with autofocus lenses.
Preparation for Shooting
- Remote Control Waterproof O-RC1
![]()
- Set [AF with Remote Control] to [Off (Focus Fine Adj.)].
Select [AF with Remote Control] in the![]() 6 "Function Customization" menu.
6 "Function Customization" menu.
![]()
Select [Off (Focus Fine Adj.)] in [AF with Remote Control].
![]()

 6 "Function Customization" menu.

Shooting Procedures
- Set the drive mode to a mode for remote control use ([Remote Control (0 sec.)] or [Remote Control (3 sec.)]).

- Set the focus mode switch for the camera and lens to AF.
- Press the zoom button
![]() on the remote control unit to change the focus to the near side, or the Fn button
on the remote control unit to change the focus to the near side, or the Fn button ![]() to change it to the far side.
to change it to the far side. - Press each button as many times as necessary until the subject is in focus. (The focus does not continue changing even if the button is pressed and held.)
- Press the shutter release button on the remote control unit to release the shutter.

- Both the optical viewfinder and Live View are available for shooting. It is recommended to use the magnified view with Live View for checking the focus accurately.
- The focus may not change when pressing the button once depending on the lens status. Press the button multiple times until the focus changes.
- Each time the button is pressed, the focus changes slightly. For quick focusing, first roughly set the focus manually.
- If you try to release the shutter other than with the remote control unit, autofocus may be activated unintentionally.
Astrophoto Image Processing
Function Overview
"Astrophoto Image Processing" is a function that allows you to select and adjust new image processing options for astrophotography and save the processed image as a new JPEG file. The following six processing options are provided: [Shading Correction], [Uneven Correction], [Background Darkness], [Star Brightness], [Celestial Body Clarity], and [Color Fringe Correction].
Processing Procedures
- Display the image to apply "Astrophoto Image Processing" to in the single image display, press the AE Lock button to display the playback function selection screen, and select [Astrophoto Img. Process.].
![]()
- Select the image processing option to use and adjust each parameter.
To reset all the six image processing settings to their default values (no image processing), press the Green button (RESET ALL) on the "Astrophoto Image Processing" selection screen.
To reset each image processing parameter to its default value, press the Green button on each image processing screen.

- Each setting is reflected each time it is changed. To hide icons and display the image in full screen, press the ISO button. You can also use the rear dial to change the image magnification to check the effect of image processing.
- When all image processing settings are complete, press the OK button to save the image as a new file.
![]()


- "Astrophoto Image Processing" saves the most recent parameter settings.
When applying image processing to a different image, reset the settings as necessary.
- "Astrophoto Image Processing" can be applied to RAW or JPEG images captured on this camera. "Astrophoto Image Processing" only processes JPEG images, so when a RAW image is selected, the image is first developed into a JPEG image in the camera under the conditions at the time of shooting, and then that JPEG image is processed.
- "Astrophoto Image Processing" cannot be directly applied to RAW images captured with HDR or Pixel Shift Resolution shooting. Develop the RAW images to JPEG images with the camera beforehand and then apply "Astrophoto Image Processing" to them.
- Additional "Astrophoto Image Processing" can be applied to an image to which "Astrophoto Image Processing" has already been applied. However, because it is applied to JPEG images, the image quality may degrade with each image processing. It is recommended to complete all processing at the same time whenever possible.
Shading Correction
- "Shading Correction" corrects lens peripheral illumination fall-off.
- By default, [Shading Level] is set to OFF (no correction) on the shading correction setting screen. The shading level can be set in 11 levels, including OFF and +1 to +10. The larger the value, the stronger the correction.

- When the shading level is set to OFF, the correction position cannot be configured.
![]()
- The correction position can be set in 7 levels of -3 to +3. If a negative value is set, peripheral illumination fall-off correction is applied gradually from the center. If a positive value is set, steep peripheral illumination fall-off correction is applied outside the frame.


Uneven Correction
- "Uneven Correction" corrects the color casts and uneven brightness caused by light pollution, etc.
- The uneven correction amount can be set for each color (R: red, G: green, B: blue). By default, the correction amount is set to OFF (no correction) for all colors.
- The correction amount can be set in 21 levels, including OFF and +1 to +20. The larger the value, the stronger the color cast correction for that particular color. (For example, if a large correction value is set for green, the green color cast is corrected.)
- When a uniform correction value is set for each color, the image brightness is corrected. (For example, the brightened areas near the horizon due to terrestrial light, etc. are corrected.)
- When the correction amount for any one or more colors is set to +1 to +20, the [Angle], [Highlight Level], and [Uneven Contrast] parameters can be set.

- "Angle" sets the direction of uneven correction. When the angle is set to 0°, 90°, 180°, or 270°, the bottom, right, top, or left side of the screen is corrected, respectively. (If [Highlight Level] is set to 0, correction is applied symmetrically, so the same results are achieved for 0° and 180°, and for 90° and 270°.)

- "Highlight Level" sets the bias of uneven correction in 6 levels of 0 to +5. If it is set to 0, the correction is unbiased. The correction is applied equally to the top and bottom or to the left and right. The larger the highlight level value, the stronger the correction applied in the direction set in [Angle]. On the other hand, a negative correction value is applied to the opposite side of the direction set in [Angle]. (For example, if a large correction value is set for green (G), the green correction is applied in the direction set in [Angle], and magenta correction (complementary color for green) is applied in the opposite direction.)

- "Uneven Contrast" adjusts the uneven correction sharpness (R: red, G: green, B: blue). This can be set in 7 levels of -3 to +3. Setting a negative value weakens the contrast, applying correction from the inside of the frame, whereas setting a positive value strengthens the contrast, applying stronger correction outside the frame.
Example of [Uneven Contrast] (when [Angle] is set to 0 ° and [Highlight Level] is set to 0)

Example of [Uneven Contrast] (when [Angle] is set to 0 ° and [Highlight Level] is set to +5)


Reference
- If you experience a green color cast as shown in the figures above, it can be corrected by setting the correction amount for green (G). If you experience a yellow color cast, it can be corrected by applying the same correction amount for red (R) and green (G).
Background Darkness
- "Background Darkness" corrects backgrounds other than stars that appear white in astrophotography.
- The correction amount can be set in 21 levels, including OFF (no correction) and +1 to +20. The larger the value, the darker the background.


Star Brightness
- "Star Brightness" adjusts the brightness of stars (bright sections) in astrophotography.
- The correction amount can be set in 6 levels, including OFF (no correction) and +1 to +5. The larger the value, the brighter the stars.
- Because this process brightens bright sections, the effects can be easier to obtain by sufficiently darkening the background with [Background Darkness] in advance.


Celestial Body Clarity
- "Celestial Body Clarity" adjusts the contrast of faint celestial bodies such as the Milky Way, nebulae, and other parts of the galaxy for greater sharpness.
- The correction amount can be set in 6 levels, including OFF (no correction) and +1 to +5. The larger the value, the greater the clarity.


Color Fringe Correction
- "Color Fringe Correction" reduces color bleeding around stars that occurs due to chromatic aberration.
- For the color fringe correction, the color and color level can be set, or OFF (no correction) can be selected. The color can be selected from 6 colors including red, magenta, blue, cyan, green, and yellow, and the color level can be set in 5 levels of +1 to +5. For the color level, the larger the value, the greater the correction.
- For the color fringe correction, two colors can be corrected simultaneously. (The effect is the same even when the same color is set.)
- Because the color fringe correction corrects the color around stars (bright points), the impact on flat sections such as the background is minimal, however, stronger correction can result in faded background colors.
- To hide icons and display the image in full screen, press the ISO button. You can also use the rear dial to change the image magnification to check the effect of color fringe correction.


Documents / ResourcesDownload manual
Here you can download full pdf version of manual, it may contain additional safety instructions, warranty information, FCC rules, etc.
Advertisement


Need help?
Do you have a question about the K-3 Mark III and is the answer not in the manual?
Questions and answers