Advertisement
Quick Links
This assembly manual contains important safety informa on. Please read and keep for future reference.
Useful Hints Before You Start
1. Read each step carefully before star
2. Before beginning assembly, iden fy, sort and count the parts before assembly.
3. Using the wrong screw will cause damage.
4. Using incompa
e hardware might cause damage to product.
5. It is important that each step is performed in correct order to avoid di
6. Assemble your furniture on packaging cardboard to prevent scratch or damage.
7. Do not ghten any screws or bolt un the unit is completely assembled.
8. Keep all hardware parts out of reach of children.
Necessary Tools
Phillips
Screwdriver
g.
Flat Head
Hammer
Screwdriver
Distributed exclusively by COE Distribu ng!
Tel: 800-388-8202 (Mon-Fri | 9am – 5pm EST.)
o cesourcefurniture.com
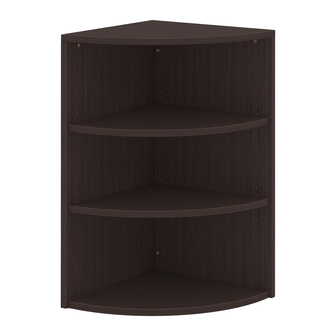
Model No.:
OS161
Descrip on:
36"x15" Corner Bookcase
es.
CAUTION – Risk of product damage!
Power Drill can be used on lowest
torque se ng.
Customer Service
Advertisement

Related Manuals for OfficeSource OS161


Summary of Contents for OfficeSource OS161
- Page 1 Tel: 800-388-8202 (Mon-Fri | 9am – 5pm EST.) o cesourcefurniture.com This assembly manual contains important safety informa on. Please read and keep for future reference. Model No.: OS161 Descrip on: 36"x15" Corner Bookcase Useful Hints Before You Start 1. Read each step carefully before star 2.
- Page 2 Please read completely through the instruc ons and verify that all listed parts and hardware are present before beginning assembly. Hardware List Cam Lock Shelf Cam Bolt (10x) Cam Lock (10) Adjustable Glide (5x) Support (8x) Allen Key (1x) Parts List Bottom Panel (1x) Side Panel B (1x) Side Panel S (1x)
- Page 3 Insert the cam with the arrow Line up Cam Bolt, Insert the Cam Bolt into Turn the Cam Lock to lock pointing towards the hole in the edge. turn clockwise. Cam Lock. using the Allen Key provided. Attach the Side Panel S(2) and Bottom Panel(3) to Attach Top Panel(4) to Side Panels(1 &...
- Page 4 Maximum Recommended Weight Loads Care & Maintenance Check bolts/screws periodically and ghten them if necessary. Use a so , clean cloth that will not scratch the surface when dus Clean the product with mild cleanser using so damped cloth. Do not use harsh or abrasive cleanser. Liquid spills should be removed immediately.
Need help?
Do you have a question about the OS161 and is the answer not in the manual?
Questions and answers