Advertisement
How to Start

Watch the tutorial and get started now.
Product description
DIAMOND DISK
HORL Diamond
Grinds gently and efficiently. During first use, excess diamond particles are audibly removed from the disk, which becomes noticeably smoother.

CERAMIC DISK
HORL Ceramic
The honing disk removes any burr and refines the grinding result.

EXCHANGING DISKS
HORL Quick Lock
When needed, the HORL 3 grinding disk can be unscrewed and an alternative disk or whetstone fitted in its place.

ANGLE SUPPORT
HORL 3 Angle Support
The magnetic angle support guarantees you have a constant, reproducible grinding angle. Thanks to its anti-slip effect, the HORL Grip Pad ensures the blade is held securely.

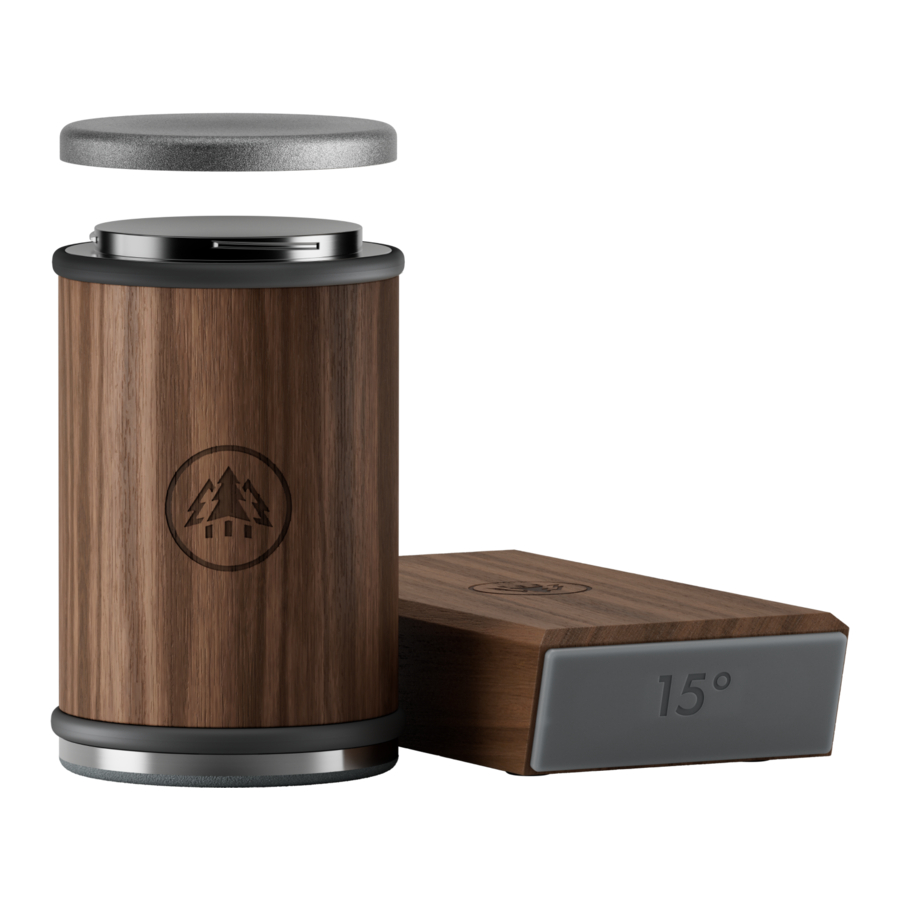
15° ANGLE
15° Grinding Angle
For a precise cutting edge.

Find the right angle
horl.com/angle-finder

20° ANGLE
20° Grinding Angle
For a robust cutting edge.

Find the right angle
horl.com/angle-finder

Operating guide
GRINDING TIME CHECK

Grinding time for a new angle
Before grinding, draw a felt marker over the knife edge such that it leaves a mark on both sides. Once the mark is completely removed by grinding, the angle is completely established.
ATTACH
- Attach the knife
Place the blade spine down on the work surface.
Slide the blade towards the desired side of the angle support until the magnets take a hold.


Find the right angle
horl.com/angle-finder

GRIND
- Grind with the diamond disk
Place the angle support on the work surface and hold it firmly. Position the sharpener such that the diamond disk slightly touches the cutting edge. Gently move it back and forth along the entire cutting edge.


TURN
- Turn the knife around
Lever the knife off the side of the angle support to release the blade. Turn the blade around and repeat the grinding process with the diamond disk against the other side of the cutting edge.
![]()

HONE
- Hone using the ceramic disk
To smooth the cutting edge, repeat the process using the ceramic honing disk for both side of the blade.


FINISH

Strop and clean the blade
As a final step, strop the knife with a leather. Clean the blade thoroughly with water and a towel.
REMOVE BURR

Remove burr
If the knife scratches or snags while stropping with the leather, hone it further with the ceramic disk. If a burr is stubborn, repeat the grinding and honing procedure.
Tips and tricks
TIP OF THE KNIFE

Grinding the tip of the knife
If the tip of the knife cannot be reached, turn the sharpener inwards a little so that it rolls in a slight curve. Always maintain contact with the cutting edge.
SMALL KNIVES

Attaching narrow blades
Position the blade against the angle support, ensuring the edge protrudes above it. The spine of the blade will not touch the work surface, the magnets will hold it in position.
BROAD BLADES

Attaching broad blades
Position the blade against the angle support. Elevate the sharpener by placing a thick enough cutting board beneath it, such that the cutting edge contacts the grinding disk.
MAINTENANCE

Storage and maintenance
Protect the HORL 3 and the angle support from moisture. Clean the grinding disks regularly with a pencil eraser.
MANUFACTURING
Precision from the Black Forest
High standards of quality and regional partnerships play an important role at HORL. The manufacturing is carried out by partner companies located in the Black Forest, Germany.

Safety instructions

Safe use
The HORL 3 is only intended for people who are able to handle sharp knives safely. It is unsuitable for use by children.
Designed for sharpening smooth, straight blades
Improper application of the HORL 3 can shorten the service life of the product.
Beware of strong magnets
The angle support contains powerful magnets.
Keep it well away from pacemakers and other electronic devices.
Take care with the choice of work surface
Diamond dust and silicone elements can damage work surfaces.
We recommend using a large, non-slip cutting board as a base.
MORE INFORMATION ON HORL.COM
ANGLE FINDER
The easy way to find the right angle.
PERSONAL SUPPORT
The HORL team offers assistance in 5 languages.
FAQ & TUTORIALS
Tips and tricks about using our products.
HORL 1993 GmbH
Breisacher Str. 86 · 79110 Freiburg · Germany
info@horl.com · www.horl.com
Documents / Resources
References
![www.horl.com]() HORL Rollschleifer | Premiumschärfe für deine Messer | HORL-1993
HORL Rollschleifer | Premiumschärfe für deine Messer | HORL-1993![horl.com]() HORL Rollschleifer | Premiumschärfe für deine Messer | HORL-1993
HORL Rollschleifer | Premiumschärfe für deine Messer | HORL-1993
Download manual
Here you can download full pdf version of manual, it may contain additional safety instructions, warranty information, FCC rules, etc.
Advertisement


Need help?
Do you have a question about the 3 and is the answer not in the manual?
Questions and answers