Table of Contents
Advertisement
Advertisement
Table of Contents

Related Manuals for DeLonghi AD699


Summary of Contents for DeLonghi AD699
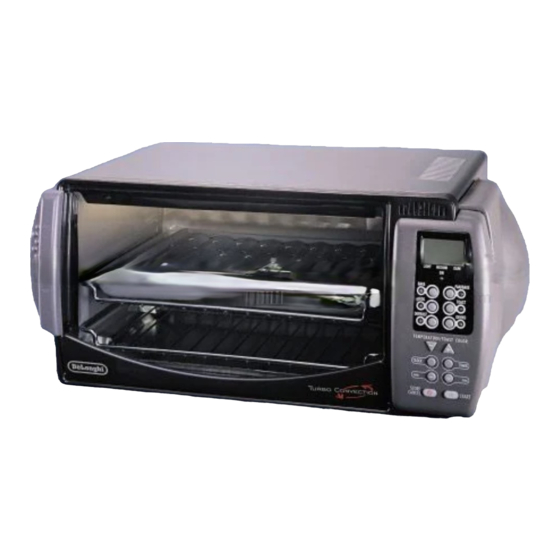
- Page 1 CONVECTION OVEN WITH ELECTRONIC CONTROLS Instructions for use AD699...
-
Page 2: Table Of Contents
CHAP. 1 GENERAL Control panel ........... . 3 Description and accessories provided . -
Page 3: General
1.1 - CONTROL PANEL 1 Display 2 ON pilot light 3 BAKE button/pilot light 4 BROIL button/pilot light 5 DEFROST button/pilot light 6 TEMPERATURE/TOAST COLOR setting 7 CLOCK button 8 “min -” button G E N E R A L 9 STOP/CANCEL button 10 FAN/BAKE button/pilot light 11 TOAST button/pilot light... -
Page 4: Description And Accessories Provided
@@@@@@@@@@@@@@@@@@@ @@@@@@@@@@@@@@@@@@@ yyyyyyyyyyyyyyyyyyy @@@@@@@@@@@@@@@@@@@ yyyyyyyyyyyyyyyyyyy @@@@@@@@@@@@@@@@@@@ yyyyyyyyyyyyyyyyyyy A Upper heating element B Oven light C Control panel D Lower heating element E Crumb tray F Cookie Sheet (two provided) G Broiling rack H Shallow pan Wire shelf (two provided) L Dehydrator kit (optional) -
Page 5: Important Safeguards
23) Do not place any of the following materials in the oven: paper, cardboard, plastic and the like. 24) Do not cover crumb tray or any part of the oven with metal foil; this can cause overheating of the oven. -
Page 6: Summary Of Operation
1.4 - SUMMARY OF OPERATION PROGRAM MODES CONVECTION FAN/BAKE OVEN COOKING CONVECTION OVEN PRESS TWICE COOKING ON TWO FAN/BAKE TRAYS SIMULTANE- OUSLY TRADITIONAL BAKE OVEN COOKING BROILING AND TOP BROWN- BROIL TOAST TOASTING G E N E R A L... -
Page 7: Keeping Warm
PROGRAM MODES KEEPING FAN/BAKE WARM DEFROST DEFROSTING DEHYD DEHYDRATING 1.5 - CORRECT WIRE SHELF POSITIONS ONLY for dehydrating G E N E R A L TEMPERATURE SETTING/DISPLAY INDICATION 140°F POSITION OF WIRE RACK/ NOTES/TIPS ACCESSORIES Turn to this setting to keep hot food warm. -
Page 8: Installation
USE ALUMINUM FOIL Do NOT allow foil to touch sides of the oven or the heating elements. Foil can be used to cover foods or the shallow pan (for easier clean-up) provided foil is tucked in securely around the food or the edges of the pan or dish. -
Page 9: Using The Controls And Setting The Modes
U S I N G T H E C O N T R O L A N D S E T T I N G T H E M O D E S 2.1 - SETTING THE CLOCK • When the appliance is connected to the domestic power supply for the first time, or after a power out,four dashes will appear on the display (--:--). -
Page 10: Bake And Fan/Bake Modes
• If the cooking time is not set (skipping points 3 and 4), the display will show the countdown starting from the default duration of 1:00 (1 hour). • The oven should always be preheated. Wait for the audible signal (3 times 3 short beeps) before placing the tray (5) with food in the oven. -
Page 11: General Guidelines
U S I N G T H E C O N T R O L A N D S E T T I N G T H E M O D E S GENERAL GUIDELINES With FAN/BAKE mode, a fan gently circulates the heated air within the oven, providing a more even tem- perature around the food. This system, used in many large commercial ovens for years, produces more even browning and cooking of baked foods, meats and poultry. - Page 12 1 minute. 5 Press the START button (16). The oven will start the count- down. At the end of the set time the control will emit 4 beeps and the display will...
-
Page 13: Notes And Tips
TEMPERATURE AND TIME FOR TYPICAL FOODS (convection baking and roasting) The suggested temperature and times will vary depending on the temperature of the food placed in the oven, the quantity and personal preference. Times given for meat and poultry are for refrigerator temperature. Add five minutes for preheating the oven. -
Page 14: Broiling Mode
3 Set the time (max 2 hours) by pressing the “min-” (8) and “min+” (15) buttons. 4 Press the START button (16). The oven will start the count- down. At the end of the set time the control will emit 4 beeps and the display will... - Page 15 2 - 3 inches from the top element. Leave the door open to the stop position and watch carefully to avoid burning the toppings. NOTE: Oven-glass dishes should not be exposed to direct broiler heat. When the function and the temperature controls are set to BROIL only the top element heats at full power. Be sure to leave door open to stop position only, as shown in the figure 1 on page 14.
-
Page 16: Toasting Mode
• When toasting, the toasting time will count down on the clock display. The timing will be different for each custom setting you choose. Keep in mind that the timing is adjusted by the oven thermostat. So if your oven is already warm, the toasting time will be less than if you start with a cold oven. -
Page 17: Defrosting Mode
1 minute. 4 Press the START button (16). The oven will start the count- down. At the end of the set time the control will emit 4 beeps and the display will... -
Page 18: Dehydrating Mode
FOR DEHYDRATING: Always leave the door open to the stop position (as shown in figure). Prepare food and use the dehydrating kit DeLonghi as follows: insert wire shelf, inverted in the slot 1; put the dehydrator kit on the wire shelf (see figure). -
Page 19: Cleaning And Maintenance
Do not use metal scouring pads, as they might mar the finish. Always remove cleaning agents by polishing with a dry cloth. 5. The wire rack, the oven pan and the broiling rack may be washed as other kitchenware. OTHER SERVICING Any servicing requiring disassembly should be performed by an authorized service representative If the display shows ER (error), it means that the oven is damaged. -
Page 20: Limited Warranty
This limitation does apply if you enter into an extended warranty with DeLonghi. Some states do not allow limitations on how long an implied warranty lasts, so the above exclusions may not apply to you. De’ Longhi does not authorize any other person or company to assume for it any liability in connection with the sale or use of its appliance.
Need help?
Do you have a question about the AD699 and is the answer not in the manual?
Questions and answers