Advertisement
What's in the Box

 NOTE : Micro SD card is not included.
Connection Instructions

Connect the power interface and the power socket with the power cord.

Installation Guide
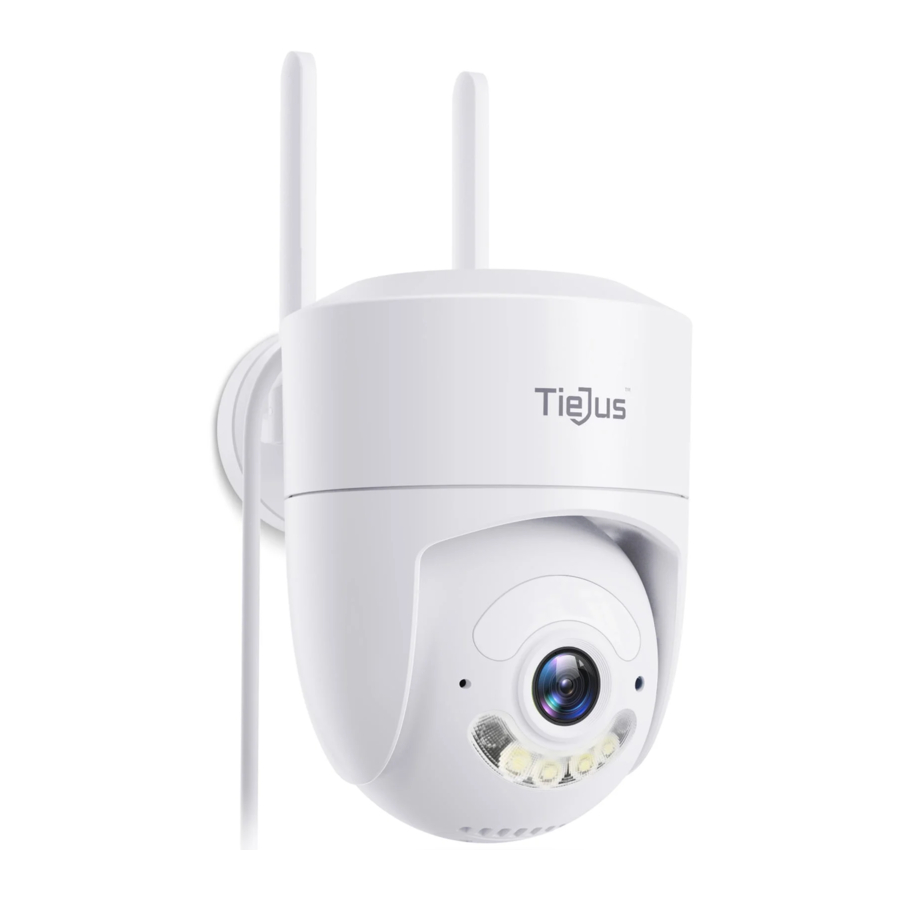
Choose a location
Please install the camera in a location where the field of view is not blocked, and make sure that the location of the camera has a good wifi signal.

Mounting bracket
Use a drilling tool to drill holes in the wall according to the hole spacing of the base. It is recommended to use a pencil to mark the holes in the wall before riling. Screw the expansion nut into the hole on the wall and then connect the bracket with the nut in screws to complete the fix.

Voice broadcast instructions
| Device status | Voice broadcast |
| Normal start | Network connection is successful, please open the APP to add a device |
| Normal reset | The reset is complete, the device is about to restart |
| Abnormal reset | Reset failed, please reset after connecting to the Internet or delete the device on the APP |
| OR code network configuration | Identify broadcast ding~ |
| Alarm broadcast | Alarm sound |
Camera Reset
When the camera is powered on, press and hold the reset button for 3-5 seconds until you hear a voice prompt and a prompt sound of "reset is complete, the device will be restarted soon",that is, the reset is successful.
Device Connection
Download the APP
Scan the QR code below to download and install the O-KAM Pro APP.

Register and log in to the APP
- Please register an APP account and log in.
- If you have already registered, please log in directly.
Add device
- Method 1: Open the mobile APP, click the
"+"in the upper right corner to scan the QR code on the camera and complete the device binding according to the guidance of the mobile phone - Method 2: Open the mobile APP, please click the "+" in the upper right corner and select the "QR code not found" button-one select "WiFi camera" and complete the device binding according to the guidance of the mobile phone.
Device Sharing

Open permission of Device sharing, the person being shared can set the function of the device. lf the permission is turned off, you can only watch the video, and cannot set the function.
FAQ
- How do l invite family and friends to use my camera together?
A: Open the APP and select your camera in the home page. Click "Share" in the camera settings to enter the sharing page, and a QR code will be generated. Your friends can open the app and gain some access by scanning the OR code in their phone. - Why doesn't the Wi-Fi name appear when I connect to Wi-Fi?
A: On Apple devices with iOS 13 and above, you need to turn on the "Location Permission" of the app in the system settings and change it to "Allow while in use". - Will the camera display a red light after turning on the night vision function?
A: The built-in IR LED lights, when the night vision is turned on, the camera only displays some faint red lights, but the picture quality is still clear in the dark environment. - What are the requirements for Wi-Fi?
A: Please use 2.4GHz and 5GHz wireless network. At the same time, please set the Wi-Fi authentication method to WPA2-PSK or other lower-level security methods, and need to set a password. - How far should the camera be from the router?
A: After testing, the Wi-Fi connection distance can reach 150 meters in an open area. But the actual situation depends on the strength of the Wi-Fi and its surroundings(thick walls, electromagnetic devices, large metal objects can all cause interference to the Wi-Fi signal). lf the camera connection is weak or unstable, place the camera as close to the router as possible. - What should I do if the equipment fails?
A: Long press the power button to restart the camera. If the reis no response, you can open the USB silicones cover at the bottom of the camera, long press the reset button to reset and then long press the power button to restart the camera. - Can't add a camera for the first time?
A: When adding a camera for the first time, make sure the camera is powered on and the working status light is Blue flashes slowly. Or hear "Please use the App for WiFi configuration" from the camera.- Make sure the WiFi account and password are correct.
- The camera supports 2.4GHZ WiFi and 5GHZ WiFi.
- When adding a camera, ensure that the network is smoothed and it is recommended to operate close to the router.
- If the OR code network configuration is unsuccessful, try to use the AP network configuration(the mobile phone can be automatically added after connecting to the WiFi hotspot issued by the camera and returning to the App) the password should not be set as complicated as possible, and it does not contain special characters.
- If the two methods are still unable to connect to the Internet, it is recommended to restart the router and try again
- Provide the nameplate label of the router.
- TF card not recognized?
A: After inserting the TF card into the TF card slot of the camera, check whether the capacity of the TF card is displayed in the "System Settings". "TF Card Recording Settings" of the device in the APP. lf it prompts "No TF card detected", it means that the TF card recognition failed.- Please use brand TF card, Only FAT32 format is supported.
- The TF card can be recognized by the computer normally.
- The recommended TF card capacity is between 2-128G.
- Recommend to use a high-speed TF card of Class 4 and above.
- Try to insert and unplug the TF card several times.
- It is recommended to try another TF card.
- It may take some time for the camera to recognize the TF card.
After inserting the card, wait for about 30S before observing.
Service
If you have any problems, please feel free to send us an E-mail. We will solve your problems within 24 hours. In addition, your advice or suggestions will be much appreciated and welcomed.
How to Activate the Free 1-year Warranty Extension?
Send us order number and SN number via email.
Please email us within 30 days of receiving the camera.
Email: Tech@tiejus.com
Product Service
Email: Tech@tiejus.com
Distributor: Distributor@tiejus.com
More About Us
Web: www.tiejus.com
Facebook: www.facebook.com/zumimalloffice
YouTube:www.youtube.com/@TieJus
Documents / Resources
References

Download manual
Here you can download full pdf version of manual, it may contain additional safety instructions, warranty information, FCC rules, etc.
Advertisement


Need help?
Do you have a question about the MA3 and is the answer not in the manual?
Questions and answers