Advertisement
Introduction

Read these instructions. All the safety and operating instructions should be read before using the wireless headphone system.
Check if the voltage indicated on the type plate of the adapter corresponds to the local mains voltage before connecting to the mains power supply.
Remove the batteries from the headphone's battery compartment and disconnect the adapter from the mains if the system is not in use for a long period.
Prevent fire or shock hazard: do not expose this equipment to humidity, rain, sand or excessive heat caused by heating equipment or direct sunlight.
Radio equipment for wireless audio applications is not protected against disturbance from other radio services.
General information
Before using the FM headphone for the first time, please ensure that the batteries are fully charged for about 16 hours. This will guarantee a longer operating lifetime of the batteries.
Benefits of Philips latest RF/FM wireless technology
Wireless transmission
The FM transmitter transmits the stereo audio signal from your audio or video source to your FM headphone without wires.
Wide transmission range
Your FM headphone can receive signals up to 100 meters away.
High - frequency radio system
The FM headphone set uses a high radio frequency as the signal carrier, ensuring a very clear, sharp reception.
Automatic power on/off indicator
The FM transmitter automatically switches on and starts transmitting when audio signals are detected at the audio input (red LED).When no audio signals are detected the FM transmitter automatically switches off after a few minutes.
Rechargeable system
The FM transmitter recharges the headphone's built-in rechargeable LR03/ AAA NiCd batteries. Just place the batteries in the transmitter's battery compartment. The green LED lights up during charging.
Easy transmission
The FM headphone is able to receive signals from the transmitter, even through barriers such as doors, walls and windows.
Multiple headphones with one transmitter
An additional number of headphones and/or wireless speakers can be used with a single transmitter if they:
- operate in the 864 MHz band
- can detect a 19 kHz pilot tone.
Please consult the appliance's electrical specification sheets for confirmation on compatibility.
Kit contents
This FM headphone system consists of the following accessories:
1 x SBC HC8352 FM transmitter
1 x SBC HC8355 FM headphone
1 x SBC CS030/00 12Volt / 200mA AC/DC adapter (for UK:SBC CS030/05 12 Volt/ 200 mA AC/DC adapter)
2 x rechargeable batteries LR03/AAA(NiCd), 550 mAh
1 x 3.5 mm plug to 6.3 mm stereo adapter plug
1 x antenna tube
Transmitter

(figure 1)
- Recharging indicator — the green LED lights up during recharging. Completely flat batteries will be fully charged after about 16 hours.
- Power indicator — lights up when audio signals are detected at the audio input.
- Recharging compartment — just place the batteries in the transmitter's battery compartment. The green LED lights up during recharging.
- DC power — connect to the 12 Volt/ 200 mA AC/DC adapter
- 3.5 mm stereo headphone audio input — connects your FM transmitter to an audio source
- Channel switch — select one of 2 channels for best reception. We advise you to select channel 1 as a first option.
- Controls plate
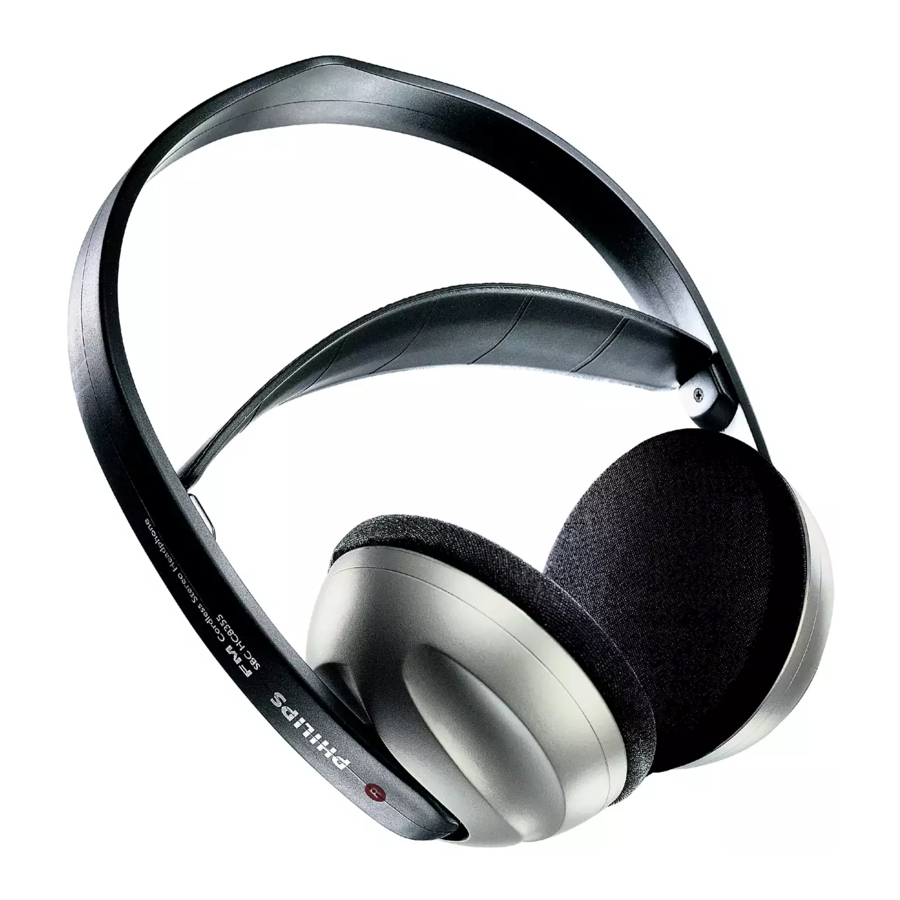
Headphone

(figure 2)
- Power indication — lights up when in use.
- Power On/Off — slide the switch to the on or off position to switch the headphone on/off.
- Battery compartment — remove the earcushion, take out the batteries and put them in the transmitter's recharging compartment for recharging.
- Volume — adjust volume to your desired listening level.
- Tuning — turn the tuning wheel until the signal is at its clearest.
Installation
Transmitter power supply
Use only Philips SBC C S030/00 12 Volt/200 mA AC /DC adapter. (For UK,use only Philips SBC CS030/05)
- Make sure the adapter's rated voltage corresponds to the mains socket voltage.
- Connect the DC connector of the AC/DC adapter to the 12 Volt DC power input connector located at the rear of the transmitter.
- Connect the 12 Volt/200 mA AC/DC adapter to the mains socket.
- Always disconnect the AC/DC adapter if the transmitter is not to be used for a long period of time.
- Insert the antenna tube in the hole, located on the top of the transmitter. Ensure that the wire which is hanging out of that hole, is guided in the antenna tube.
- Installing the antenna tube correctly, will improve the transmission range.
Headphone power supply
Use only rechargeable LR03/AAA NiC d batteries (preferably Philips).
Do not use NiMH batteries or alkaline batteries as these may damage your FM wireless system!
- Check if the power button of the FM headphone is in the on position.
- To recharge the headphone's built-in rechargeable LR03/AAA NiCd batteries, open the headphone's battery compartment. Take out the batteries and put them in the transmitter's recharging compartment for recharging.
 Notes:
Completely flat batteries need approximately 16 hours to recharge.
Always remove the batteries if the headphone is not to be used for a long period of time.
Batteries contain chemical substances, so they should be disposed of properly.
Headphone battery replacement

(figure 3)
Use only rechargeable LR03/AAA NiC d batteries (preferably Philips).
Do not use NiMH batteries or alkaline batteries as these may damage your FM wireless system!
- Remove the earcushions.
- Take out the batteries and dispose of them properly.
- Insert new batteries. Only use LR03/AAA NiCd batteries (preferably Philips).
- Make sure the batteries are correctly inserted as indicated by the engraved symbols in the battery compartment.
- Put the earcushions back on the earshell.
Audio Connections
Before using the FM headphone for the first time, please ensure that the batteries are fully charged for about 16 hours. This will guarantee a longer operating lifetime of the batteries.
Connecting the FM transmitter to a headphone output of an audio source

(figure 4)
- Connect the 3.5mm stereo plug of the stereo audio cable to the headphone output of an audio source, such as TV, HiFi or PC.
- In case your audio source has a 6.3mm headphone output, use the supplied 3.5mm to 6.3 mm stereo adapter plug.
- Switch on your audio source and carefully increase the volume of the audio source. The red power indication LED of the transmitter lights up if receiving an audio signal.
- Switch on the headphone. You may hear a hissing sound through the headphone if the headphone is not yet properly tuned to the transmitter.
- To tune, turn the tuning wheel until the signal is at its clearest.
- Adjust the volume to the desired level with the headphone volume control.
Basic operation
When the FM transmitter is connected to a headphone output of an audio source.
- Switch on your audio source and carefully increase the volume of the audio source. The red power indication LED of the transmitter lights up if receiving an audio signal.
- Switch on the headphone. You may hear a hissing sound through the headphone if the headphone is not yet properly tuned to the transmitter.
- To tune, turn the tuning wheel until the signal is at its clearest.
- Adjust the volume to the desired level with the headphone volume control.
Troubleshooting
If a fault occurs, first check the points listed below before taking the set for repair.
If you are unable to remedy a problem by following these hints, consult your dealer or service centre.

Under no circumstances should you try to repair the set yourself, as this would invalidate the warranty.
| Problem | Remedy |
| No sound | Check if the AC/DC adapter is fully inserted into the AC outlet and that its DC connector is properly inserted into the 12 Volt DC input connector located at the rear of the transmitter. |
| Check if the headphone's on/off switch is in the on position. | |
| Headphone batteries running low. Remove the earcushions. Take out the batteries and put them in the transmitter's recharging compartment for recharging. (See Headphone power supply) | |
| Check if the audio source is switched on and tuned to a channel with audio. | |
| Volume not adjusted. Adjust the volume on the audio source/ headphone to a higher level. | |
| Adjust the headphone's tuning frequency. Turn the tuning wheel until the signal is at its clearest. | |
| Make use of the HC8352 transmitter. Some transmitters already built into other equipment may not be compatible with the HC8355 headphone because of the advanced technologies used in the HC8355 headphone. | |
| Distorted sound | Adjust the headphone's tuning frequency. Turn the tuning wheel until the signal is at its clearest. |
| Adjust the transmitter's frequency. Select any of the 2 channels of the transmitter. Next adjust the headphone's frequency by turning the tuning wheel until the signal is at its clearest. | |
| Headphone batteries running low. Remove the earcushions. Take out the batteries and put them in the transmitter's recharging compartment for recharging. (See Headphone power supply) | |
| Check the volume on audio source/ headphone is not set at too high a level. Reduce the volume. | |
| Distance from the transmitter is too large. Move closer to the transmitter. | |
| Interference from fluorescent lamps/ other radio sources. Move transmitter or headphone elsewhere/ change the transmitter's channel. | |
| Make use of the HC8352 transmitter. Some transmitters already built into other equipment may not be compatible with the HC8355 headphone because of the advanced technologies used in the HC8355 headphone. | |
| Maintenance | If the headphone will not be used for a long time, please remove the batteries to prevent leakage and corrosion. |
| Only replace the batteries with LR03/AAA NiCd batteries (preferably Philips). | |
| Do not leave the headphone near heat sources. Do not expose to direct sunlight, excessive dust, moisture, rain or any kind of mechanical shock. | |
| Do not use alcohol, thinner or petroleum-based substances to clean the headphone or transmitter. Use a slightly dampened chamois cloth to clean the housing. | |
| Do not use cleaning agents containing alcohol, spirits, ammonia or abrasives as these may harm the housing. |
Hearing Safety!
Continuous use at a high volume may permanently damage your hearing.
Specifications
| System: | Radio Frequency (RF) |
| Carrier Frequency: (Transmitter HC8352) | Channel 1: 863.5 MHz Channel 2: 864.5 MHz |
| Carrier Frequency: (Headphone HC8355) | 863.2 to 864.7 MHz (Manual tuning) |
| Modulation: | Frequency Modulation (FM) |
| Radiated Output Power: | < 10m Watt |
| Effective Transmission Range: | up to100 meters, omni directional (360º) |
| Input level: | 200 mVrms (1 kHz sine wave) |
| Power supply transmitter: | 12Volt / 200 mA DC, centre positive |
| Power supply headphone: | 2 x LR03 (AAA) batteries (NiCd) |
| Frequency range (Headphone): | 10-19,000 Hz |
| Signal/Noise ratio: | > 55 dB (1 kHz sine wave, A-weighted) |
| Distortion: | < 0.5% THD |
| Channel separation: | > 30 dB |
Documents / ResourcesDownload manual
Here you can download full pdf version of manual, it may contain additional safety instructions, warranty information, FCC rules, etc.
Advertisement


Need help?
Do you have a question about the HC8350 and is the answer not in the manual?
Questions and answers