Advertisement
Advertisement
Table of Contents

Related Manuals for HICFM SHAG-G33F


Summary of Contents for HICFM SHAG-G33F
- Page 1 USER MANUAL AND OPERATING INSTRUCTIONS READ & SAVE THESE INSTRUCTIONS UTILITY FAN- FORCED HEATER 120V / 60Hz, 1500W ITEM NO.: HEATER01 MODEL NO.: SHAG-G33F If you have any questions or comments about this or any product, please e-mail our customer service by EMAIL inquiry@hicfm.com...
-
Page 2: Important Instructions
IMPORTANT INSTRUCTIONS NOTE: There may be a trace of smoke or odour when unit is first operated. Don’t be alarmed. This indicates that a drop of oil fell on the heating coil during the manufacturing process. It will quickly evaporate and should not re-occur. Make sure that the room in which the appliance is located is well ventilated during this operation. - Page 3 IMPORTANT INSTRUCTIONS (CONTINUED) 14. Use this heater only as described in this manual. Any other use not recommended by the manufacturer may cause fire, electric shock, injury to persons or other damage to property. 15. It is normal for the heater’s plug and cord to feel warm to the touch. A plug or cord which becomes hot to the touch or becomes distorted in shape may be a result of a worn electrical outlet.
- Page 4 IMPORTANT INSTRUCTIONS (CONTINUED) 26. Use caution after the heater has been in use as the metal outlet grille may be hot to the touch. 27. To avoid overheating, do not cover the heater. Due to the high temperature of the air vents, to prevent burns, keep babies, pets or other users away from or touching the air vents when in use to prevent burns.
- Page 5 IMPORTANT INSTRUCTIONS (CONTINUED) 43. To reduce the risk of fire, electric shock or injury to persons, do not use replacement parts that have not been recommended by the manufacturer (e.g. parts made at home using a 3D printer). 44. All servicing, apart from ordinary cleaning, should be performed by qualified personnel only.
-
Page 6: One (1) Year Limited Warranty
DISPOSAL 1. We encourage you to participate in recycling program, so please observe local regulations for proper disposal of discarded products. 2. Recycle raw materials instead of disposing of as waste. The machine, accessories and packaging should be sorted for environm ental-friendly recycling. - Page 7 OPERATION INSTRUCTIONS Warning: Risks from loose sockets 1) Loose sockets can cause plug overheat or serious fire hazard. Ensure that the heater is plugged into the socket (as shown in Figure 1) before each use, after 5-10 minutes of use, and during use, and check frequently to ensure that the heater plug is not overheated and deformed.
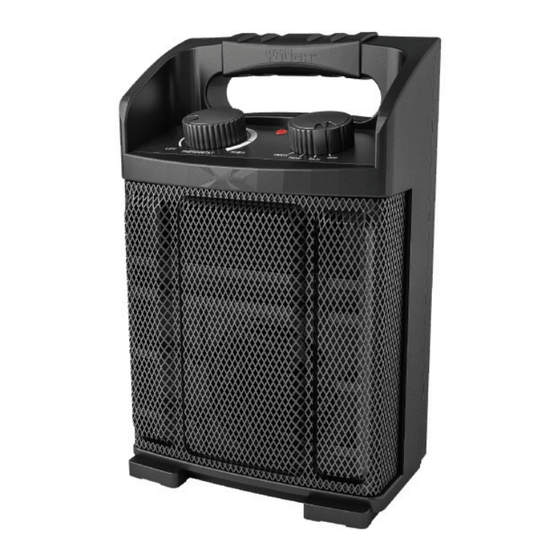
- Page 8 OPERATION INSTRUCTIONS WARNING : Inspect the unit for visible damage. lf there are signs of damage, do not use this heater. Please contact customer service if any damage is found. Control Panel Close-up A. Power light B. Thermostat Control C. Power Control D.
- Page 9 AUTO SAFETY PROTECTION This heater is equipped with a Total Safety System with tip-over protection and overheat protection that will shut-off the heater. Tip-over Shut-off: when the unit is accidentally knocked over, it will shut off. To reset, simply place the heater in an upright position on a level surface.
-
Page 10: Troubleshotting Guide
TROUBLESHOTTING GUIDE Problem Root Cause Corrective Action 1a. Power cord was not 1a. Check that unit is plugged directly into a standard 120 volt 1. Heater fails to plugged into the outlet. outlet. power on 1b. Unit has overheated. 1b. Automatic safety shut off has initiated. Power heater off, then unplug power cord, remove any obstructions. -
Page 11: Parts List
PARTS LIST PART QUANTITY PART# DESCRIPTION G33F-01 Thermostat Control Knob G33F-02 Speed Control Knob Speed Control Switch G33F-03 Adjustable Thermostat G33F-04 Heating Elements G33F-05 Wind Wheel Assembly G33F-06 G33F-07 Motor G33F-08 Power Cord...
Need help?
Do you have a question about the SHAG-G33F and is the answer not in the manual?
Questions and answers